
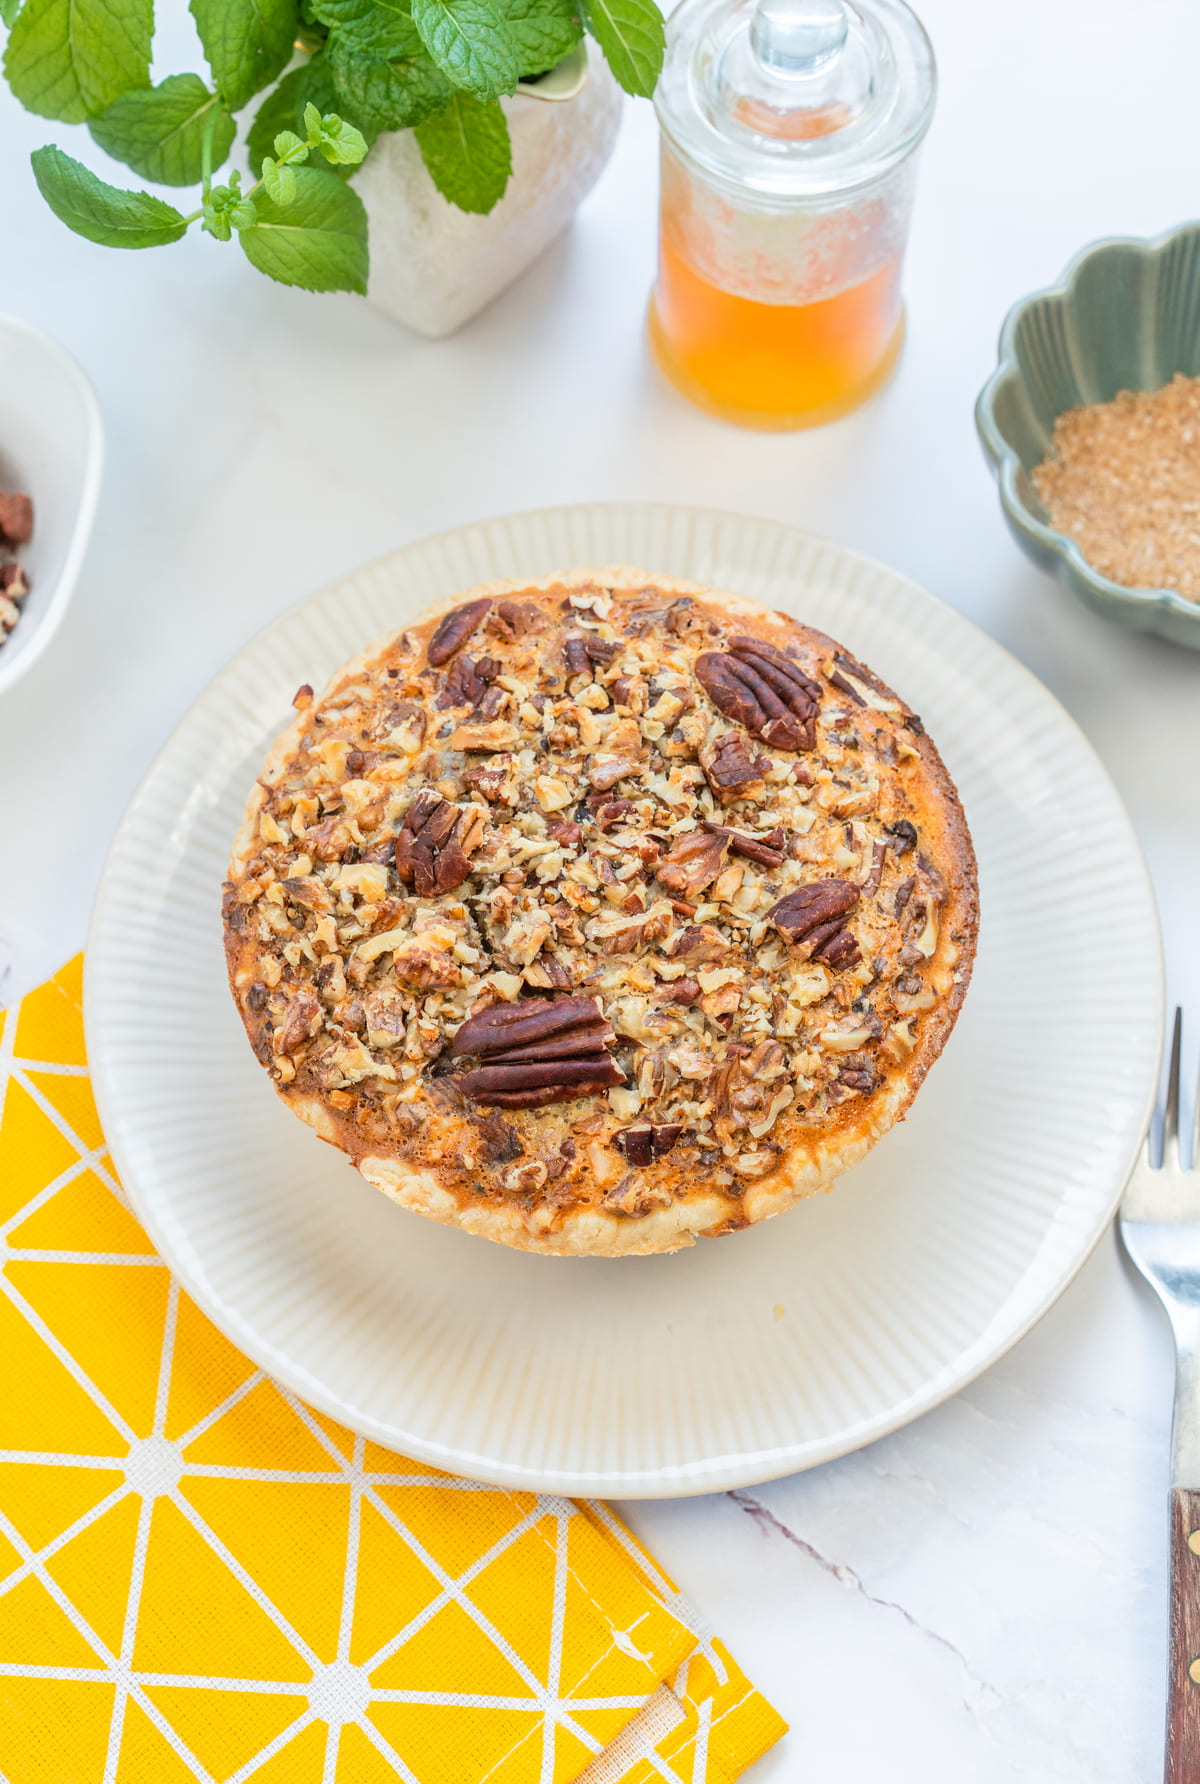
The perfect combination of sweet, salty, and gooey. That’s exactly how I’d describe my gluten-free pecan pie!
This is the pie my family craves all year until Thanksgiving. They even joke it’s the only reason they show up, haha! No one can tell it’s gluten-free until I mention it. And if you’re baking this for anyone with gluten intolerance or celiac disease, both the crust and filling are gluten-free.
Once you serve this, your guests will forget every other dessert exists… even the pumpkin pie doesn’t stand a chance.
Rita and I started experimenting with gluten-free a couple of years ago, not for us but for my cousin Claudia. Back then, I tested easy recipes, like my 4-Ingredient Peanut Butter Balls, which quickly became one of her favorites.
She had just found out she had a gluten intolerance and was so sad about having to restrict what she eats. But she’s lucky to have a “family masterchef” (that’s what she calls me, haha) who was more than happy to adapt her favorite recipes.
This pecan pie was actually one of the very first gluten-free recipes I ever made, because it’s one of her favorites. I wasn’t about to let gluten get in the way of her favorite dessert. So I searched, read, and learned everything I could about baking for someone who can’t tolerate gluten. That way, she gets to enjoy the things she loves without feeling left out.
But, the funny thing is, this gluten-free pecan pie quickly became a family staple, and honestly, no one can even tell the difference. Claudia even says it tastes better than the one I used to make (which hurt my feelings a little, but also made me really happy).
Ingredients for Gluten-Free Pecan Pie
In this recipe I’m going to teach you how to make both the pie crust and the filling!
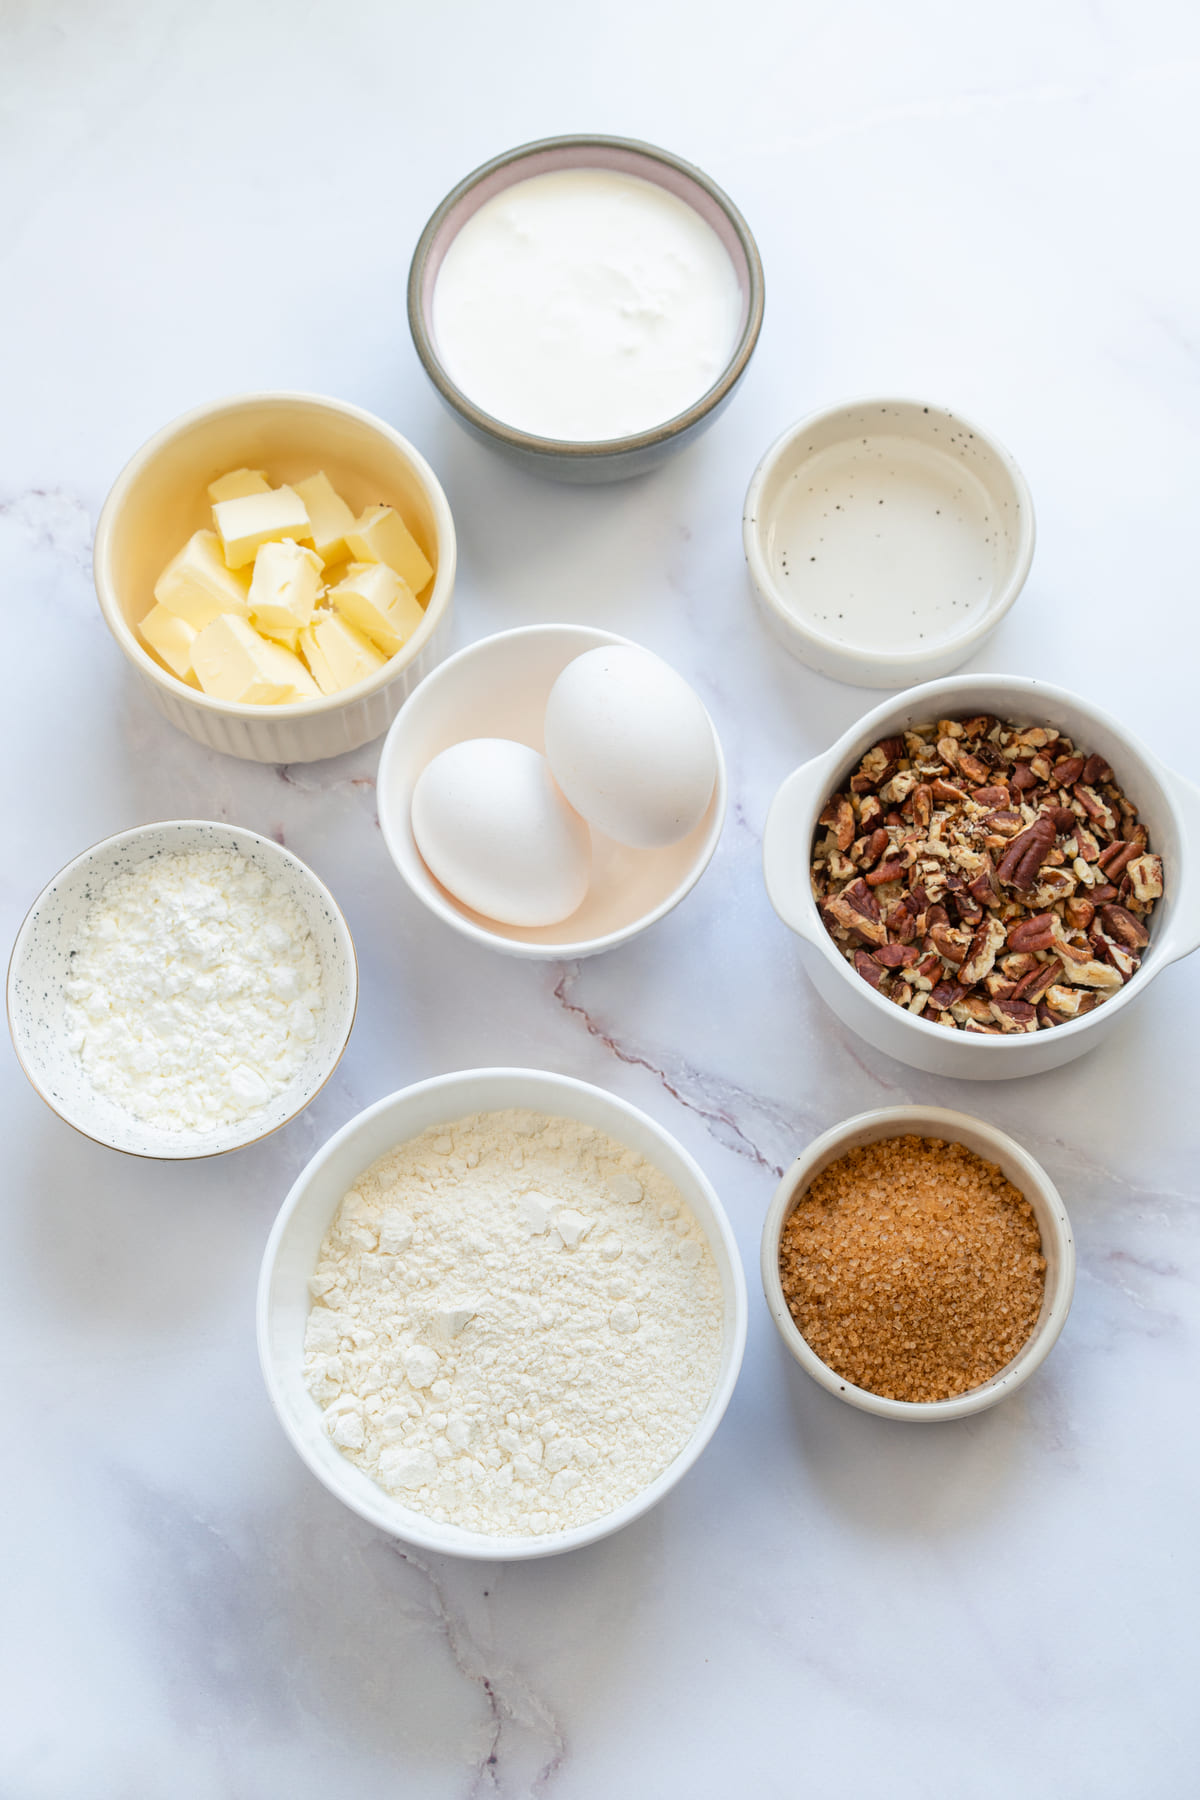
For the dough:
- 7 tbsp cold butter (100 g) – Make sure you’re using it straight from the fridge. Keeping it cold is key here!
- 1 ½ cups gluten-free flour (200 g) – I either use King Arthur Measure for Measure or Bob’s Red Mill Gluten-Free 1-to-1 Baking Flour. Both give me a perfectly tender and flaky crust because they already contain xanthan gum and a balanced starch ratio, which helps mimic the elasticity and structure you’d normally get from gluten.
- 3 ½ tbsp cold water (50 ml) – Also straight from the fridge, this helps keep the butter from melting into the flour.
- Pinch of salt (optional) – If your flour blend already contains salt, skip this step. If you’re using any of the flours I mentioned, they don’t include salt, so I add just a small pinch for flavor.
For the filling:
- 2 tbsp starch (corn or potato) (16 g) – I like to use cornstarch (just because it’s what I usually already have at home) but potato starch gives a slightly creamier set.
- ⅔ cup heavy cream, or sour cream (150 g) – I usually add heavy cream but if you want a tangier flavor, use sour cream!
- 2 large eggs – At room temperature.
- ⅓ cup brown sugar (75 g) – I like to use Domino Dark Brown Sugar because it adds a deeper caramel-like flavor.
- 1 cup pecans, whole or chopped (100 g) – Save a few to add on top before baking. I like to use NOW Real Food Raw Pecans (which are certified gluten-free). Nuts can be processed in places that also handle wheat.
Whenever I make this pie for a family gathering, I always use a certified gluten-free flour blend because of Claudia. But, if you’re baking this for someone with celiac disease, you need to be extra careful with labels, kitchen tools, and cross-contamination (like the pecan nuts)!
For reliable guidance on reading labels and what “gluten-free” means under FDA rules, I recommend checking out this article from the Celiac Disease Foundation: “Label Reading & the FDA” so you don’t have to guess!
How to Make My Gluten-Free Pecan Pie
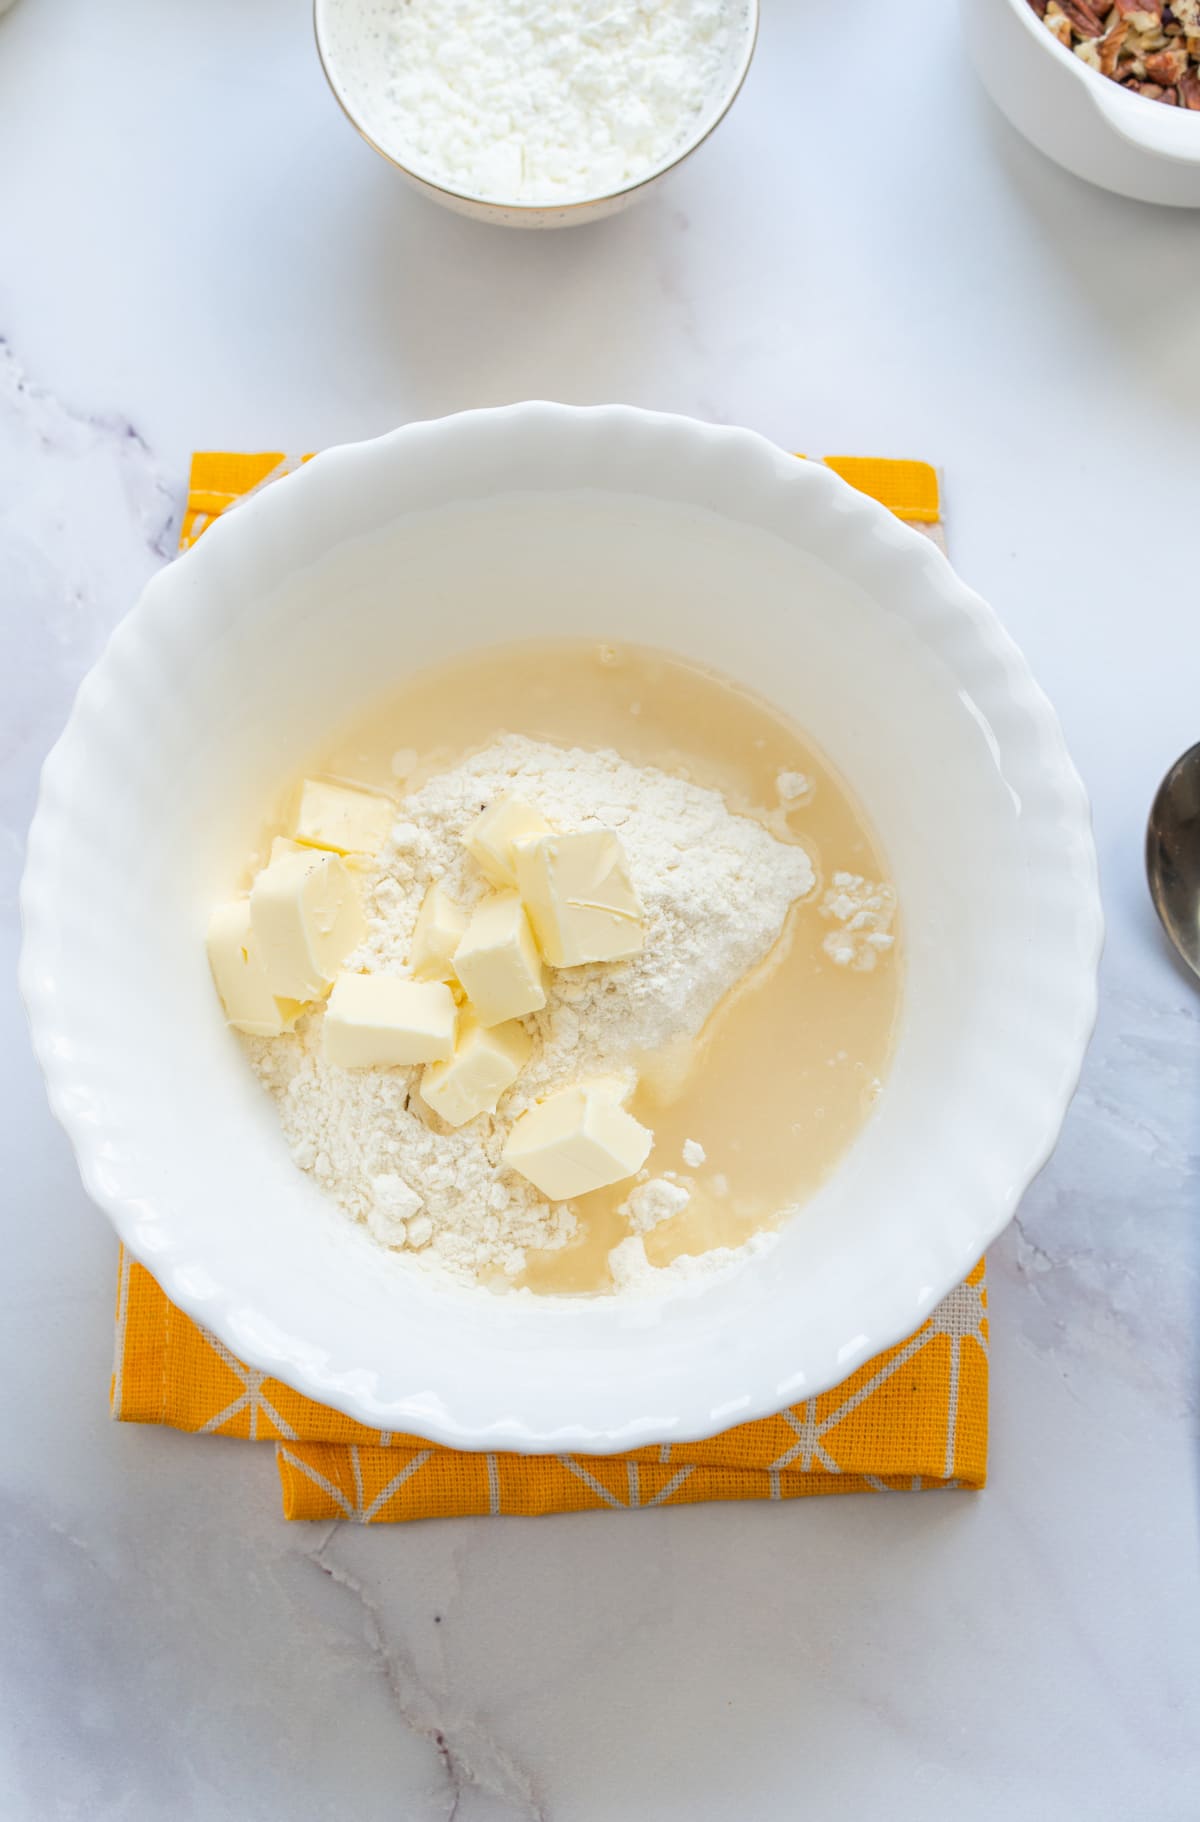
I start by grabbing a medium mixing bowl and add the gluten-free flour and a pinch of salt. Then, using my fingertips I rub in the cold butter with the flour until it looks like coarse crumbs.
Now, I drizzle in the cold water and quickly knead the dough. It should be elastic but not sticky! If it’s too sticky add another tablespoon of gluten-free flour and knead again.
I shape the dough into a ball, wrap it in plastic and chill it in the fridge for at least 30 minutes. Keeping the butter cold is key because that’s what gives you that tender and flaky crust. So, I like to do this part as quickly as I can.
You’ll notice in the step photos that the butter, flour, and water are shown together, that was just for styling. In reality, I add the water later for the best crust.

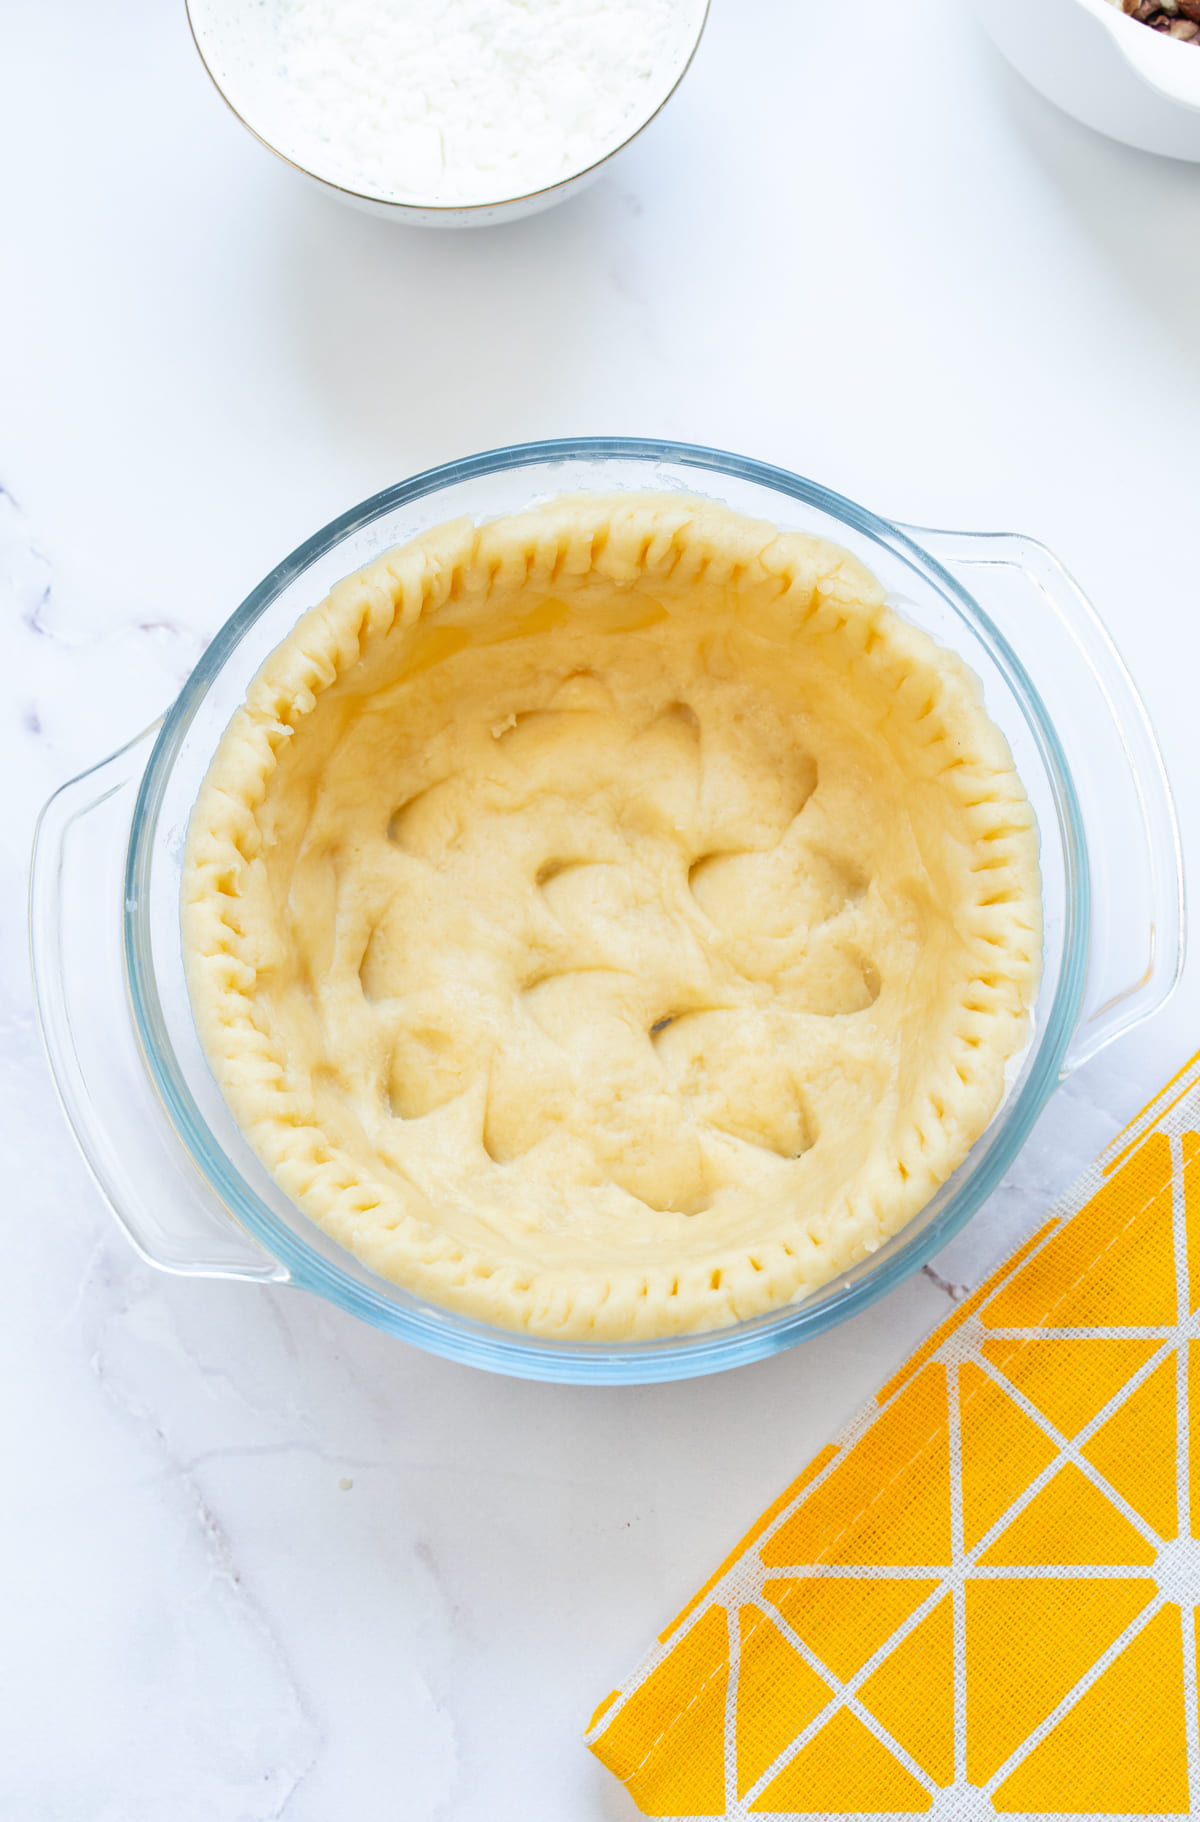
Once the dough is firm, I lightly flour my countertop and roll it out just slightly (doesn’t need to be a perfectly shaped circle). Then I place it into my pie dish and press it to make even sides. I like to go around the edge with a fork to press the dough.
This is optional but I like to pop the dish back into the fridge for about 15 minutes. This helps to keep the edges from shrinking and ensures the crust bakes evenly.
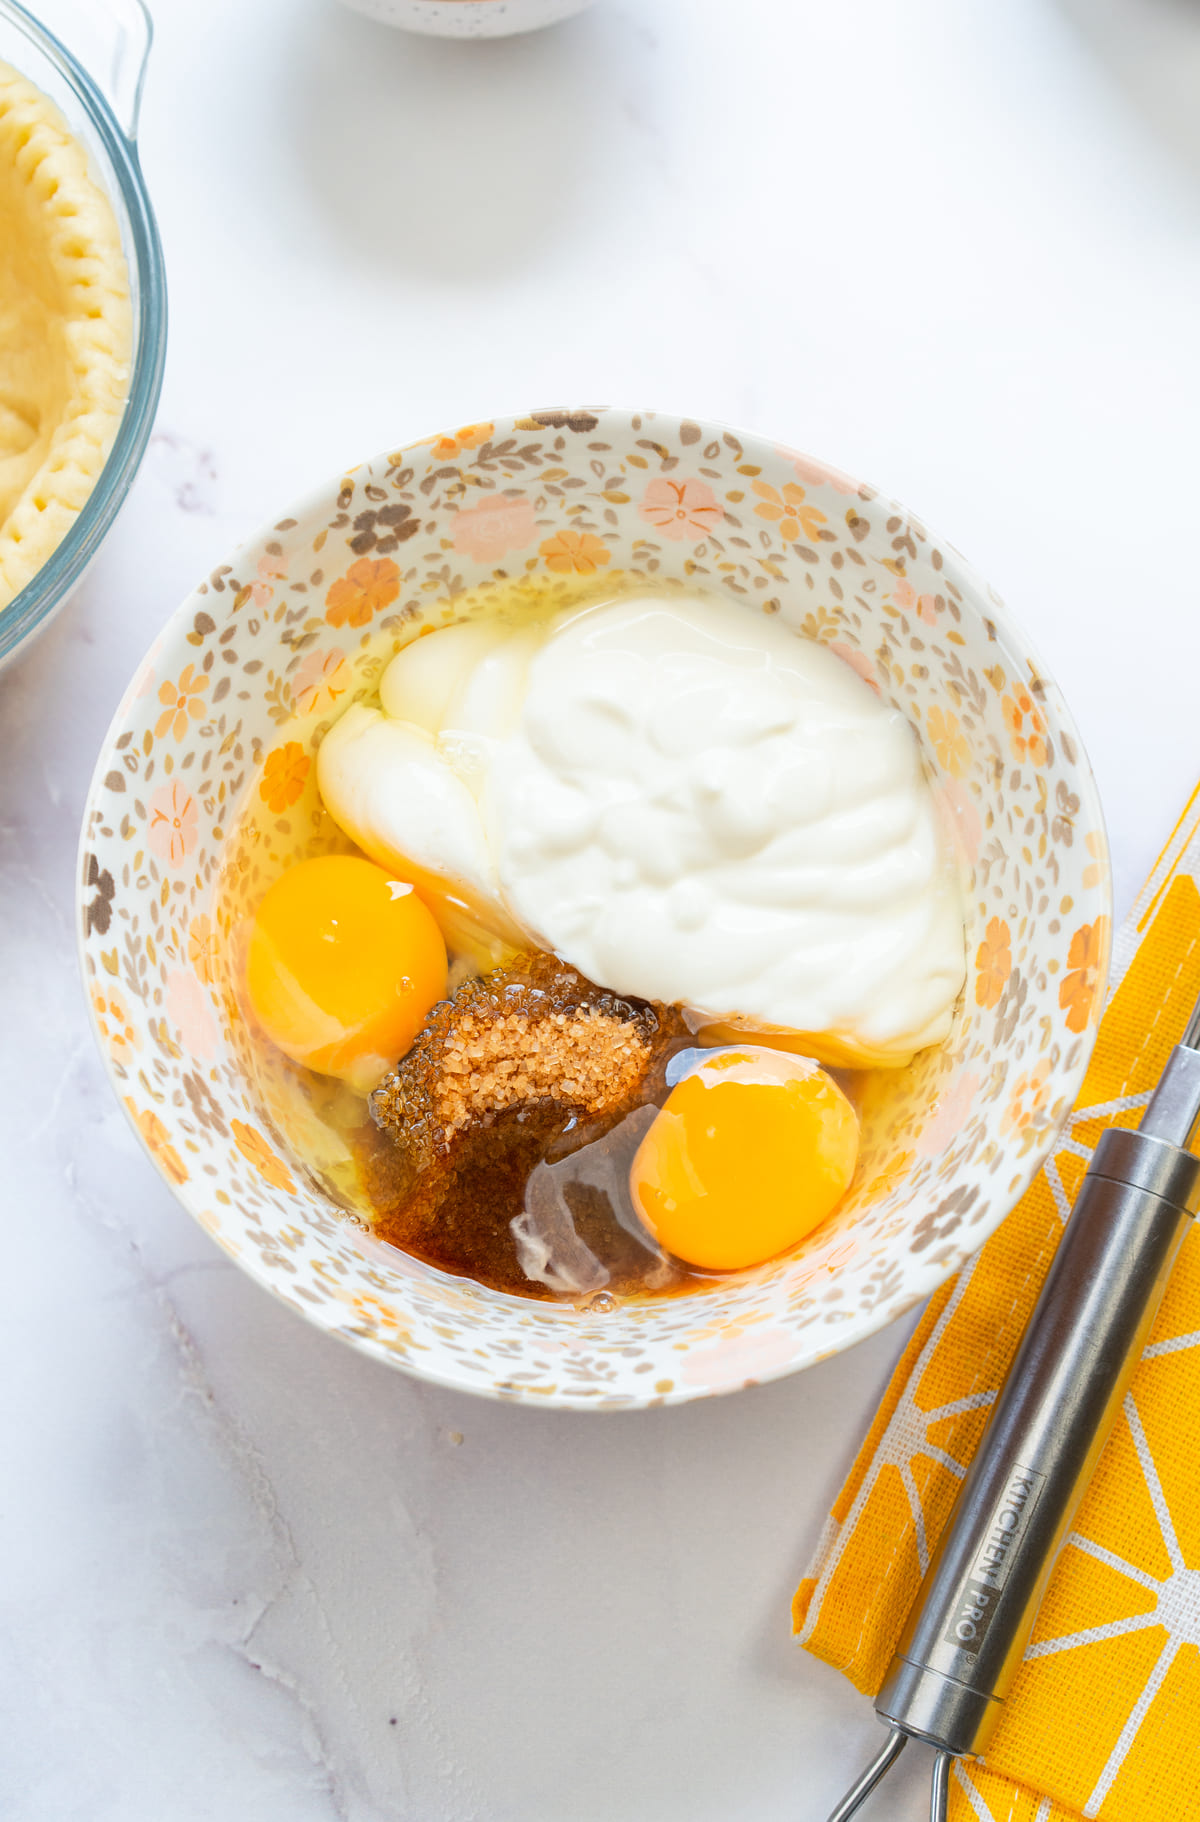
While the crust is chilling, I take this time to prepare the filling. I start by whisking the eggs and the brown sugar until smooth, this helps to dissolve the sugar properly. Then, I stir in the cream and starch and mix until there are no lumps.
To finish, I fold in the pecans. I like to keep a few aside to add on top later.
In the photos you’ll see all the filling ingredients in the bowl at once, but that’s just for the picture.
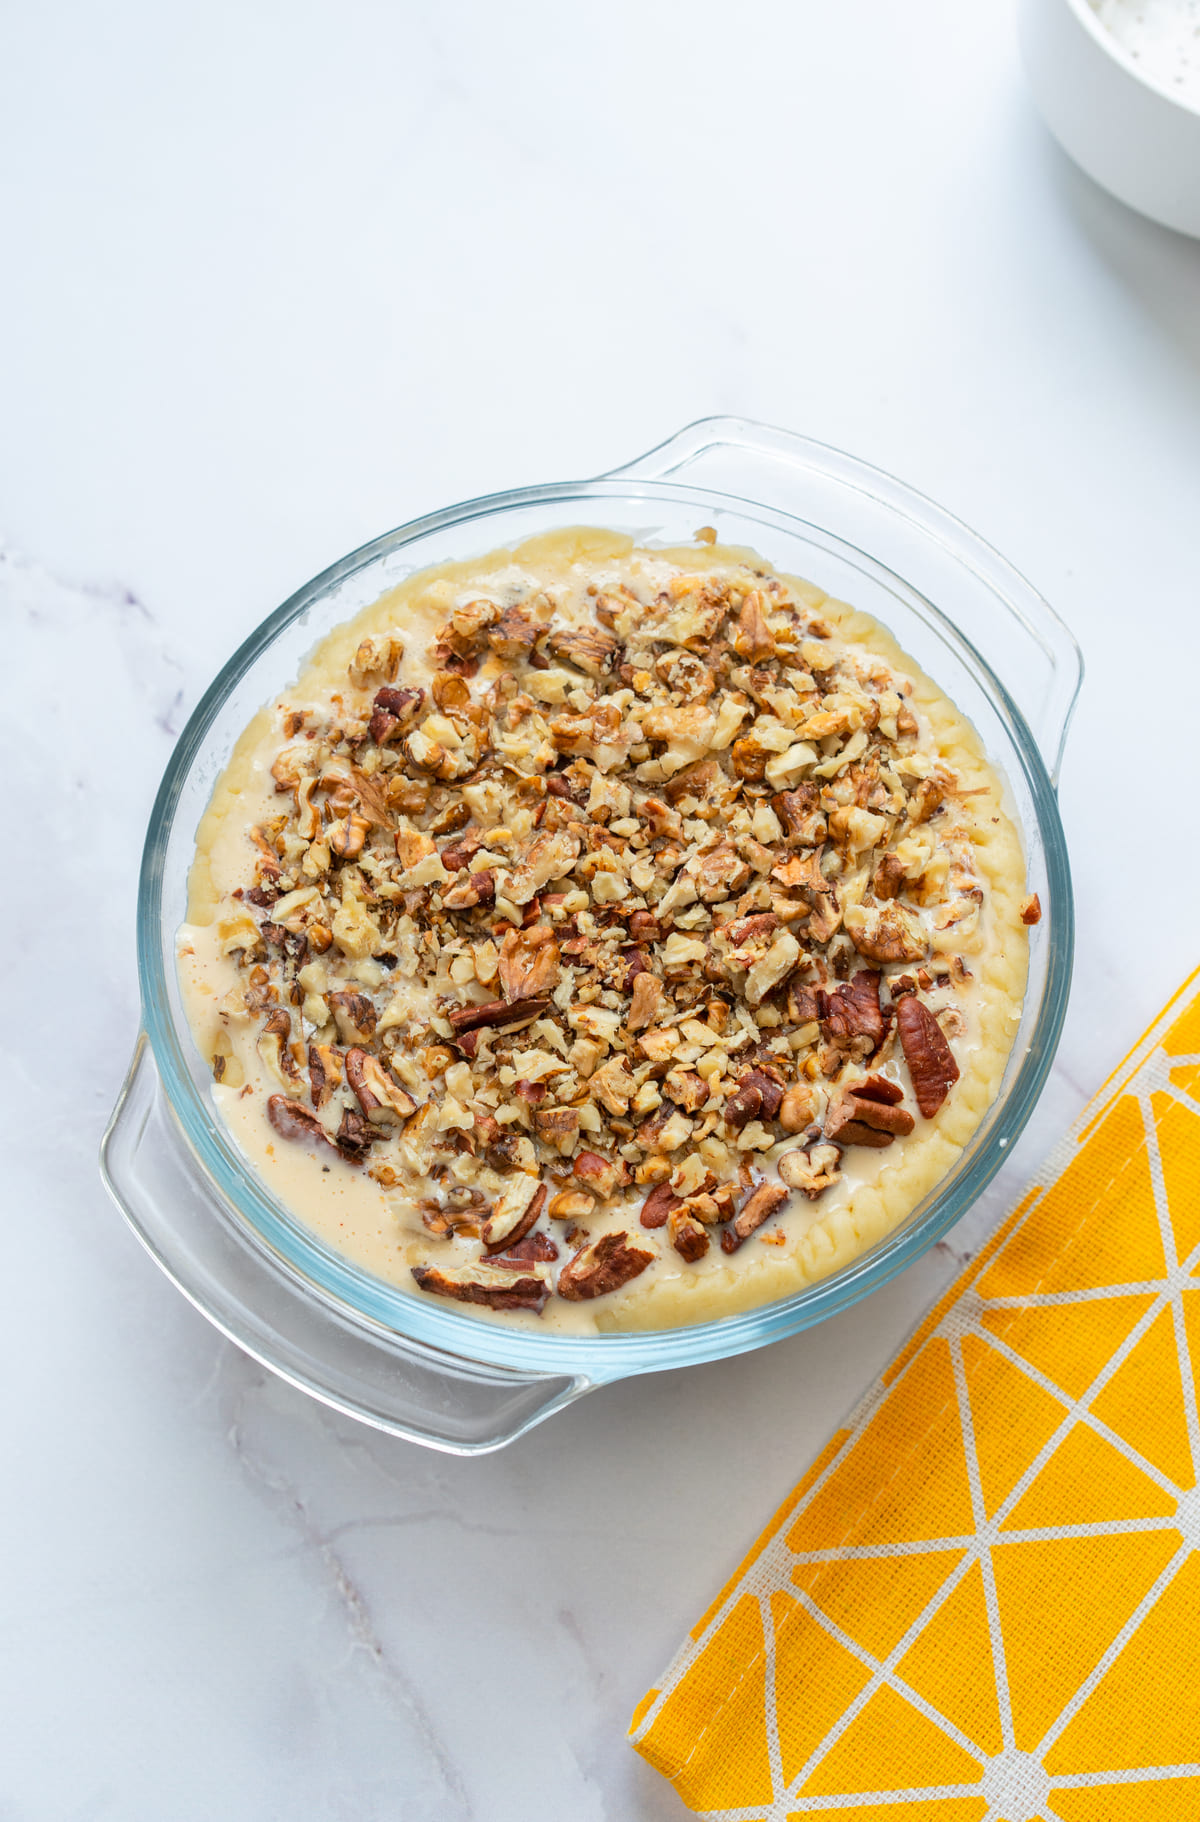
I pour the filling into the chilled crust, spreading it evenly. Then I sprinkle the rest of the pecans on top.
Pop it into a preheated oven at 350°F (180°C) for about 30 to 40 minutes. The filling should be set and golden on top with the pecans lightly toasted. But it should still have a gentle jiggle in the center.
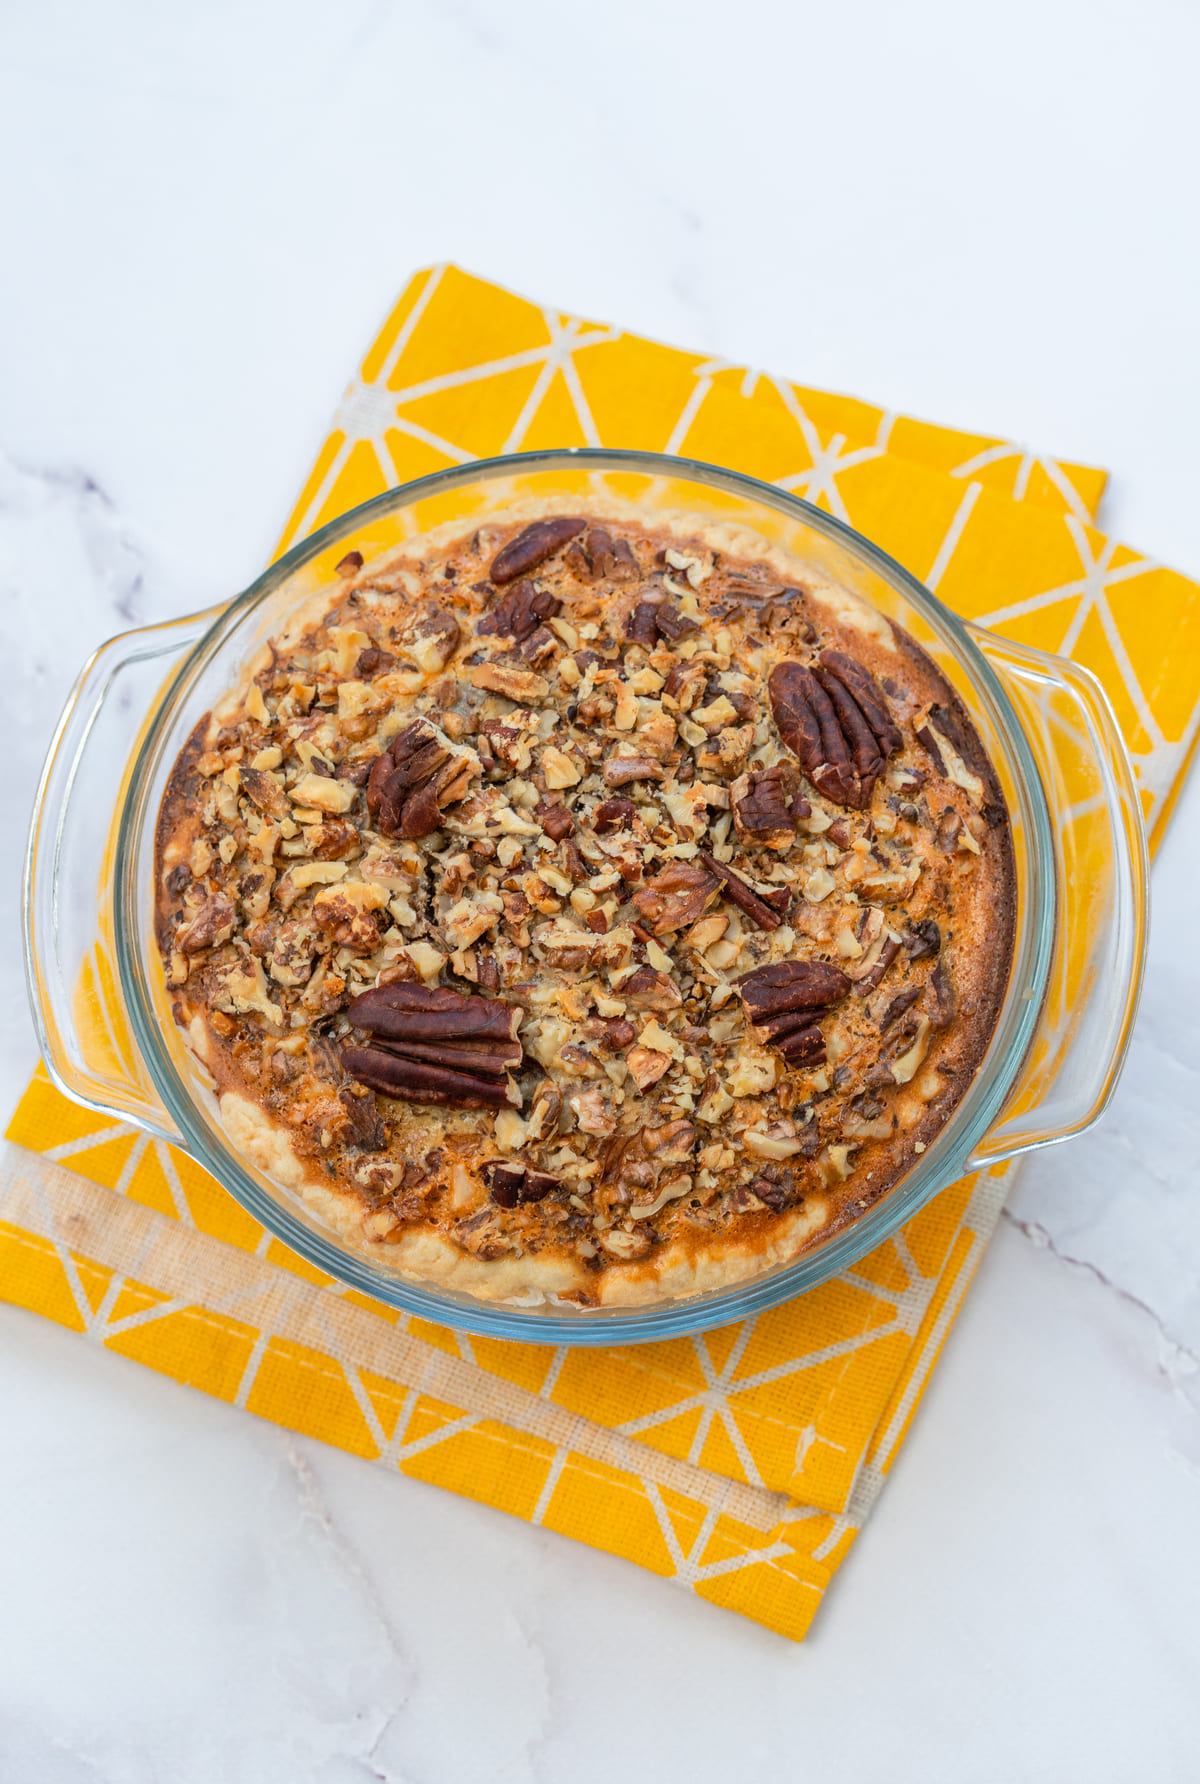
Once it’s baked, I remove it from the oven and let it cool before cutting. I know it’s hard because it smells delicious, but this helps the filling to firm up so you can cut those clean slices. And we’re done!
If you want warm pie, let it cool until set, then gently reheat slices in the microwave for 15 seconds before serving.

My gluten-free pecan pie tastes delicious slightly warm or chilled. But a quick tip and one of my favorite combinations is to serve it with a scoop of vanilla ice cream. It pairs so well! Now the hardest part is eating just one slice haha!
It keeps well in the fridge for up to 4 days, I usually cover it loosely with foil or plastic wrap. I’ve also frozen it for up to 1 month (well wrapped stored in an airtight container to prevent freezer burn) and thawed it overnight in the fridge, and it tasted just as good as fresh.
Variations I’ve Tried And Tested
After making this pie so many times, I experimented with it a bit. Nothing too crazy because, for us, this recipe is perfect as it is. But there’s still some room to be creative and I think you’ll like these switches as well!
- Adding starch to the dough – My cousin likes the dough on the softer side (and because I make this one mostly because of her, I happily listen to her wishes haha). But, if you want a crispier crust, add 1 teaspoon of starch to the flour.
- For a deeper pecan flavor – If you have the time and love a deep, nutty flavor, toast the pecans in a dry frying pan for a few minutes before adding them. Trust me, it tastes so good!
- Caramel-style filling – I’ve also swapped the brown sugar for honey. The pie had a warm and caramel-like taste to it that I really loved!
- Warm spice twist – For a cozier flavor, add ½ teaspoon of cinnamon or pumpkin spice to the filling. Rita isn’t a big fan of cinnamon, so I usually add pumpkin spice which tastes just as good. I use McCormick pumpkin pie spice (it’s also gluten-free).
All of these variations are also gluten-free. But, if you decide to add pumpkin spice, make sure it’s a certified gluten-free blend, like the one I mentioned.
Another favorite at our table is this Italian Gluten-Free Almond Orange Cake. Rita used to make it long before Claudia even needed to go gluten-free, and over the years she’s perfected it!
Mistakes To Avoid When Making Gluten-free Pecan Pie
Like any other recipe, there are a few mistakes that can happen. But they’re easily fixable! So before you start baking (or maybe you’re here after because something didn’t turn out right, haha), let me share some things I’ve learned the hard way:
- Using soft butter in the dough – I know a lot of recipes call for room-temperature butter, but that’s a big NO for pie crust. I tried it once and the crust was heavy and greasy, it wasn’t good. So, if your butter softens mid-recipe, just pop the dough back in the fridge for 10 minutes to firm it up again.
- Adding too much flour – I’ve made this mistake too many times in the past. I know it’s tempting to add two or three tablespoons of flour at once because the dough feels sticky. Trust me, big mistake! Your dough will be tough and dry. Add just one tablespoon at a time and knead gently, and give it a minute. It usually comes together.
- Dumping all the ingredients together – I tested this one before thinking it wouldn’t make a difference, but the texture wasn’t the same. The dough was tough because I ended up overmixing to blend all the ingredients. And, for the filling, the sugar didn’t dissolve properly so I could feel the grains while eating.
- Not chilling the crust before adding the filling – This step is somewhat optional but it makes a huge difference. When I skipped it, I noticed that the crust slides down the sides of the dish and the edges aren’t as neat as when you chill it.
- Cutting the pie while it’s still warm – I know it’s hard to wait when your kitchen smells like pecans and caramel but oh boy, it makes a huge gooey mess! Remember when I told you that you should see a gentle jiggle in the center? That’s because the center needs time to set. Stay strong, you can wait!
And we’re done! See? Easy fixes! So, don’t worry if anything goes wrong. After baking for so many years I’ve learned to trust the process and be chill about it (see what I did there, haha?!).
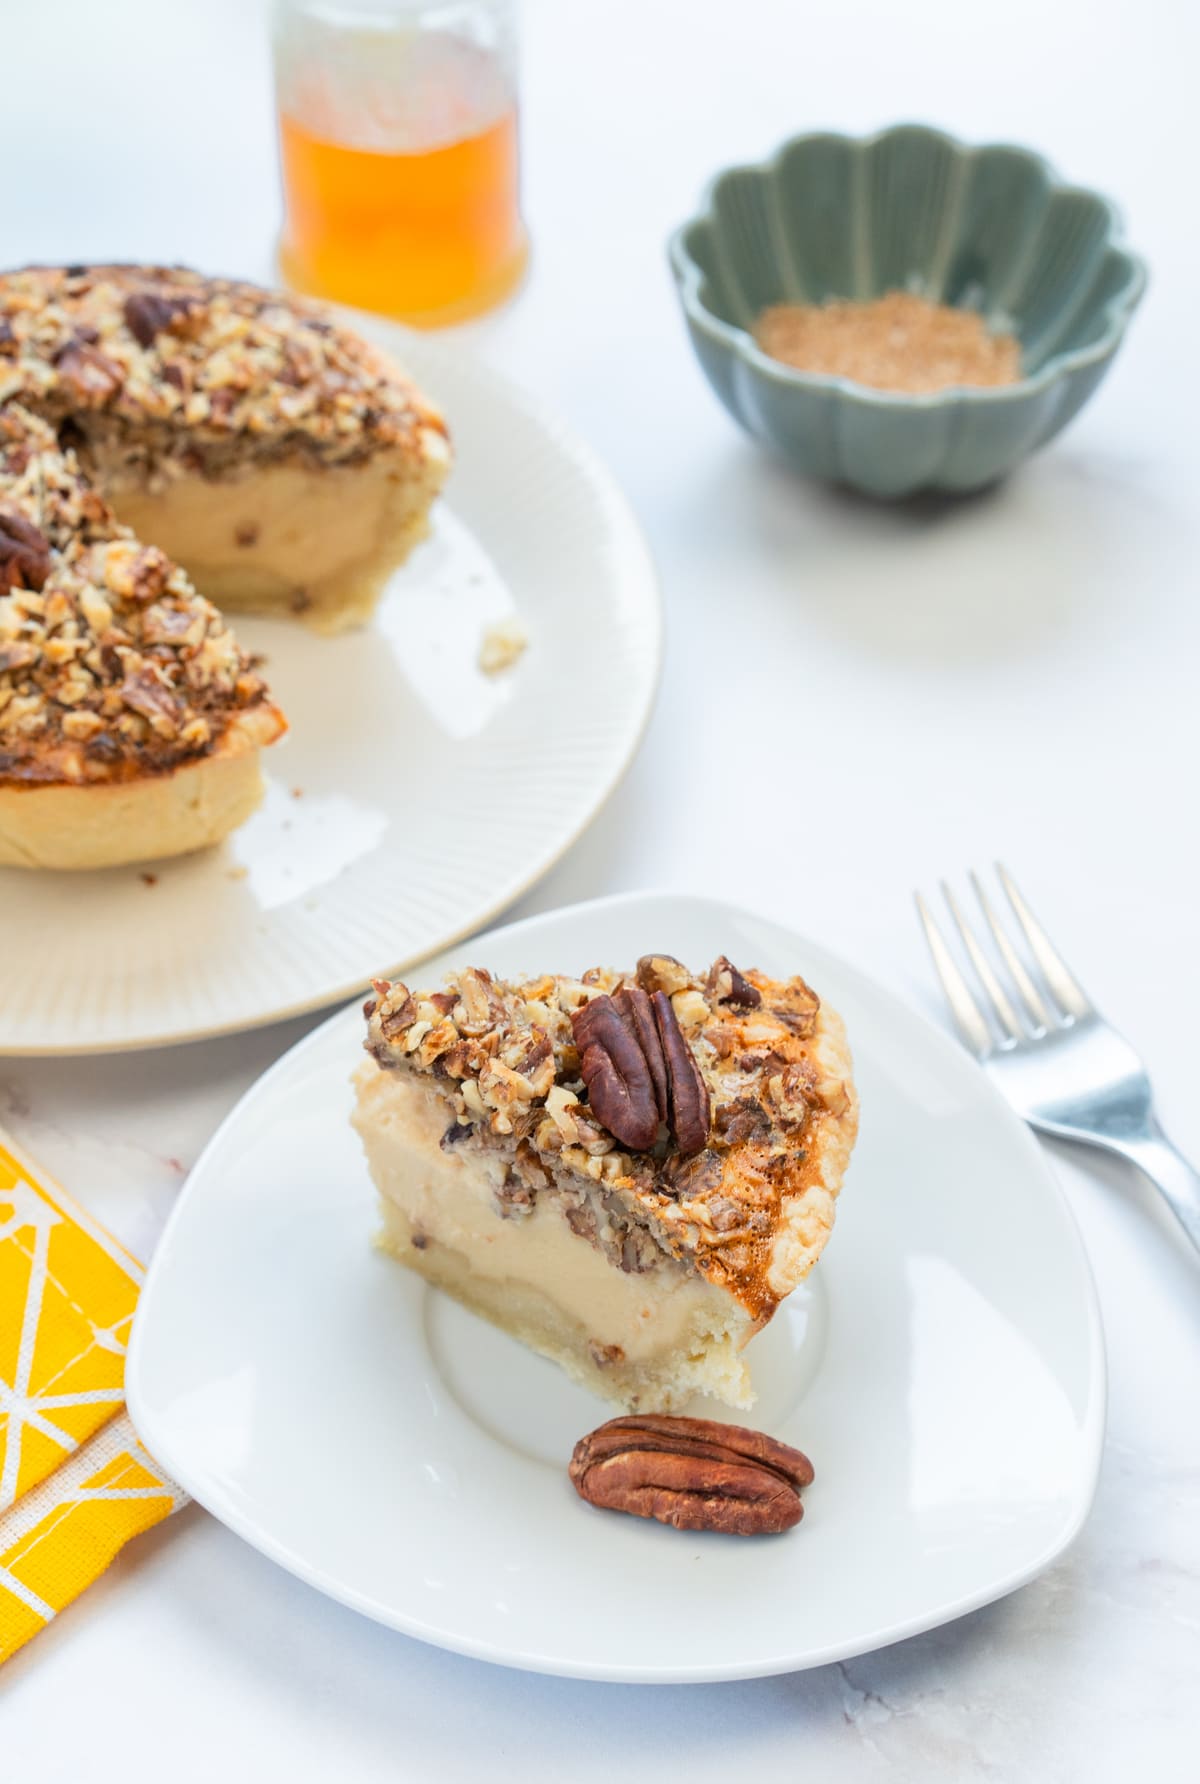
Just one last photo of this gorgeous gluten-free pecan pie that is a burst of flavors! I know you already want to make it.
And if you’re like Rita and can’t get enough of pecan desserts, she recently shared these Maple Pecan Blondies. It isn’t gluten-free, but it’s such a cozy fall recipe.
I’d love to see pictures of your pie, and if there’s anything I can do to help you make it even better, let me know.


The Perfect Thanksgiving Pecan Pie (Gluten-Free)
Description
A rich, gooey pecan pie with a flaky gluten-free crust and crunchy toasted pecans. Perfect for Thanksgiving or any holiday table, and no one will guess it’s gluten-free!
Ingredients
For The Dough:
For The Filling:
Instructions
-
Prepare the dough
In a medium bowl, mix the gluten-free flour and a pinch of salt. Rub in the cold butter until crumbly, then drizzle in cold water and knead quickly until elastic but not sticky. Shape into a ball, wrap, and chill for 30 minutes.
-
Shape the crust
Roll out the dough and place it in a pie dish, pressing the sides and crimping the edges with a fork. Chill for 15 minutes to help it keep its shape.
-
Make the filling
Whisk eggs with brown sugar until smooth. Stir in cream and starch until lump-free, then fold in pecans, reserving a few for the top.
-
Assemble and bake
Pour the filling into the chilled crust, sprinkle with reserved pecans, and bake at 350°F (180°C) for 30 to 40 minutes, until golden and just set with a gentle jiggle in the center.
-
Cool and serve
Let the pie cool before slicing. Enjoy warm or chilled, it’s especially good with vanilla ice cream.
Nutrition Facts
Servings 8
- Amount Per Serving
- Calories 392kcal
- % Daily Value *
- Total Fat 27g42%
- Saturated Fat 12g60%
- Cholesterol 95mg32%
- Sodium 30mg2%
- Potassium 125mg4%
- Total Carbohydrate 32g11%
- Dietary Fiber 2g8%
- Sugars 10g
- Protein 6g12%
* Percent Daily Values are based on a 2,000 calorie diet. Your daily value may be higher or lower depending on your calorie needs.