

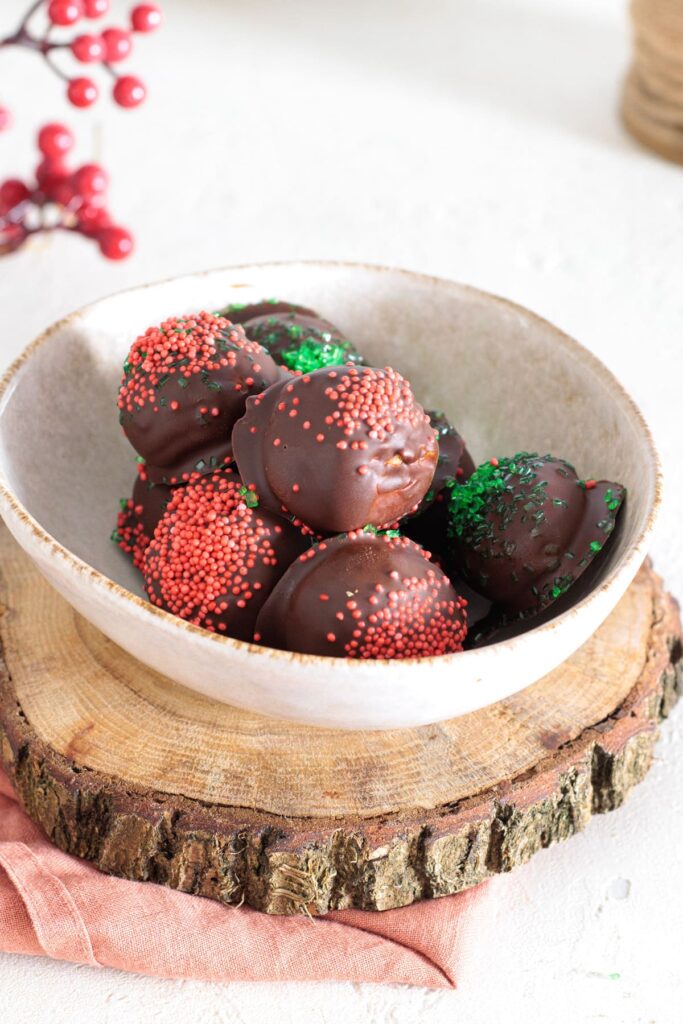
These 4-ingredient peanut butter balls are that kind of chocolatey treat that just melts in your mouth and makes you travel right back to the old days when you were a kid on the holidays, sneaking one or two in your mouth when no one was watching!
They are easy, quick to make, no-bake and you can even prep them ahead! Everything you could ever ask from a holiday staple treat.
But these are so good, I make these all the time once the weather has cooled down for potlucks or family gatherings. And I bet you will too once you try them!
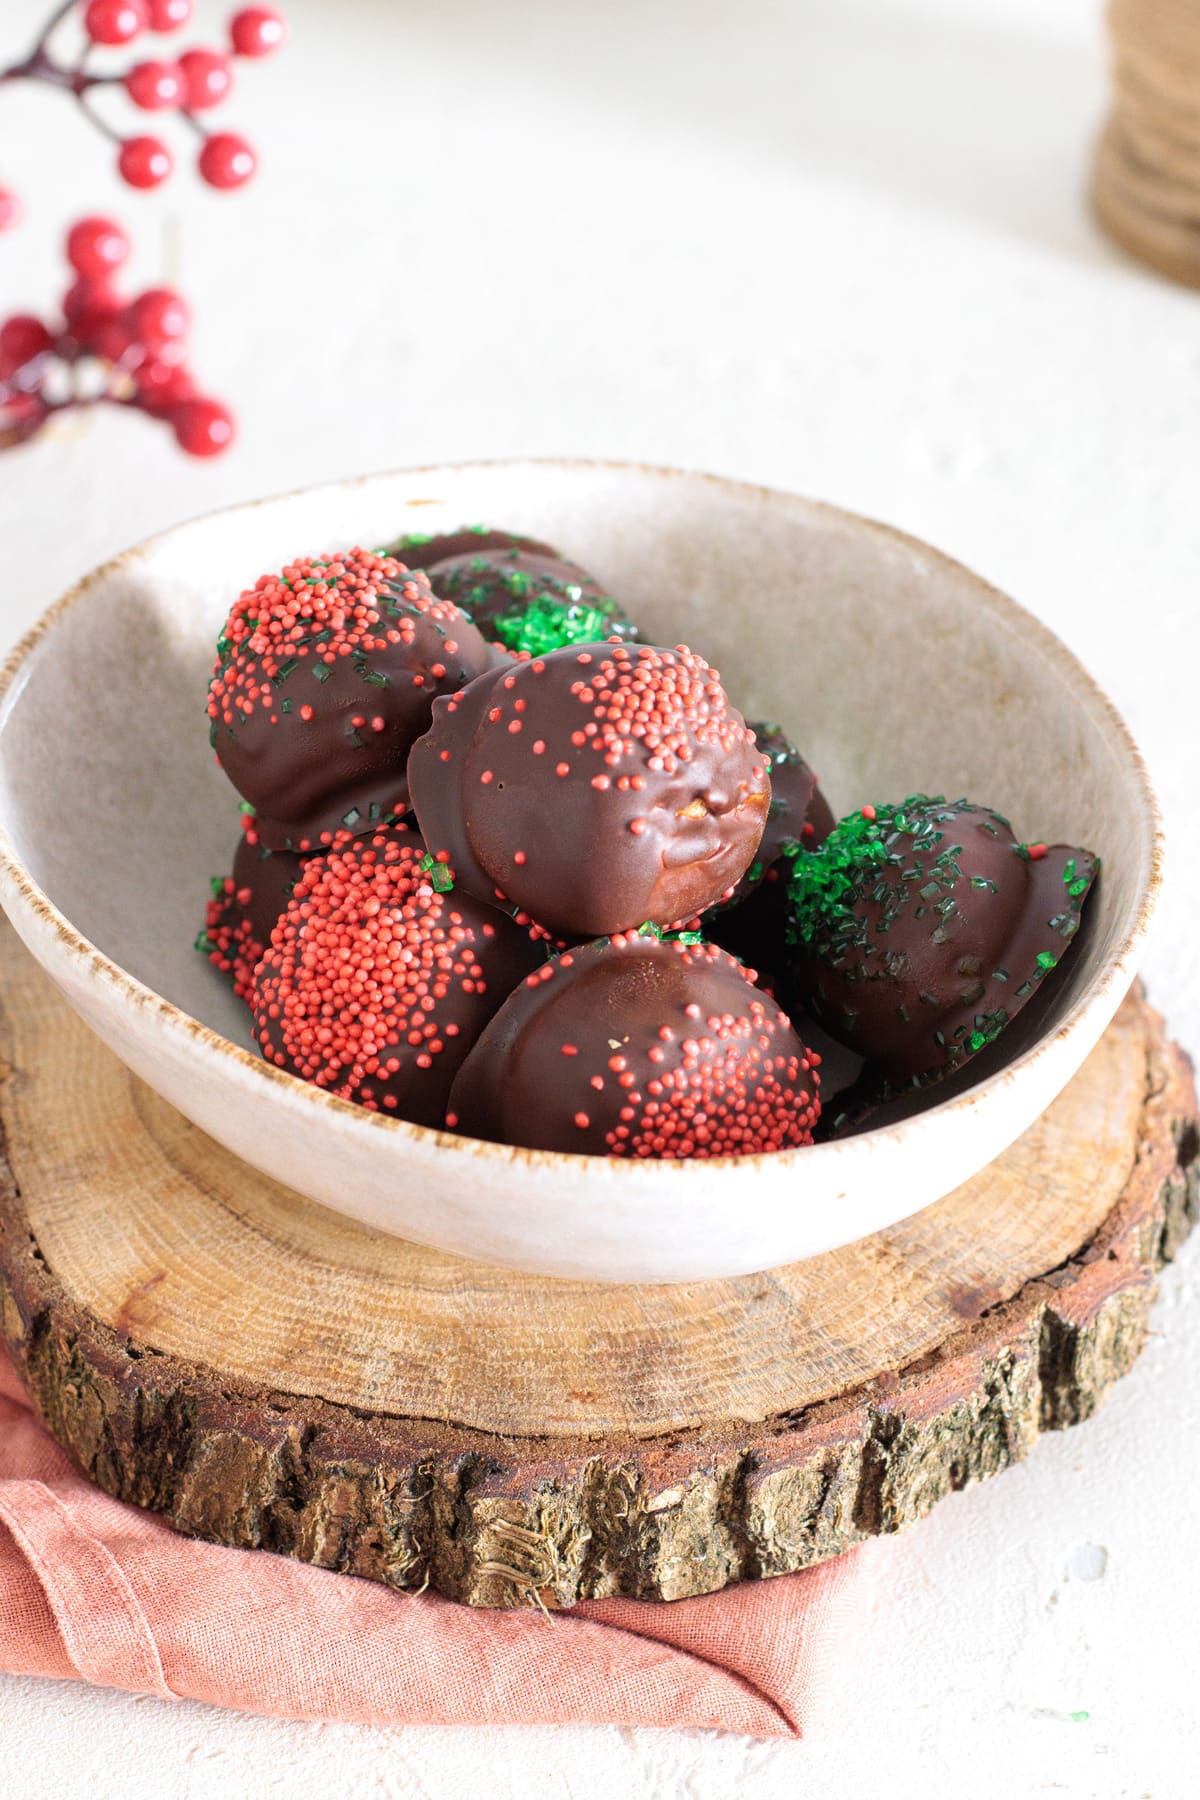
For as long as I can remember, there were three treats that were a staple at the holidays: cut-out sugar cookies, oatmeal raisin cookies (Rita makes the best ones) and peanut butter balls! And to this day, there hasn’t been a single year that those three haven’t made an appearance on our holiday table.
And, I remember being so little that I could barely reach the countertop but always trying to sneak one while my mom was making them. I’d end up with chocolate all over my clothes, the floor, and basically everything around me because I could never wait for them to be finished.
That’s what makes these peanut butter balls so special. They are easy, delicious, quick to make, can prepped ahead and a little nostalgic. Making them perfect for any holiday table, whether it’s Christmas, Thanksgiving, or New Year’s.
What You’ll Need
This recipe was passed to me by my mom, which makes it even more special. I added my own little twist but it’s optional and doesn’t mess with the flavor at all, because I like to keep these as close to traditional as possible. I usually make 18 to 22 balls with these portions!
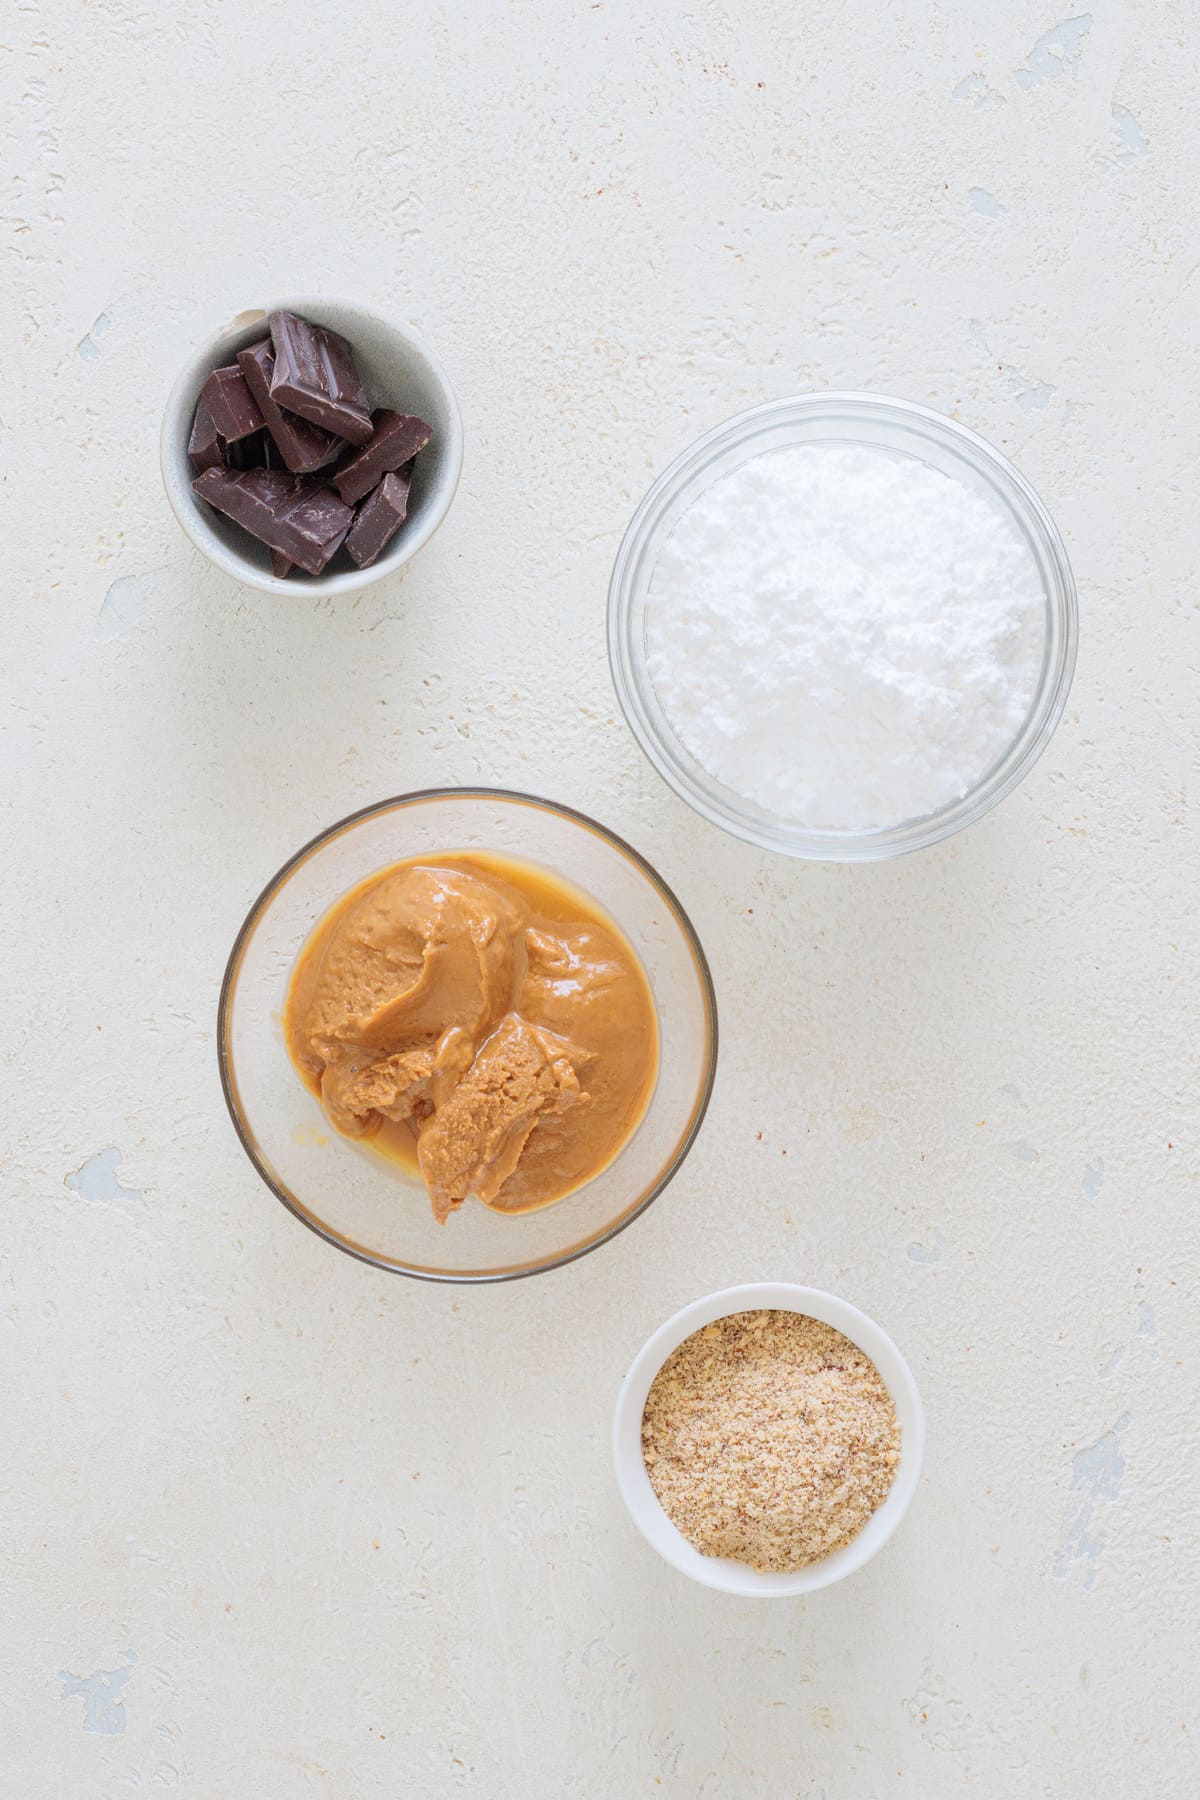
- 1 cup peanut butter (220 g) – I like to use creamy peanut butter, like Jif Creamy Peanut Butter because it’s easier to blend. I’ve tried it with natural peanut butter as well and it works just as fine but I did need to stir it well because the oil was separating!
- 1 cup powdered sugar (100 g) – It really needs to be powdered sugar. I’ve tried it with granulated sugar and you could feel the grains while eating, it just doesn’t dissolve properly.
- 3 to 4 tablespoons almond flour (20 to 30 g) – According to the FDA, eating raw flour is not safe, so I use almond flour instead. Which doesn’t have that raw flour taste and makes this recipe naturally gluten-free! I swear by Bob’s Red Mill Super-Fine Almond Flour, perfect texture and flavor!
- 1 ¼ cups dark chocolate chips or chopped chocolate (200 g) – I like to use dark chocolate that has at least 70% cocoa, for a rich and not too sweet taste.
- 1 teaspoon coconut oil or vegetable oil (5 g, optional but recommended) – This one is optional but it’s what gives the chocolate that glossy and smooth finish. Otherwise, you’ll have dull looking peanut butter balls.
- Red and green sprinkles (optional, for decoration) – For that festive spirit during the holidays I like to add these. If not, I either don’t add anything or a sprinkle of flaky sea salt!
I know I mentioned two extra ingredients but they’re totally optional and they only make a difference in the final look rather than the actual flavor. So, if you skip those, they will taste just as good!
Hear me out now, since this recipe uses so little almond flour (and it’s quite expensive), Rita makes this Italian Gluten-Free Almond Orange Cake with almond flour, and it’s absolutely divine!
How to Make My 4-Ingredient Peanut Butter Balls
Start by grabbing a clear medium bowl and add the peanut butter and the powdered sugar. Mix until it’s smooth and you don’t see any sugar clumps.
I like to use a spatula and do folding movements. Make sure you scrape the bottom and the sides while you do this, or you might push the powdered sugar into the corners and you won’t notice it until later!

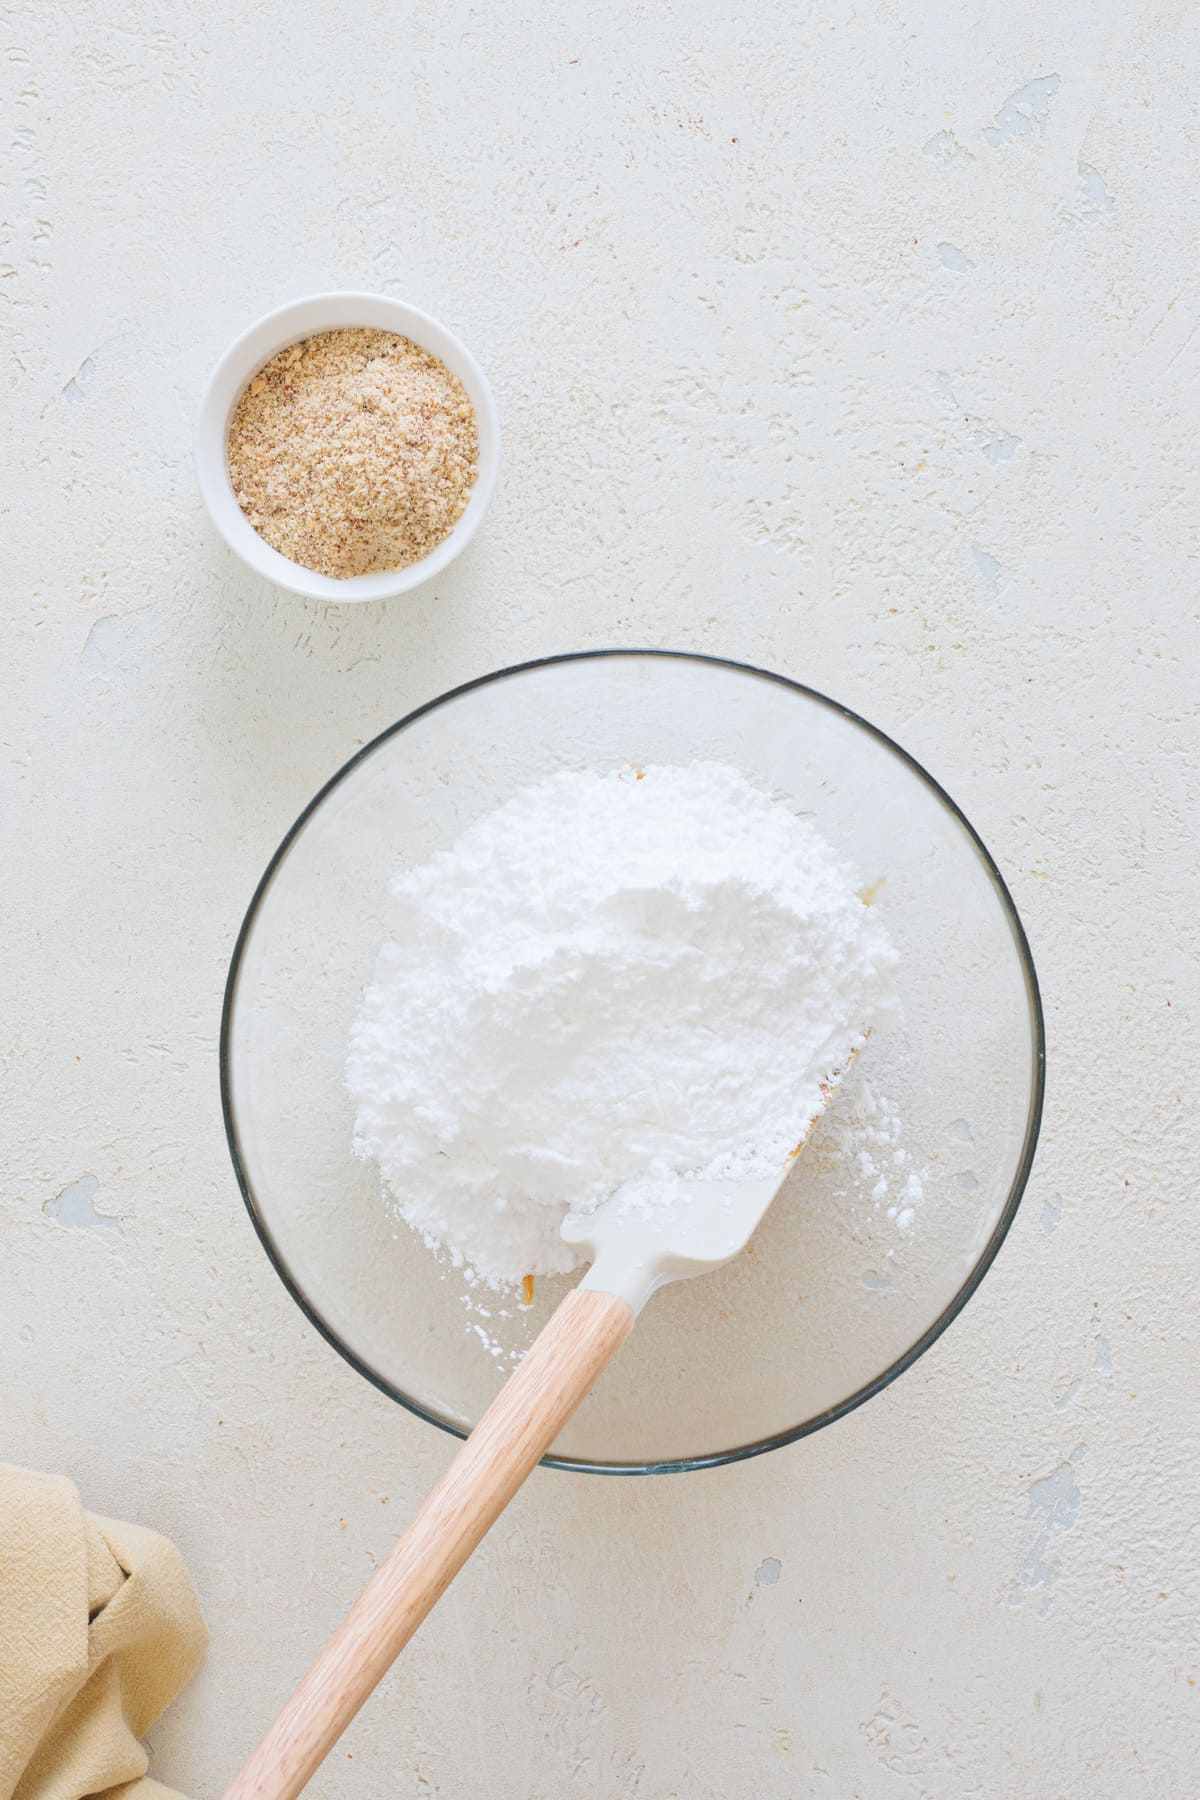
Next, I add in the almond flour. Knead the mixture with your hands until it comes together into a firm dough.
Since I don’t always use the same peanut butter, I like to start by adding 3 tablespoons of almond flour. If I notice that the dough is not firming up or that it’s still sticking too much to my hands, I add an additional tablespoon.


Then, cover the bowl with plastic wrap and pop it in the fridge for about 30 to 40 minutes. This will help the dough to also firm up a bit more and makes the rolling process much easier later.
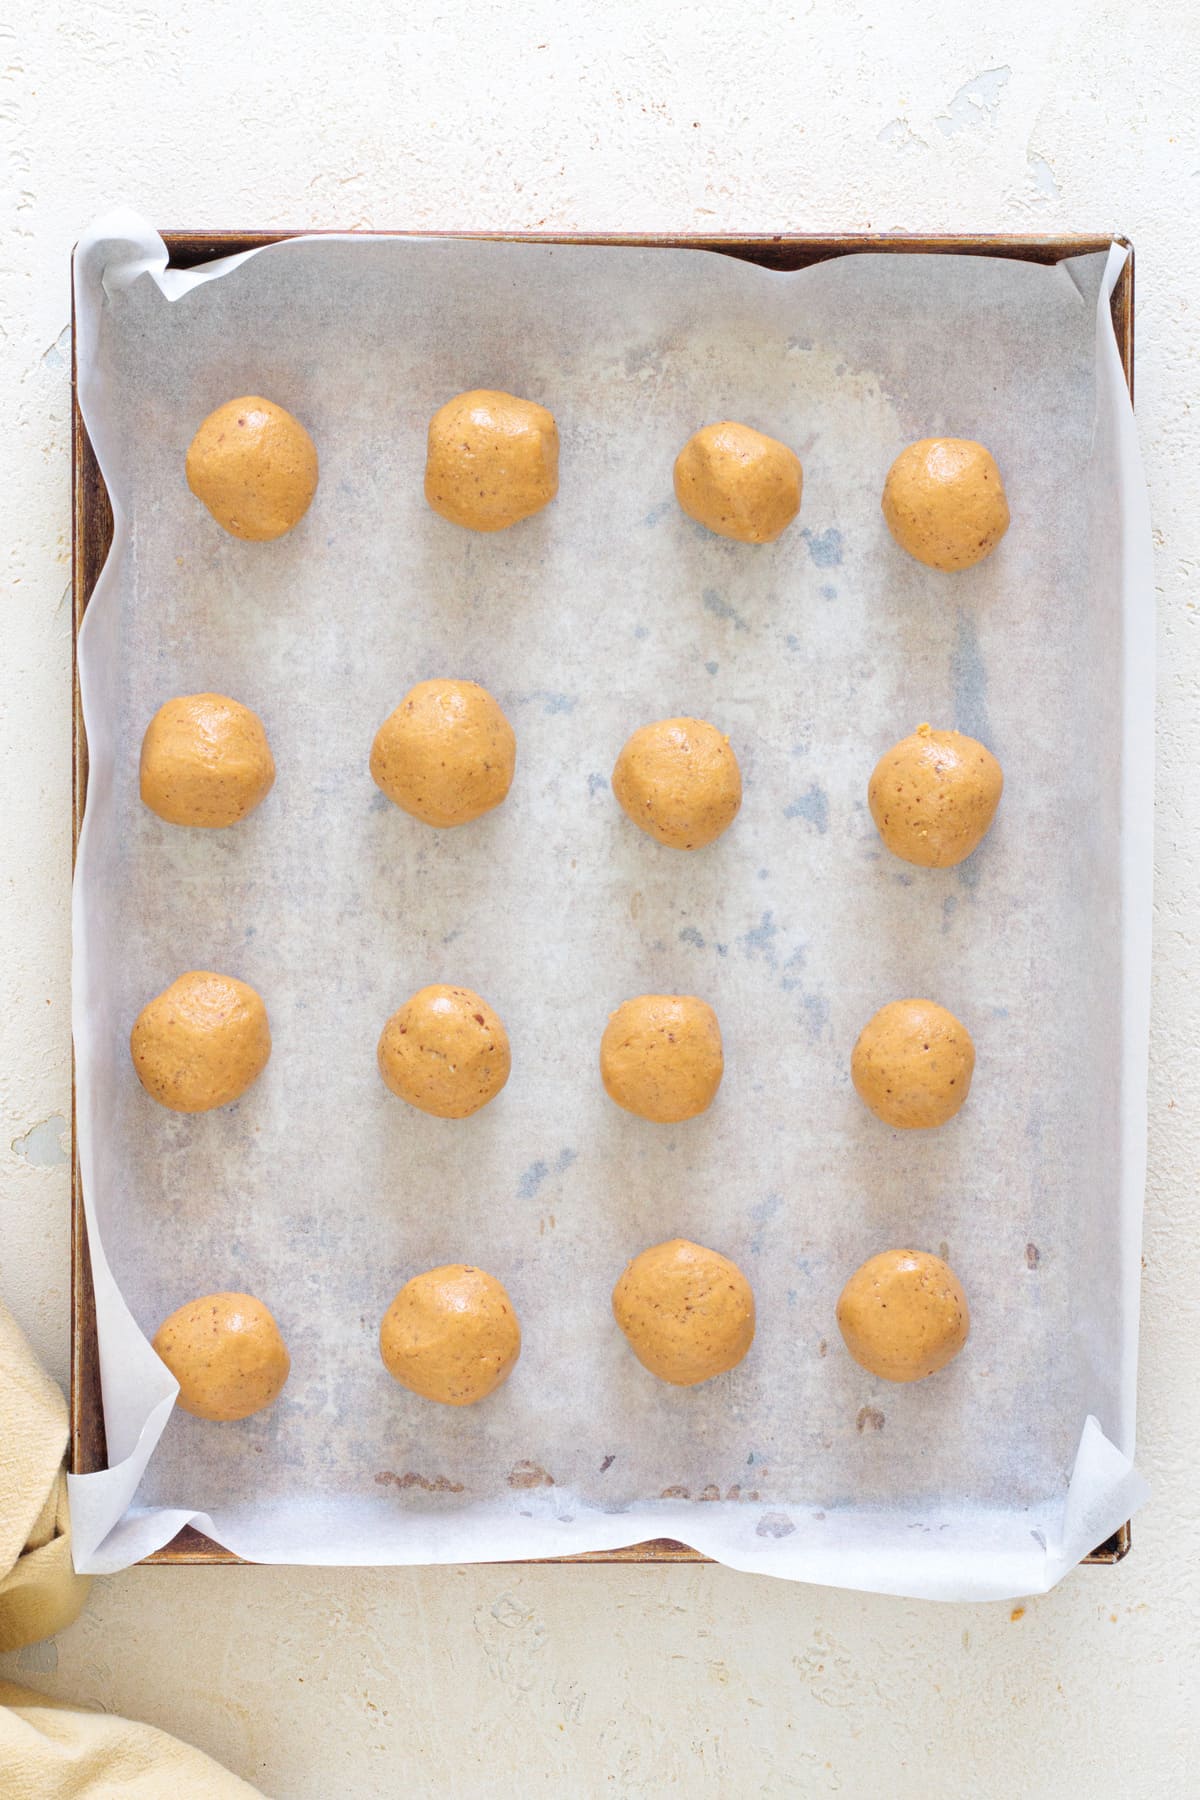
Prepare a tray or a plate and cover it with parchment paper, so you have a place to put the balls without them sticking.
Once chilled, with a tablespoon I like to scoop out small portions (about the size of a walnut) and roll them gently with my hands. I line them up on the tray or plate and pop them again in the fridge for an additional 20 minutes (or 10 minutes in the freezer). This way I make sure they hold their shape once I dip them in chocolate later.
Once the 20 minutes are almost over, I melt the chocolate with the coconut oil either in a double boiler (which helps to prevent burning) or if I’m in a hurry I just put in the microwave for about 30-second intervals until it has fully melted. Stir until it’s smooth and glossy!
Using two forks, I dip each ball into the melted chocolate and let the extra chocolate drip off, making sure I coat it evenly all around. Then place them back onto the parchment paper.
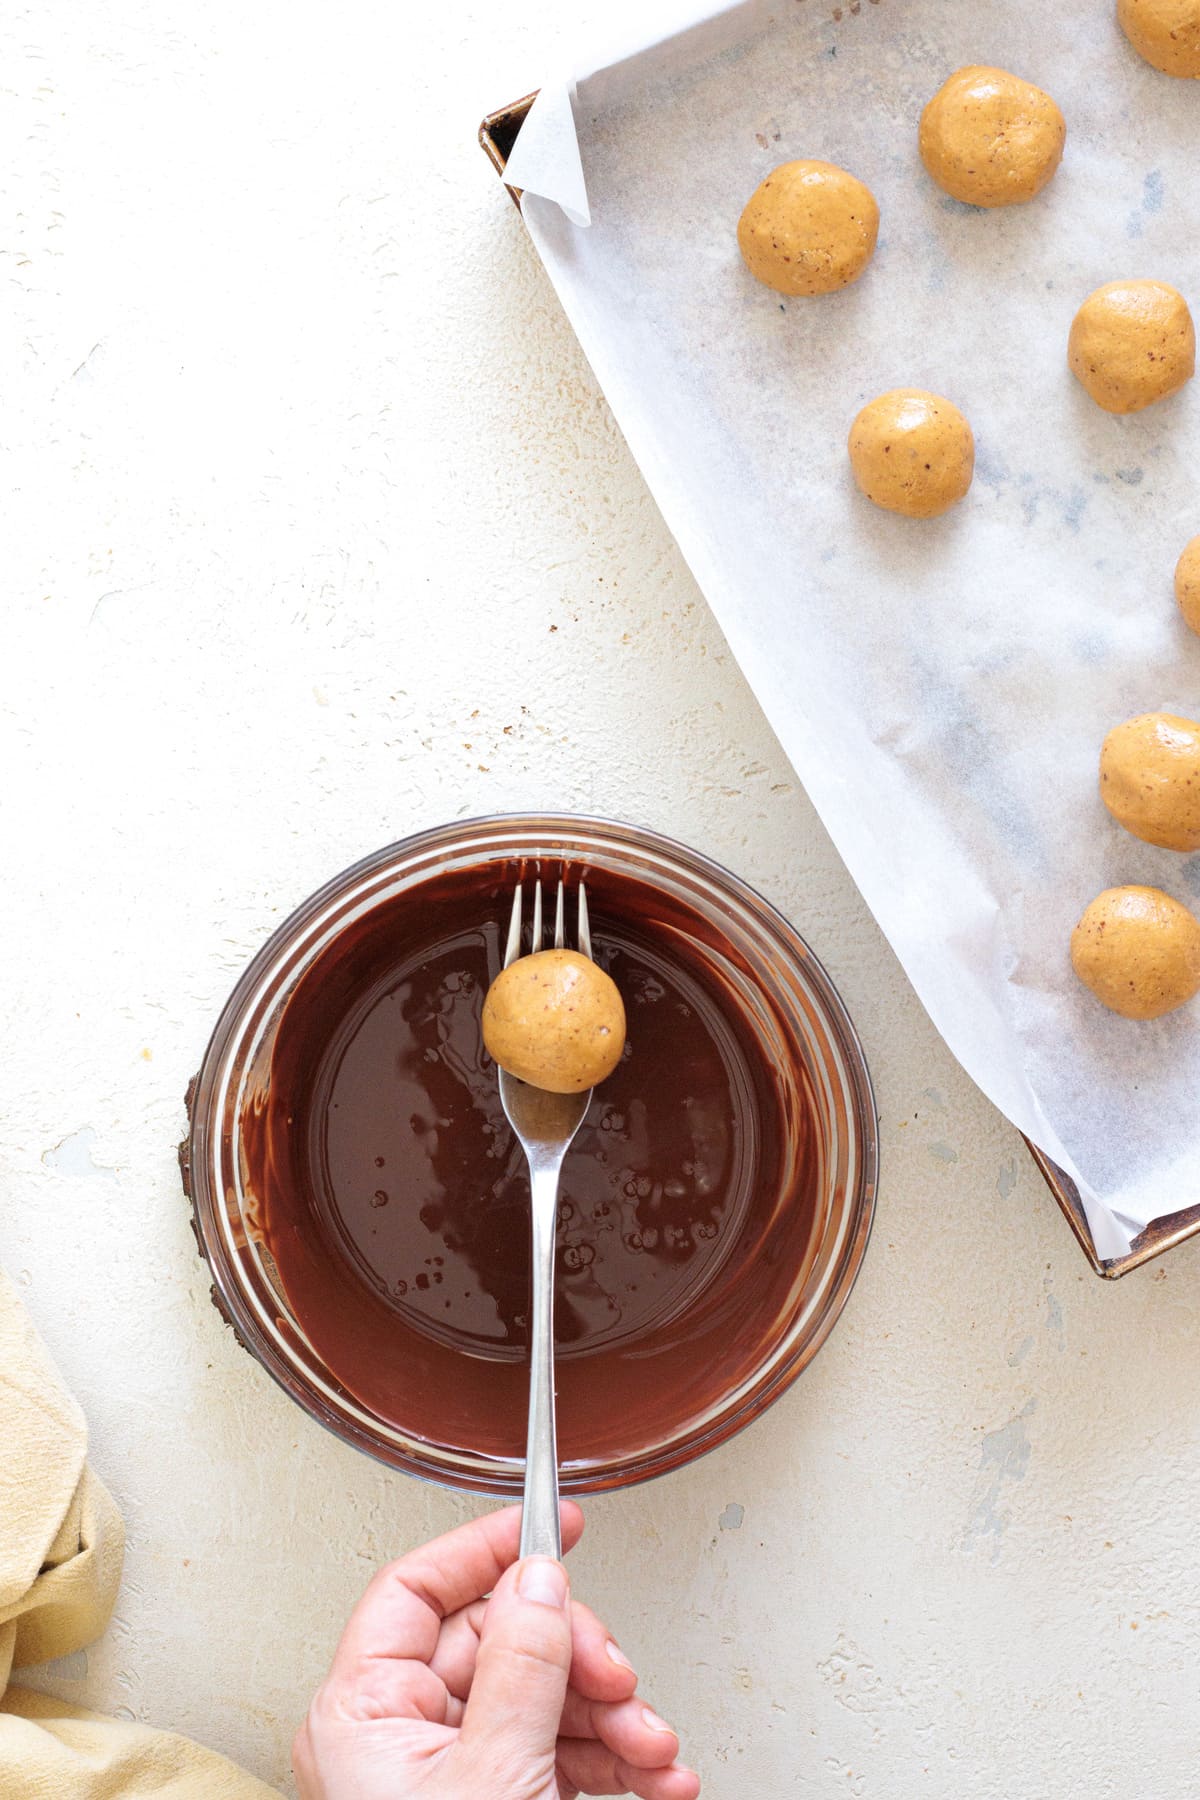
If I’m making these for the holidays, I decorate them immediately with red and green sprinkles. Because once the chocolate hardens, the sprinkles won’t stick to the balls.
But, if I’m making these just as a regular treat, I either leave them plain or add a pinch of sea salt. That combo of sweet and salty it’s just perfection!
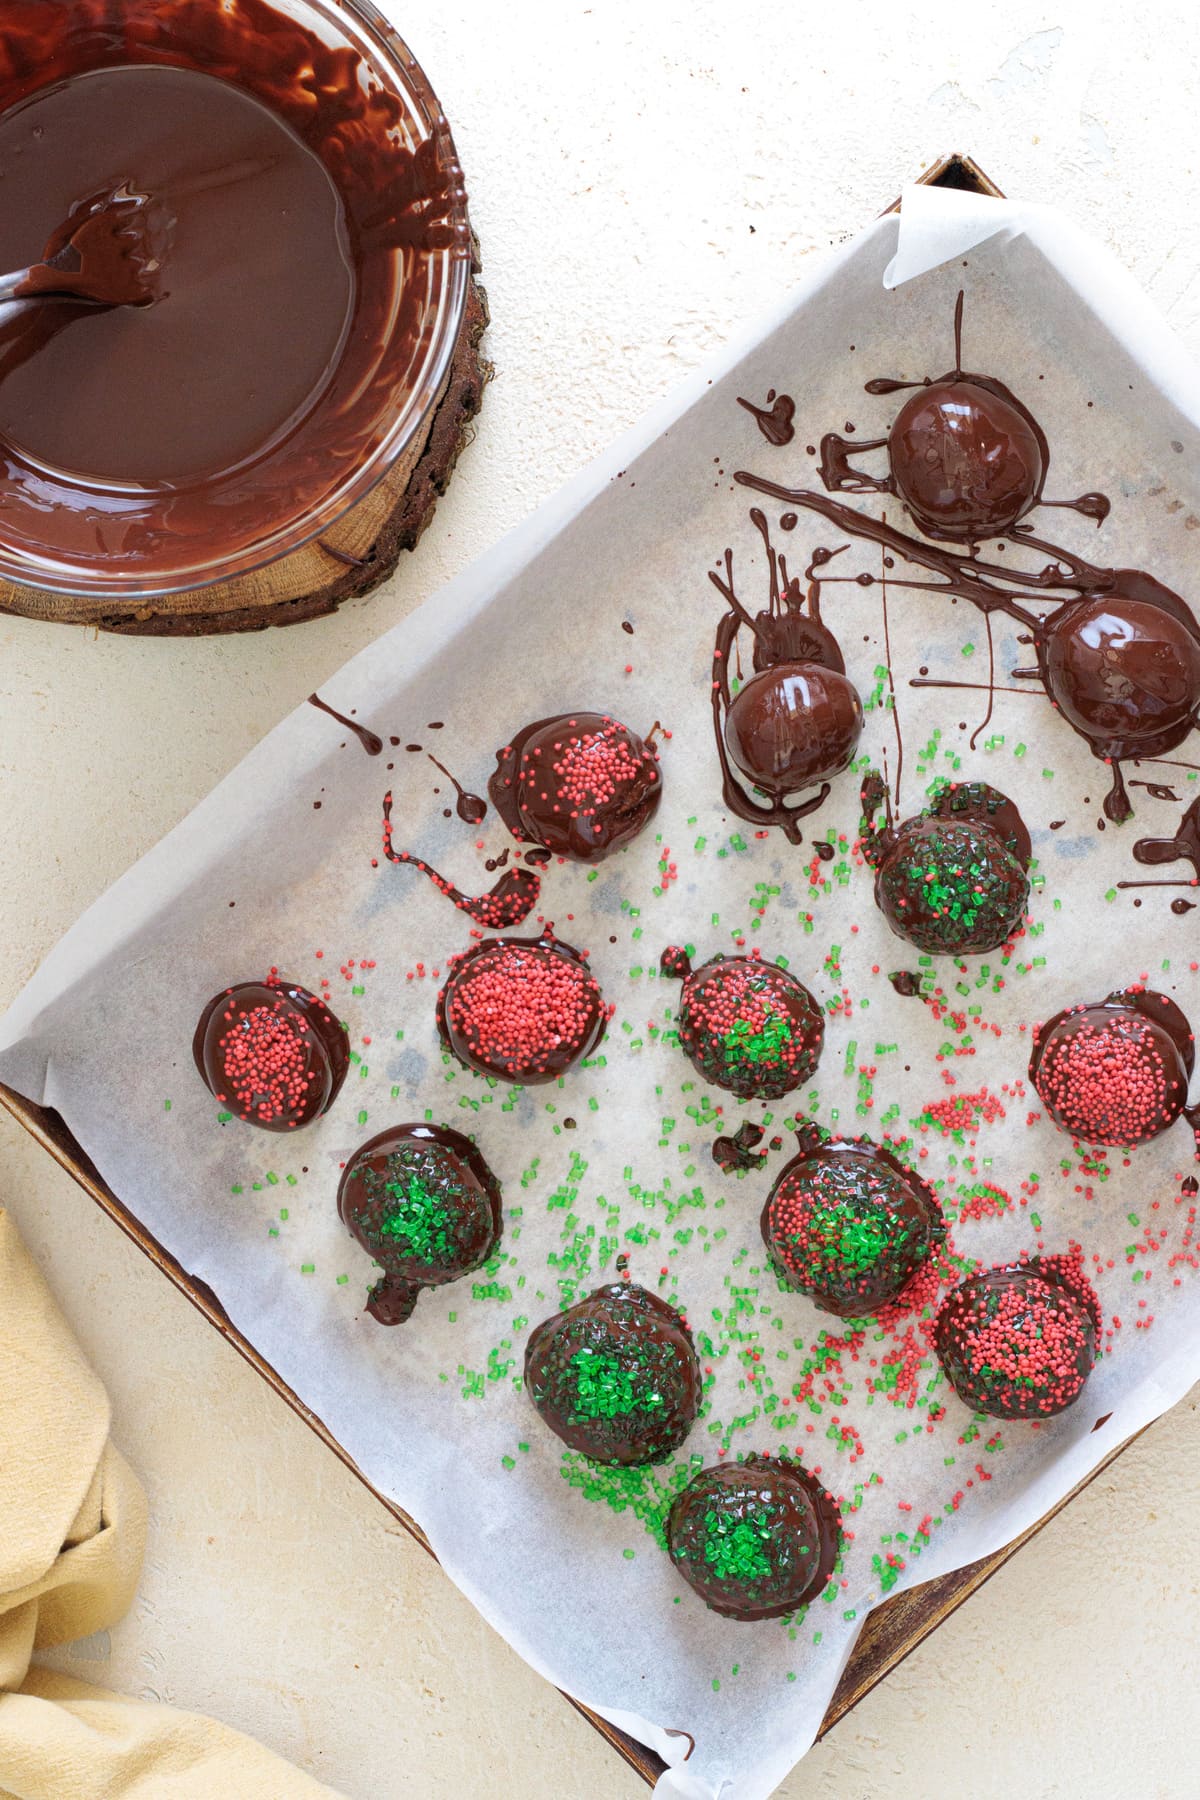
Now, you need to wait for them to fully harden! I usually let them sit on the counter at room temperature or just pop them in the fridge for about 10 to 20 minutes. That way, when you’re ready to serve they won’t smudge or melt!
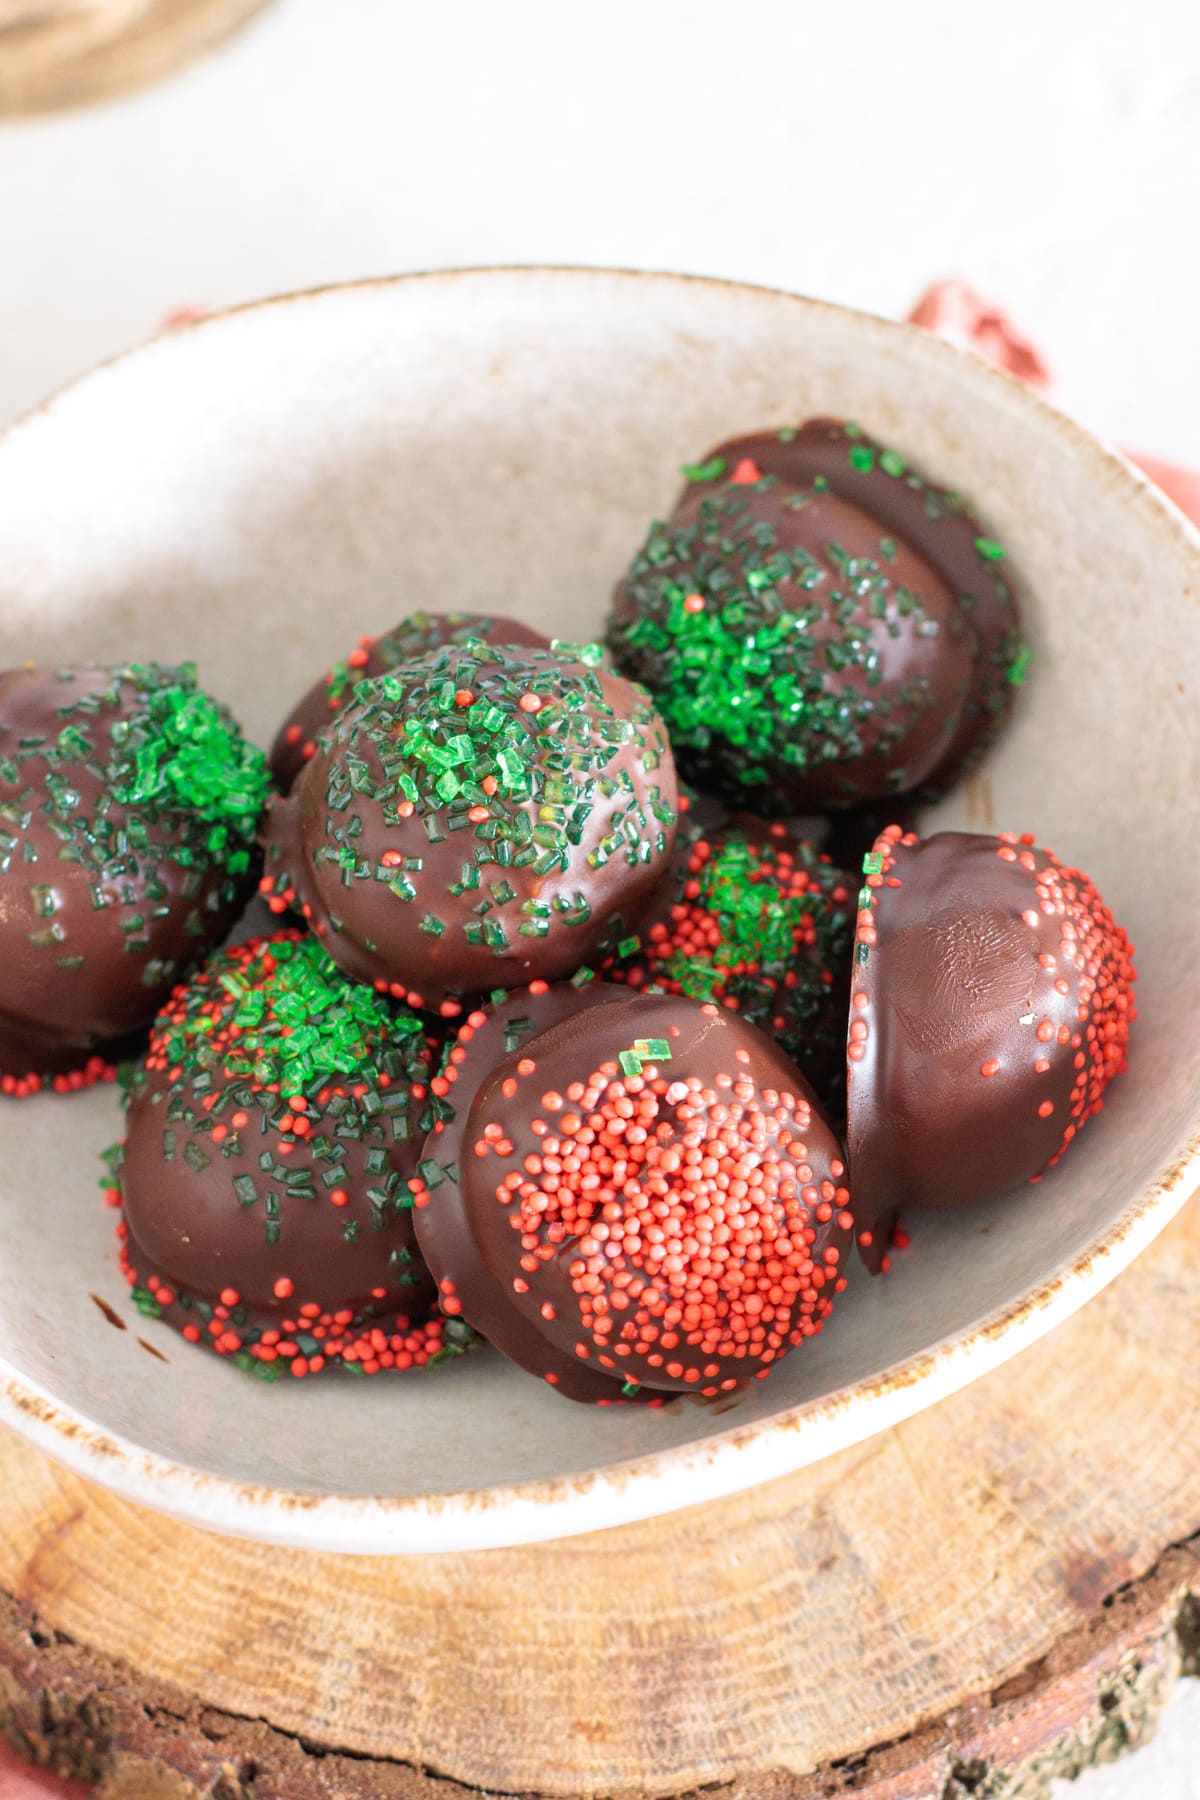
Now comes the hardest part! Controlling myself to only eat one or two. But these are just so good it’s hard to stay away from them. They just melt in your mouth.
These keep well in the fridge for up to 2 weeks or in the freezer for 2 months. Just let them thaw a few minutes before eating. So, perfect for prepping ahead.
Variations I’ve Tried And Tested
Like I said, I didn’t mess around with this recipe too much because I like these the traditional way, like my mom used to make them. But, if you know a little bit about me already, you know I like to experiment! Here are some twists I’ve tried:
- Crunchy Peanut Butter – For a more crunchy texture, I’ve made a few with Jif Extra Crunchy Peanut Butter and you get those nutty bits in each ball, instead of a creamier texture. But this one is more of a personal taste option.
- White Chocolate Coating – My brother isn’t the biggest fan of dark chocolate, so I always make a few with white chocolate on top. Personally, I don’t like it as much, it’s way too sweet for me. I like the bitterness of dark chocolate.
- Nut-Free Version – Even though these are peanut butter balls, you can make it nut-free! One of my friends has a nut allergy so I made him an exclusive batch with sunflower seed butter. The flavor was slightly different but still creamy and delicious.
- Peppermint Twist – These are not everyone’s cup of tea but I love it! I crush Brach’s Peppermint Candy Canes on top of the chocolate. It looks so cute and has a minty taste.
These are some of the variations that I wanted to share with you but I’m always open to experimenting. So, if you or your family make these in a different way I’d love to know and try it myself!
And, if you’re looking for another nostalgic treat, I made an edible cookie dough! It’s a Greek Yogurt Cookie Dough and it also uses peanut butter and chocolate chip. So, perfect to use some leftover ingredients as well!
Mistakes To Avoid When Making Peanut Butter Balls
But, don’t let the fact that this recipe only has a few ingredients fool you that it’s super duper easy. Nope. I’ve made a few mistakes along the way. Because the ingredients you use also make a big difference!
- Using natural peanut butter without stirring – Like I mentioned earlier, you can also use natural peanut butter. But the first time I made it the dough was oily and wouldn’t hold together. My mom then told me it was because I didn’t stir the oil back in really well. So I tried again and lo and behold, she was right!
- Swapping almond flour for coconut flour – I didn’t have almond flour, so I thought coconut flour would do the job. Big mistake. Turns out it is much more absorbent and I had to add so much peanut butter because the dough was so dry and crumbly.
- Skipping the chilling step – I was in a rush so I tried to roll the balls without chilling the dough first. Nope. The dough was sticking all over my hands so I wasn’t able to shape them!
- Overheating the chocolate – Learned a long time ago that low and slow is the way. Chocolate that has been heated too fast will give you a lumpy coating!
These were mostly mistakes that could have easily been avoided. But, now that you know what can go wrong, I’d stick with the original recipe and wouldn’t skip any step. No matter how in a rush you are, it’s not worth it, trust me.
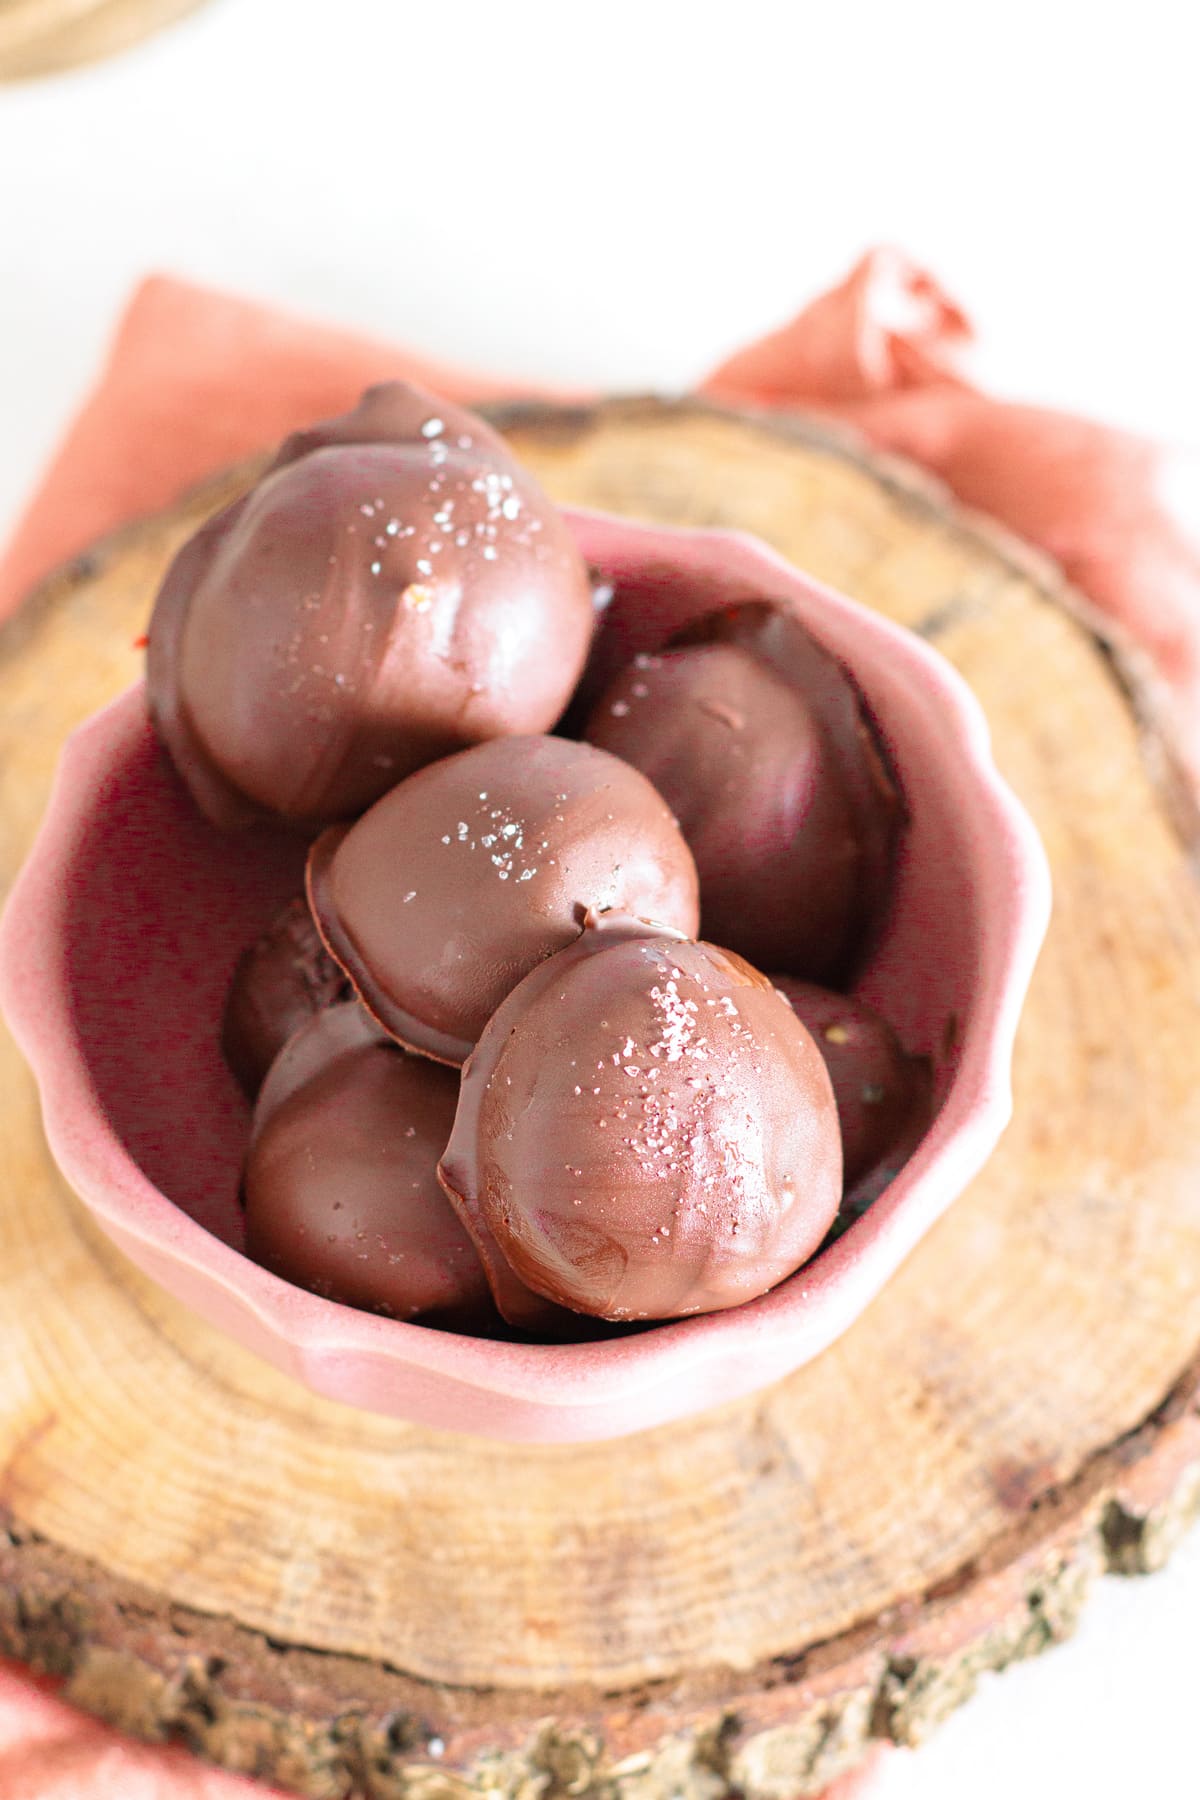
See? Holiday treats don’t need to be expensive or complicated! They can be fun and easy to make. If your family is like mine, I’d recommend making at least a double batch because they disappear so fast.
Let me know if you try my 4-ingredient peanut butter balls and if you liked them as much as we do.

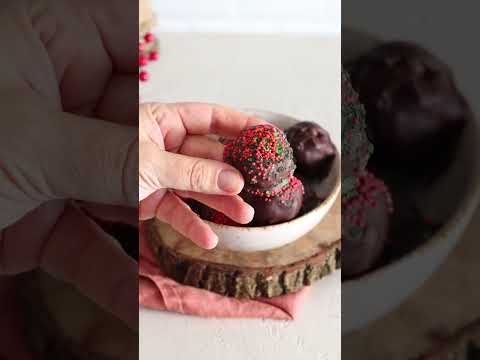
4-Ingredient Peanut Butter Balls
Description
These 4-Ingredient Peanut Butter Balls are a quick no-bake holiday treat coated in rich chocolate and sprinkles. Easy to prep ahead and perfect for Christmas cookie trays!
Ingredients
Instructions
-
Mix the Base
In a bowl, mix the peanut butter and powdered sugar until smooth. -
Add the Almond Flour
Add the almond flour and knead the mixture with your hands until a firm dough forms. -
Chill the Dough
Cover the bowl and refrigerate for 30-40 minutes until the mixture is chilled and firm. -
Shape the Balls
Take small portions of the dough and roll them into balls about the size of a walnut. Place them on a tray lined with parchment paper. -
Chill Again
Chill the balls again: 20 minutes in the fridge or 10 minutes in the freezer, so they hold their shape when dipped. -
Melt the Chocolate
Meanwhile, melt the dark chocolate in a double boiler (or in the microwave in 30-second bursts), adding the oil for a smoother and shinier coating. -
Dip and Coat
Dip the balls into the melted chocolate using two forks. Let the excess chocolate drip off, then place them back onto the parchment paper. -
Decorate
If you like, decorate immediately with red and green sprinkles before the chocolate hardens. -
Set and Serve
Let them set at room temperature or refrigerate until fully hardened.
Nutrition Facts
- Amount Per Serving
- Calories 3099kcal
- % Daily Value *
- Total Fat 216g333%
- Saturated Fat 76g380%
- Sodium 1073mg45%
- Potassium 3071mg88%
- Total Carbohydrate 242g81%
- Dietary Fiber 38g152%
- Sugars 169g
- Protein 77g154%
* Percent Daily Values are based on a 2,000 calorie diet. Your daily value may be higher or lower depending on your calorie needs.
Can I use something else besides almond flour
Hi Beverly! 😊 Yes, you can! Almond flour is just there to bind the dough without using raw flour.
I actually made my first batch with regular flour, just make sure to heat-treat it first for safety! Spread it on a baking sheet and bake it at 300ºF for about 5 to 7 minutes, then let it cool completely. It works, but I found the flavor a bit flat, which is why I switched to almond flour and loved it so much more. Just avoid coconut flour, it absorbs way too much and makes the dough dry.