
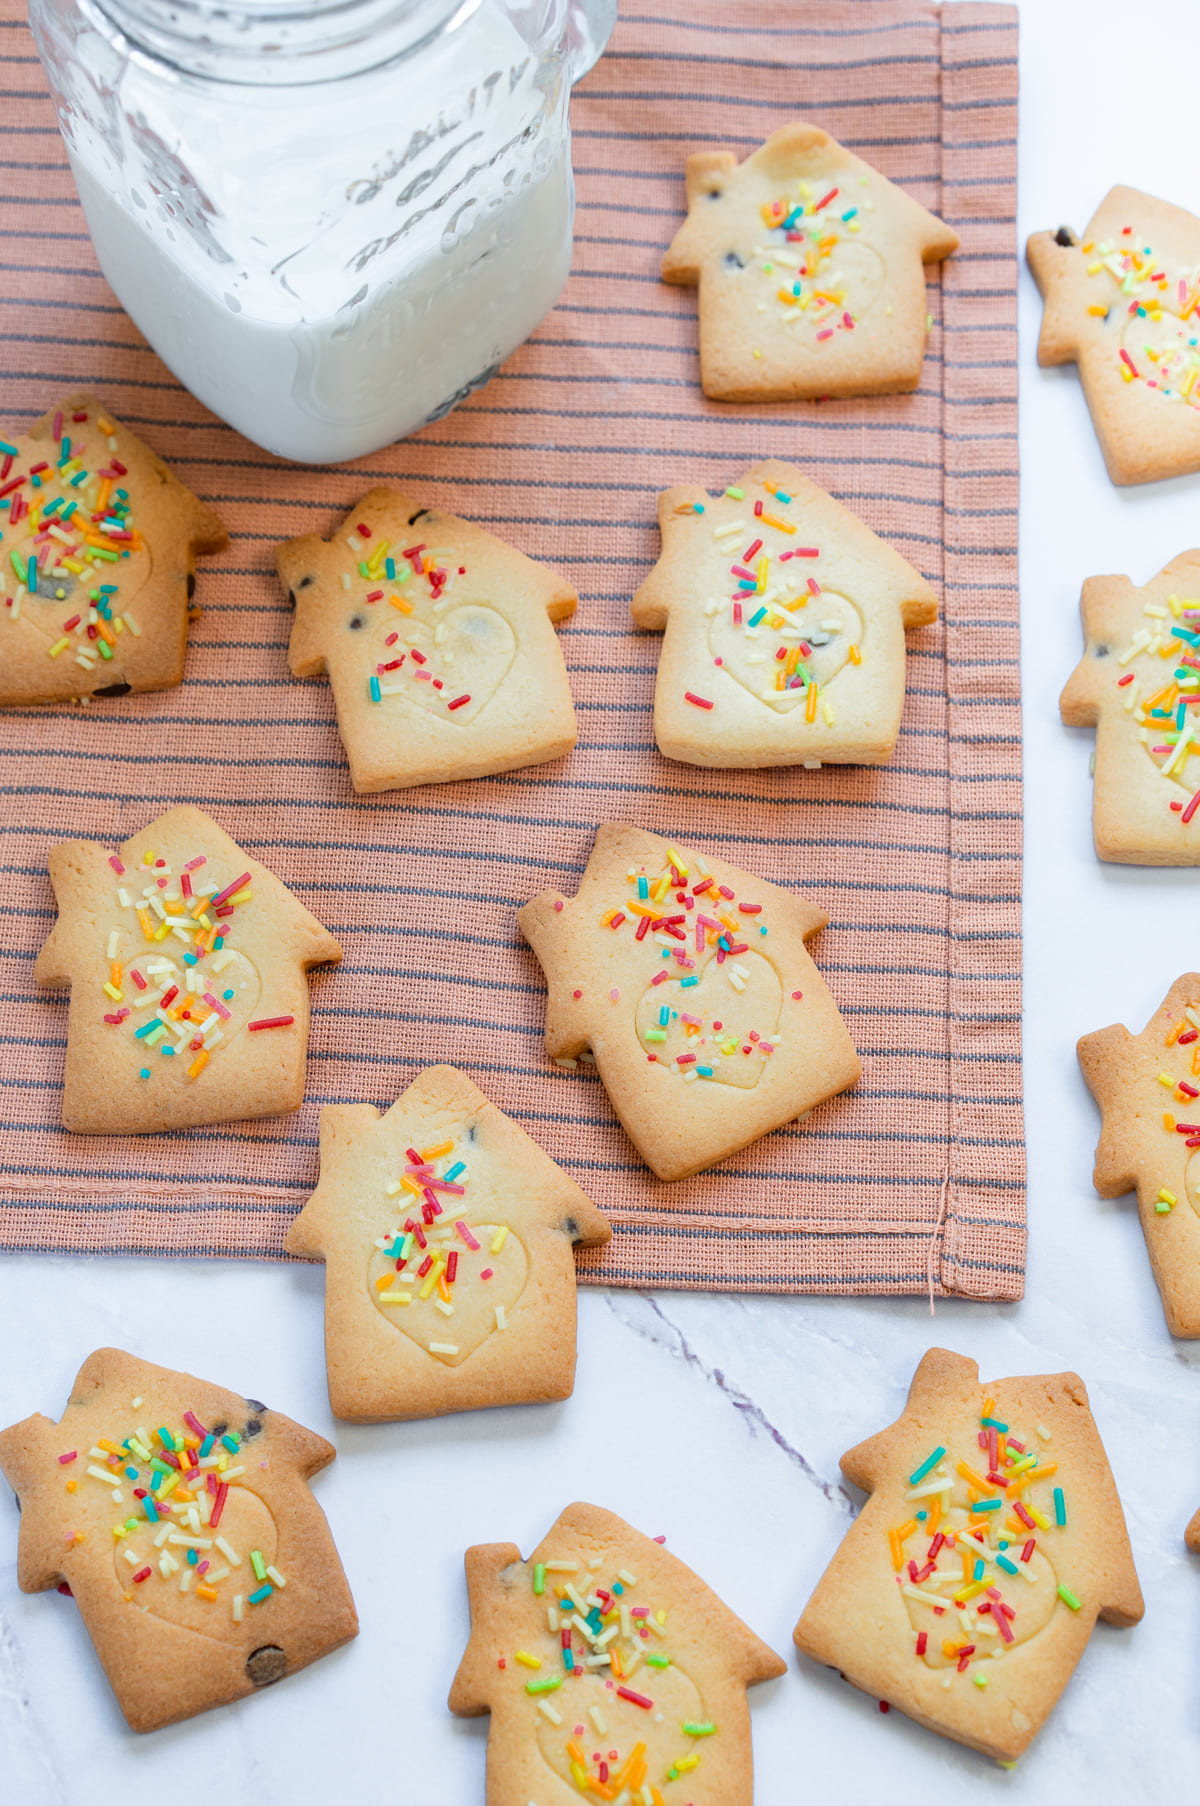
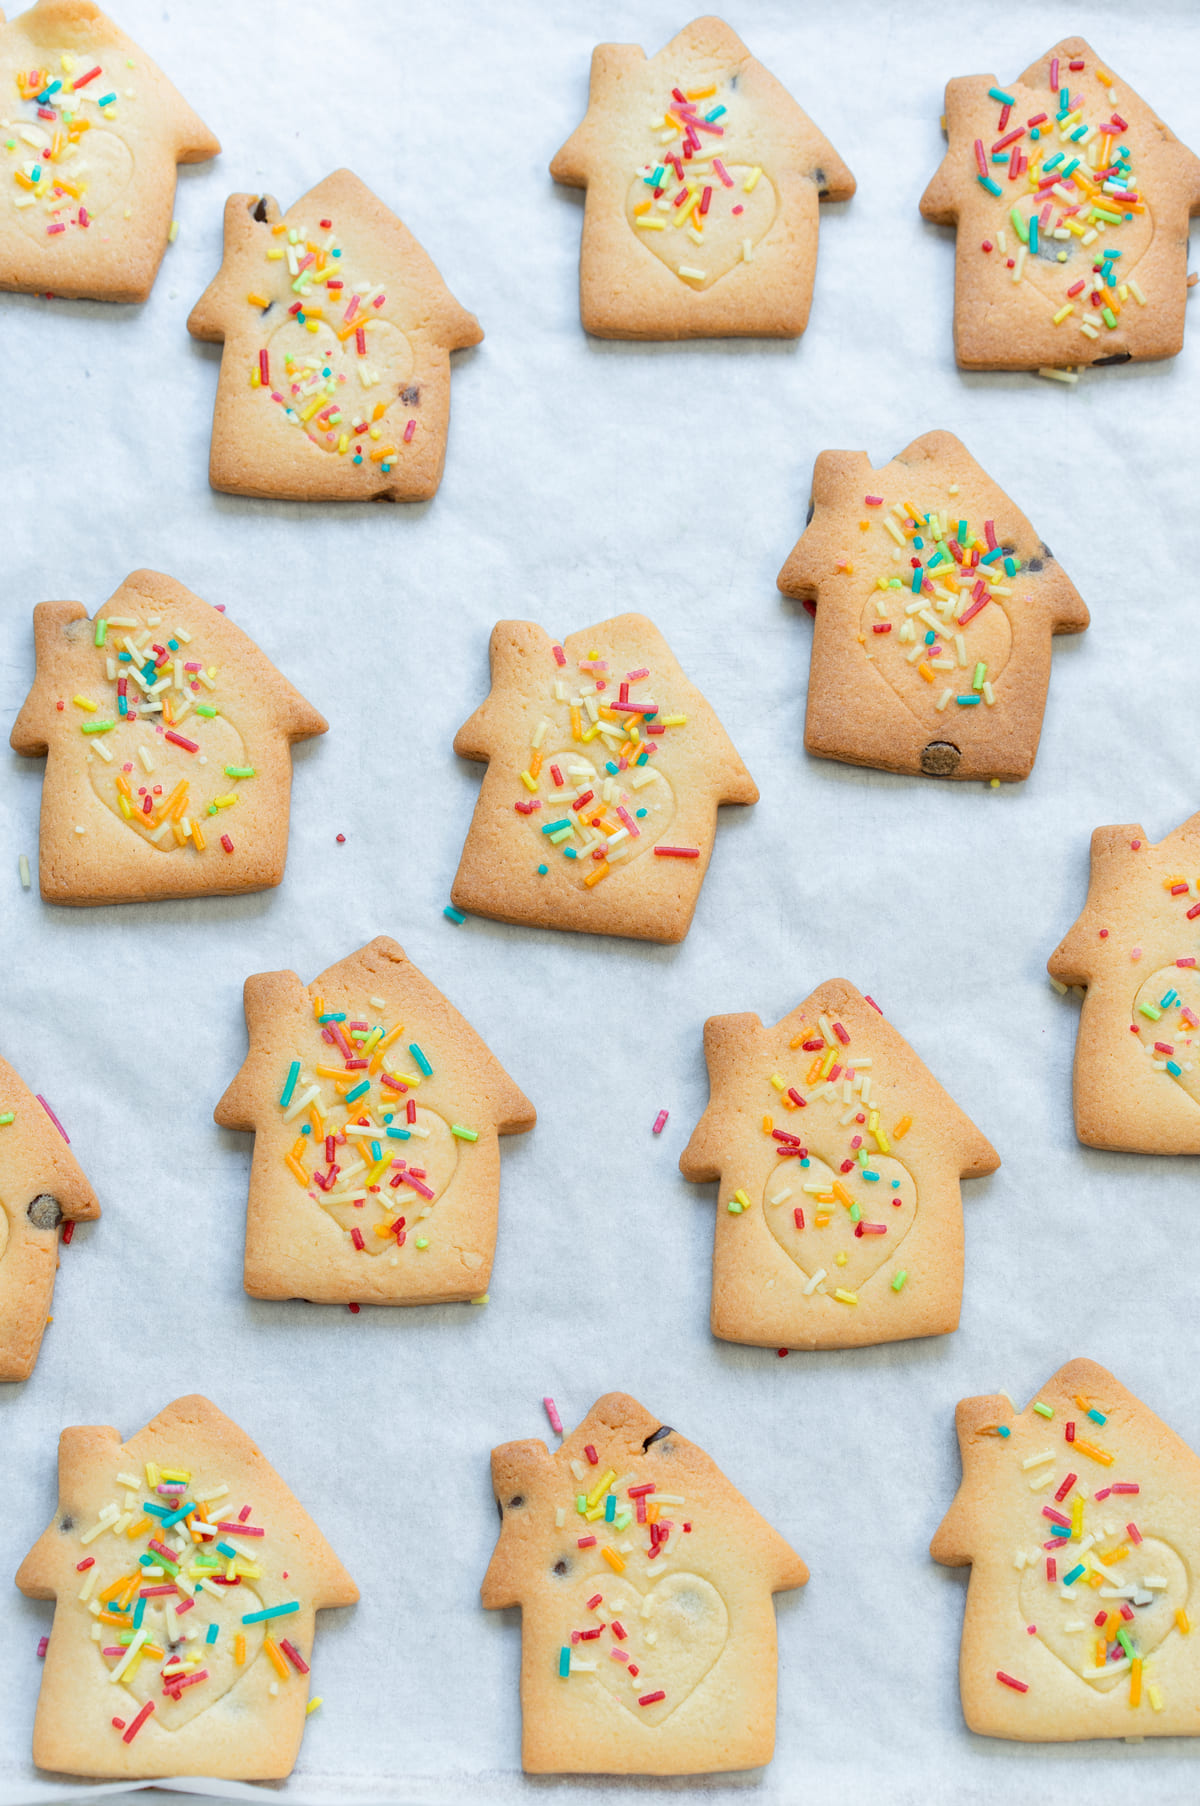
These are my go-to 3-ingredient Christmas sugar cookies! They’re buttery cookies with soft, tender centers and lightly crisp, golden edges.
And the best part? You only need three simple ingredients. They hold their shape beautifully in the oven, which makes them perfect for decorating with cookie icing, sprinkles, or just serving them plain. Either way, they’re delicious.
I love making these on Christmas Eve with Rita, but honestly, they’re easy to adapt for any holiday or special occasion. I have a feeling once you try them, they’ll become your go-to holiday cookie too!
One of the first Christmas treats I remember eating when I was a kid, was the classic cut-out sugar cookies! I even remember making them back in elementary school, my teacher would prepare and bring the dough and we got to cut out any shape we wanted. It was such a fun memory that stuck with me to this day!
Now, these cookies are still a big part of our holiday baking, just like Rita’s oatmeal raisin cookies and Chocolate Bonbon Cookies, and my 4-ingredient peanut butter balls. All three are simple, nostalgic and have been staples on our holiday table year after year. Without them, it just wouldn’t feel like Christmas.
Since we like to make a few recipes for the holidays, we had to adapt some classics into easier versions. So, these took a few tries to get them from needing about 8 to 9 ingredients down to just 3. I did it. This saves me quite some time and money, so a win-win.
What You’ll Need
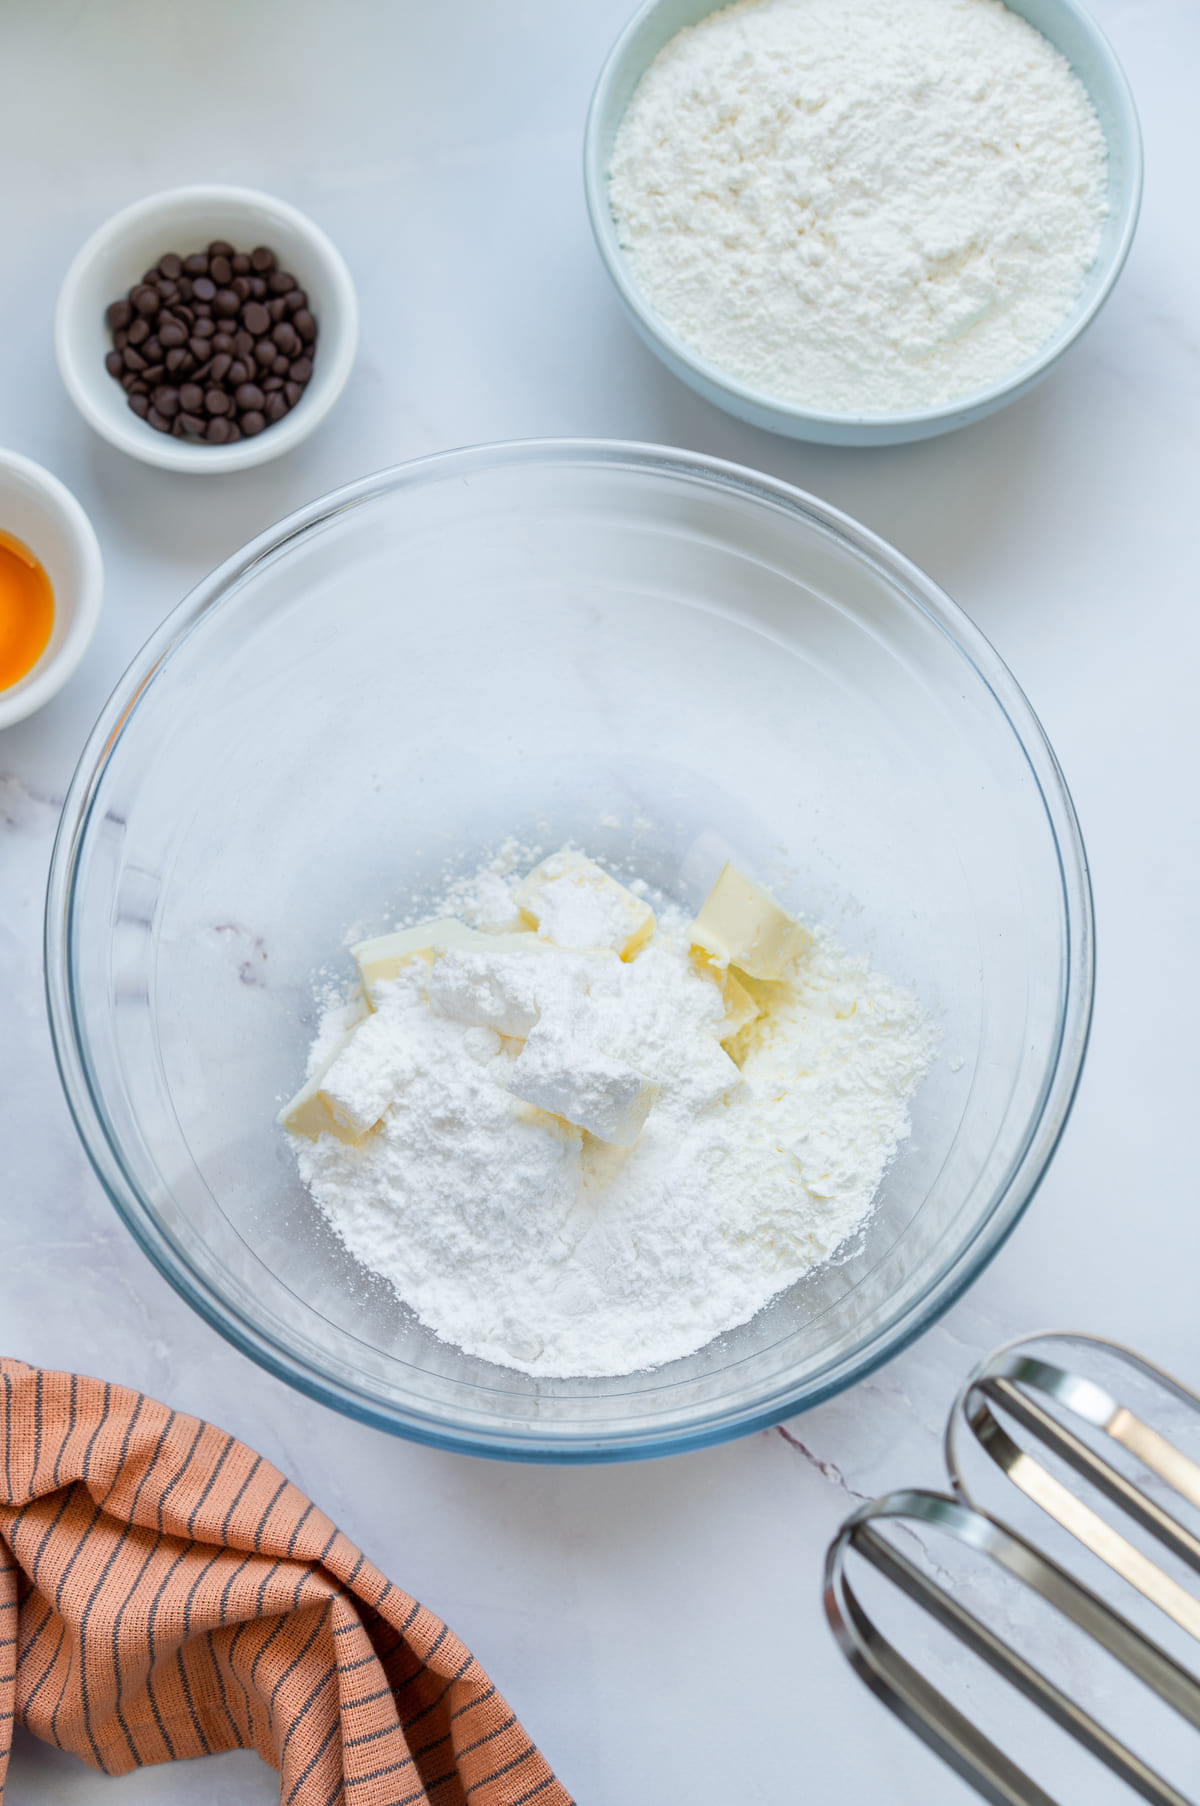
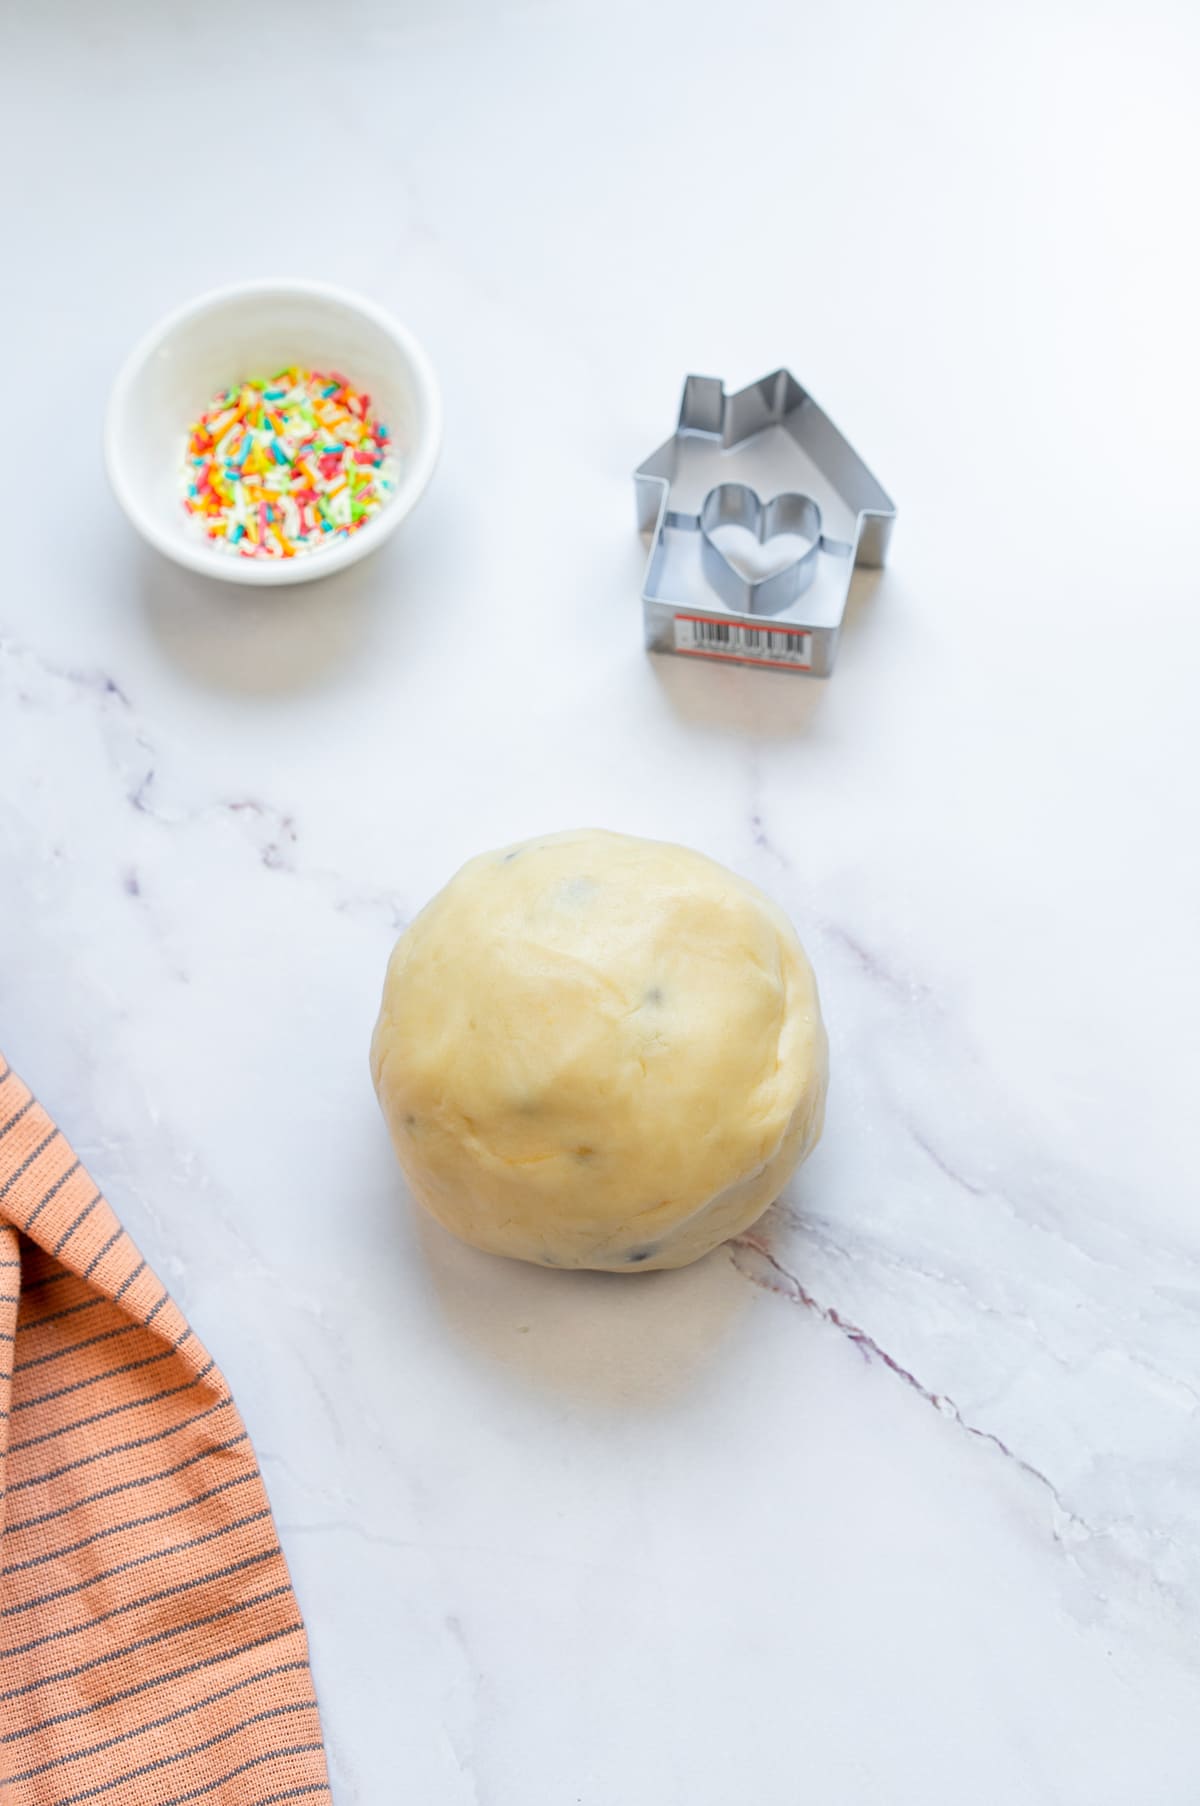
Quick heads-up: yes, I call these 3-ingredient… and yes, the photo shows six ingredients! But, hear me out, three of them are totally optional, and two are toppings. So don’t get mad at me, I promise the base recipe uses ONLY three ingredients!
This recipe makes about 20 to 24 medium cookies, depending on the size of your cutters. But, if you use a larger cutter, you’ll get fewer. I only got 14 cookies with mine. So, if I decide to use this cutter for Christmas I’m going to make a double batch.

- 1 ⅓ sticks unsalted butter, softened at room temperature (150 g) – I always use unsalted butter because salted butter varies a lot in salt content depending on the brand. It needs to be softened almost to the point of melting or it won’t cream properly with the sugar.
- ¾ cup powdered sugar (100 g) – I like to use the Domino Confectioners’ Sugar, because it’s fine enough to dissolve properly without any grains, which gives the cookies that melt-in-your-mouth texture. I’ve also tried it with granulated sugar and it had a crunchier bite.
- 1 ¼ to 1 ⅔ cups all-purpose flour (150-200g) – I start with 1 ¼ cups and only add one tablespoon at a time if the dough feels sticky. This mostly depends on the brand of flour. I usually use unbleached King Arthur All-Purpose Flour because it gives me the consistent texture every time.
- 1 tsp vanilla extract (optional) – Adds more flavor and gives it that classic sugar cookie flavor. They’re still tasty without it, but I almost always include it.
- A handful of chocolate chips and colored sprinkles (optional) – I usually add one or the other. But, this time I used both together to show you and it was surprisingly good. The chocolate chips add flavor and the sprinkles bring a festive pop of color.
Now that you know all the ingredients I use and why I use them, it’s up to you whether you want to include the optional ones or not.
Like I said, they’re still tasty without them. So, if you really want to keep this recipe as a 3-ingredient christmas cookie, you can!
It’s the same approach Rita took with her 3-Ingredient Apple Yogurt Rolls, they’re simple, budget-friendly, and still just as delicious.
How to Make my 3-Ingredient Christmas Cookies
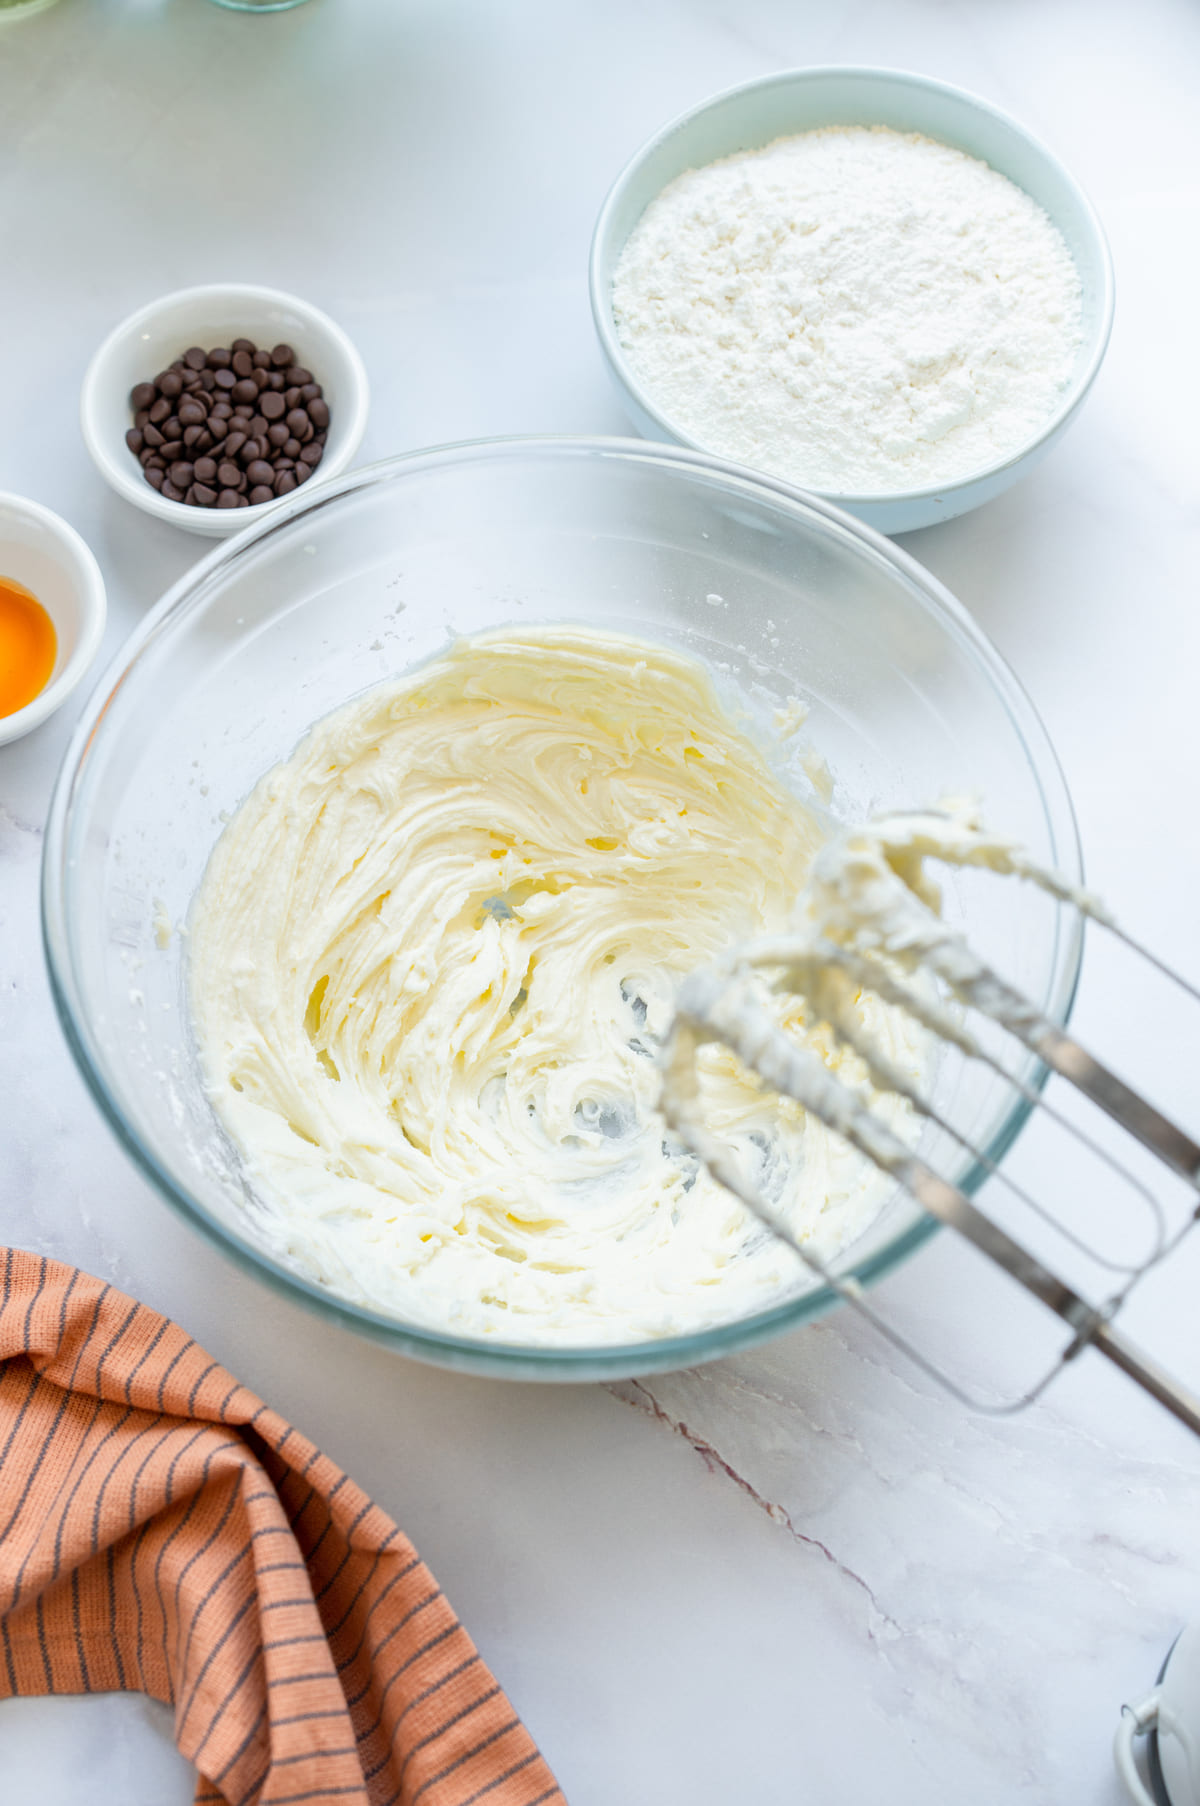
I start by adding the softened butter and powdered sugar to a medium mixing bowl. I beat until the mixture is smooth and creamy. Don’t rush this step, it takes a few minutes but that’s what makes the cookies lighter!
This is optional, but I like to add vanilla extract. It really enhances the other flavors and brings them all together. It tastes fine without it.
But, I always have vanilla extract at home and, to me, they taste more like the traditional Christmas sugar cookies this way.
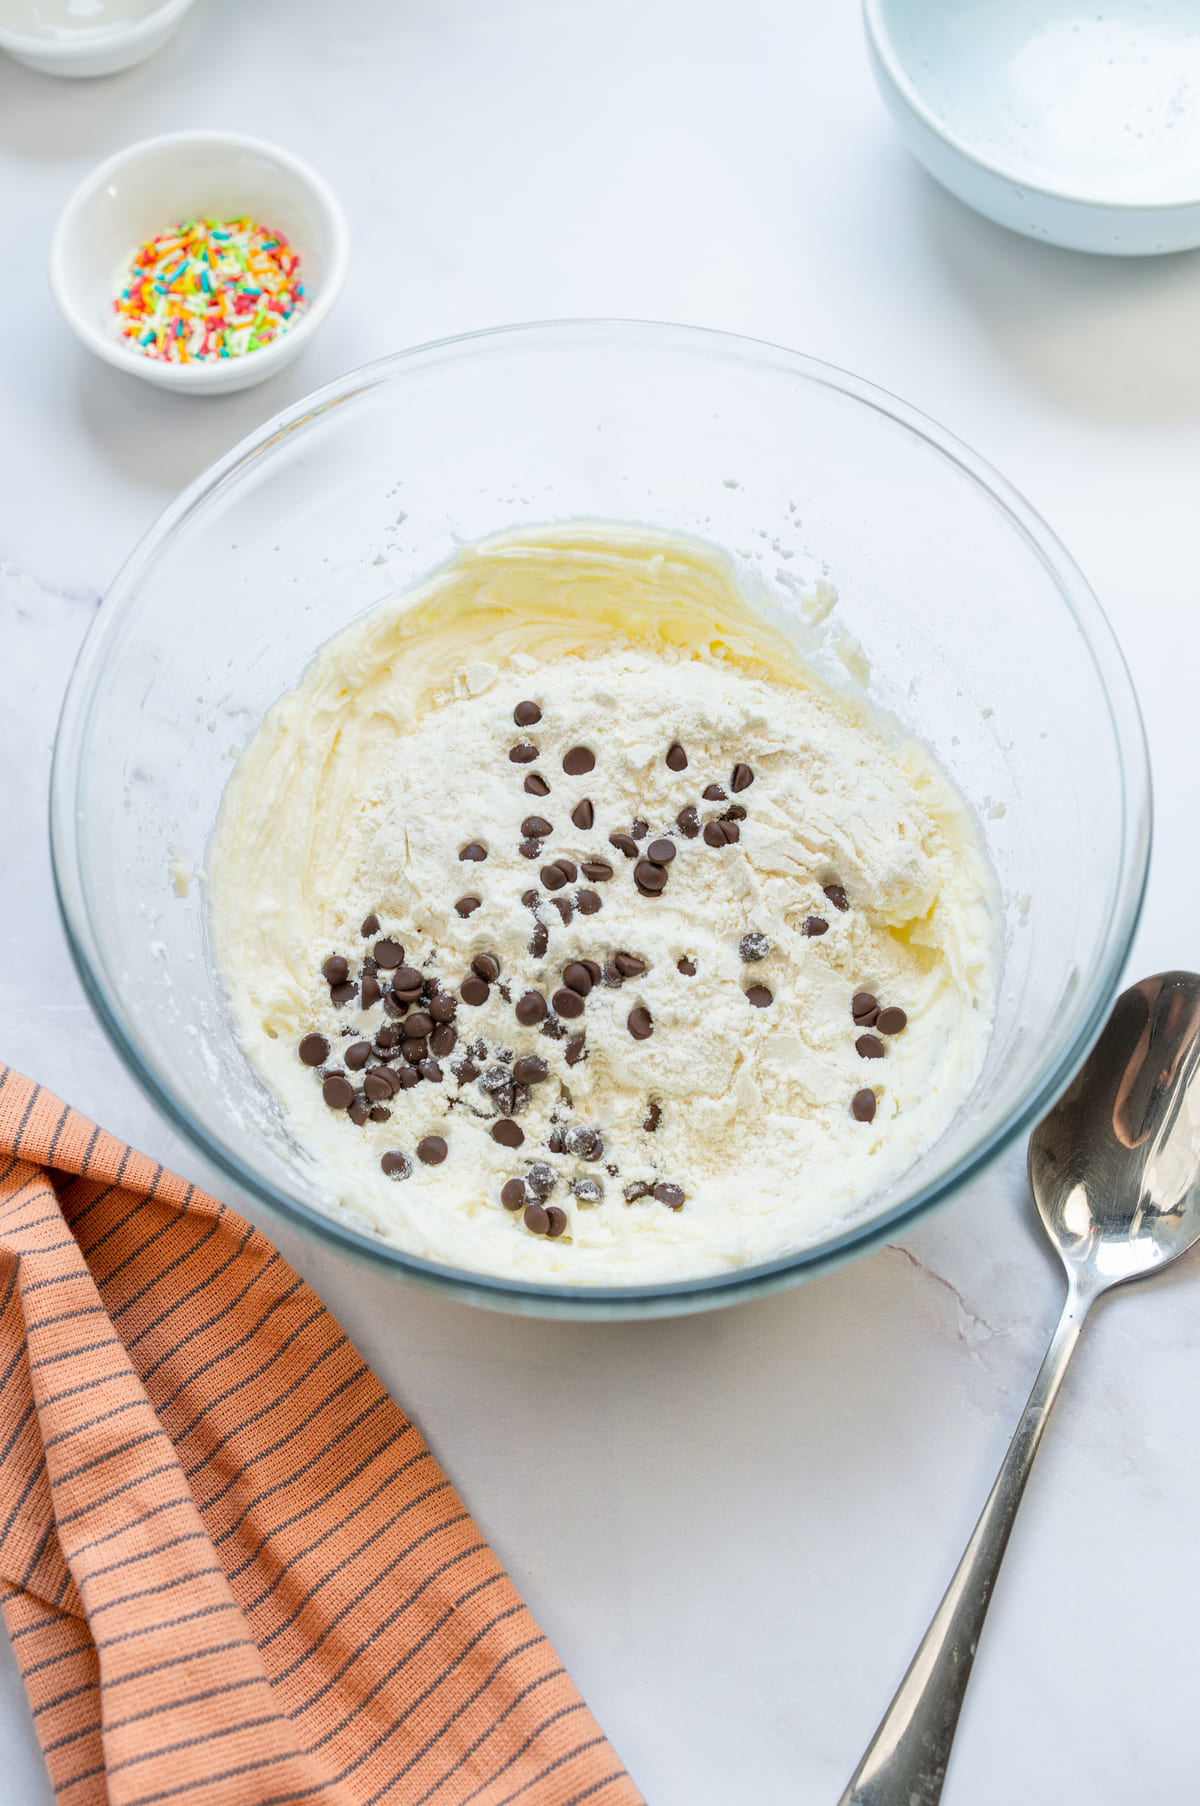
Next, I add in the flour little by little until the dough no longer sticks to my hands when I touch it. This helps me to prevent the dough from becoming dry or crumbly!
At this point, if I want chocolate chip cookies, I add and fold in a handful of dark chocolate chips. This is also totally optional and personal preference. Don’t add too much because it’ll be harder to roll the dough evenly.
Sometimes, I leave the dough plain and decorate later with sprinkles (which I’m also going to show you).
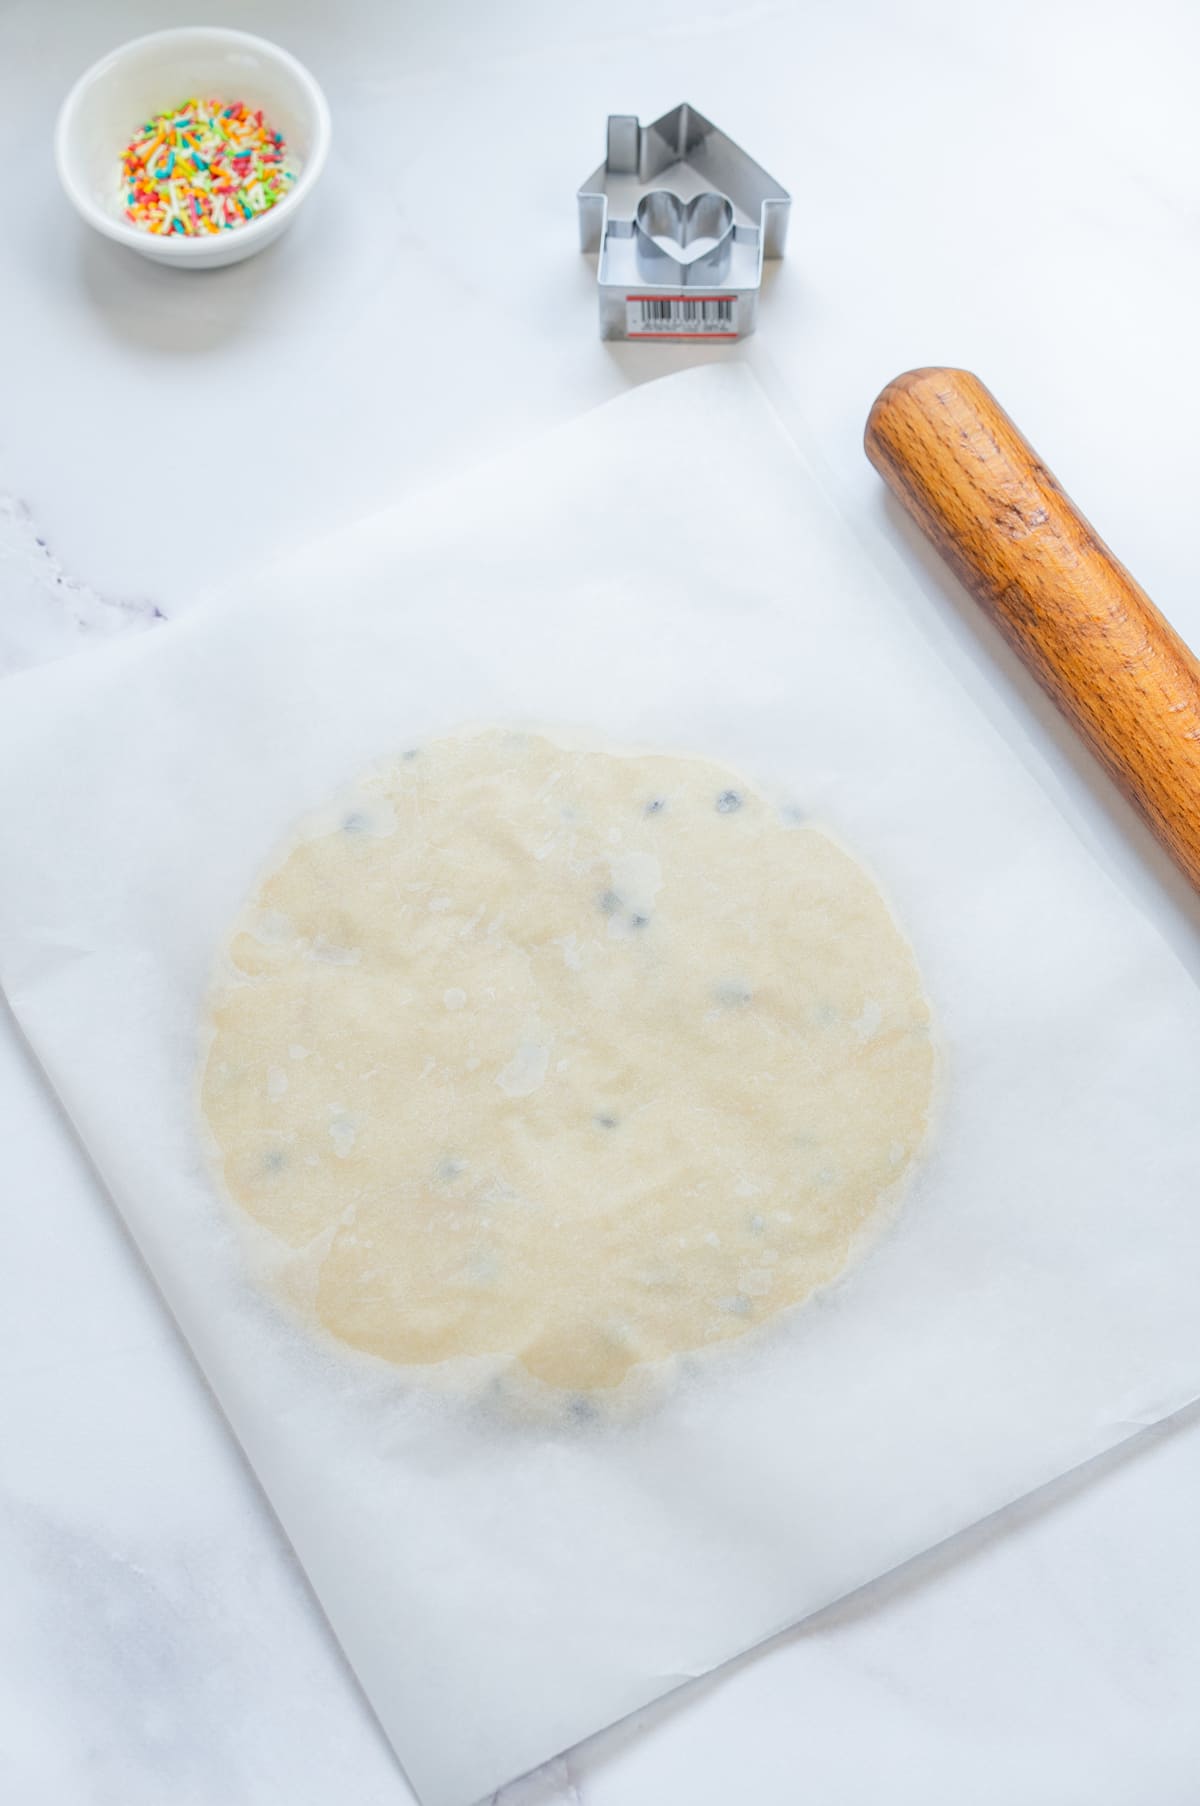
I like to roll out the dough between two sheets of parchment paper, instead of on the counter.
I do it this way now because it helps me to keep the dough from sticking to the counter or roller without having to add extra flour. I noticed it used to dry the cookies a bit more. And, it’s so much easier to clean!
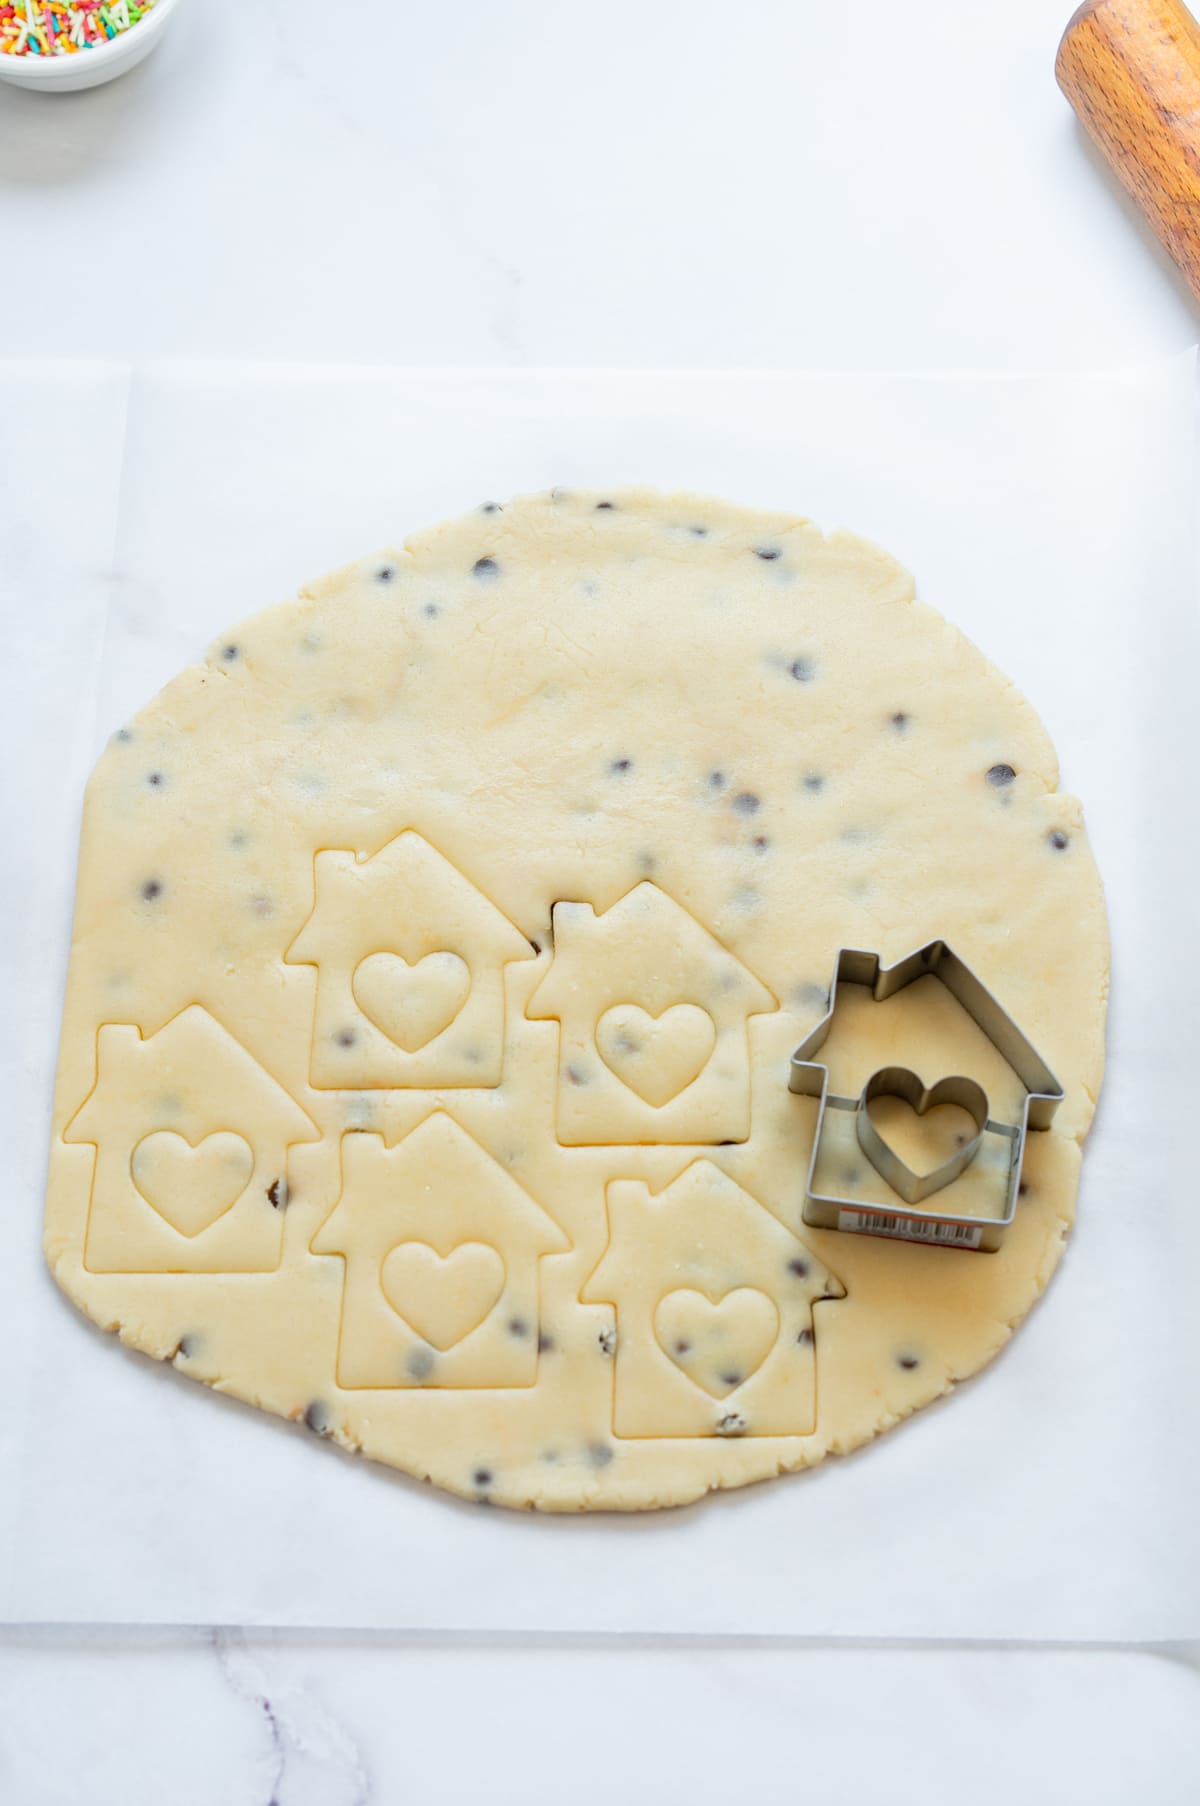
Roll it to about ¼ inch thick (roughly half the thickness of two stacked quarters, if you don’t have a ruler). Grab your favorite Christmas cookie cutter and press it into the dough.
One quick trick Rita taught me is to dust the cutter lightly with flour first. It keeps the dough from sticking and the shapes come out much cleaner.
Oops! I only noticed while uploading the pictures that I forgot to peel off the barcode tag, haha. This was a new cookie cutter and I was so excited to try it. I swear I washed it first, but those stickers are as sticky as dough on an unfloured counter, nearly impossible to get off!
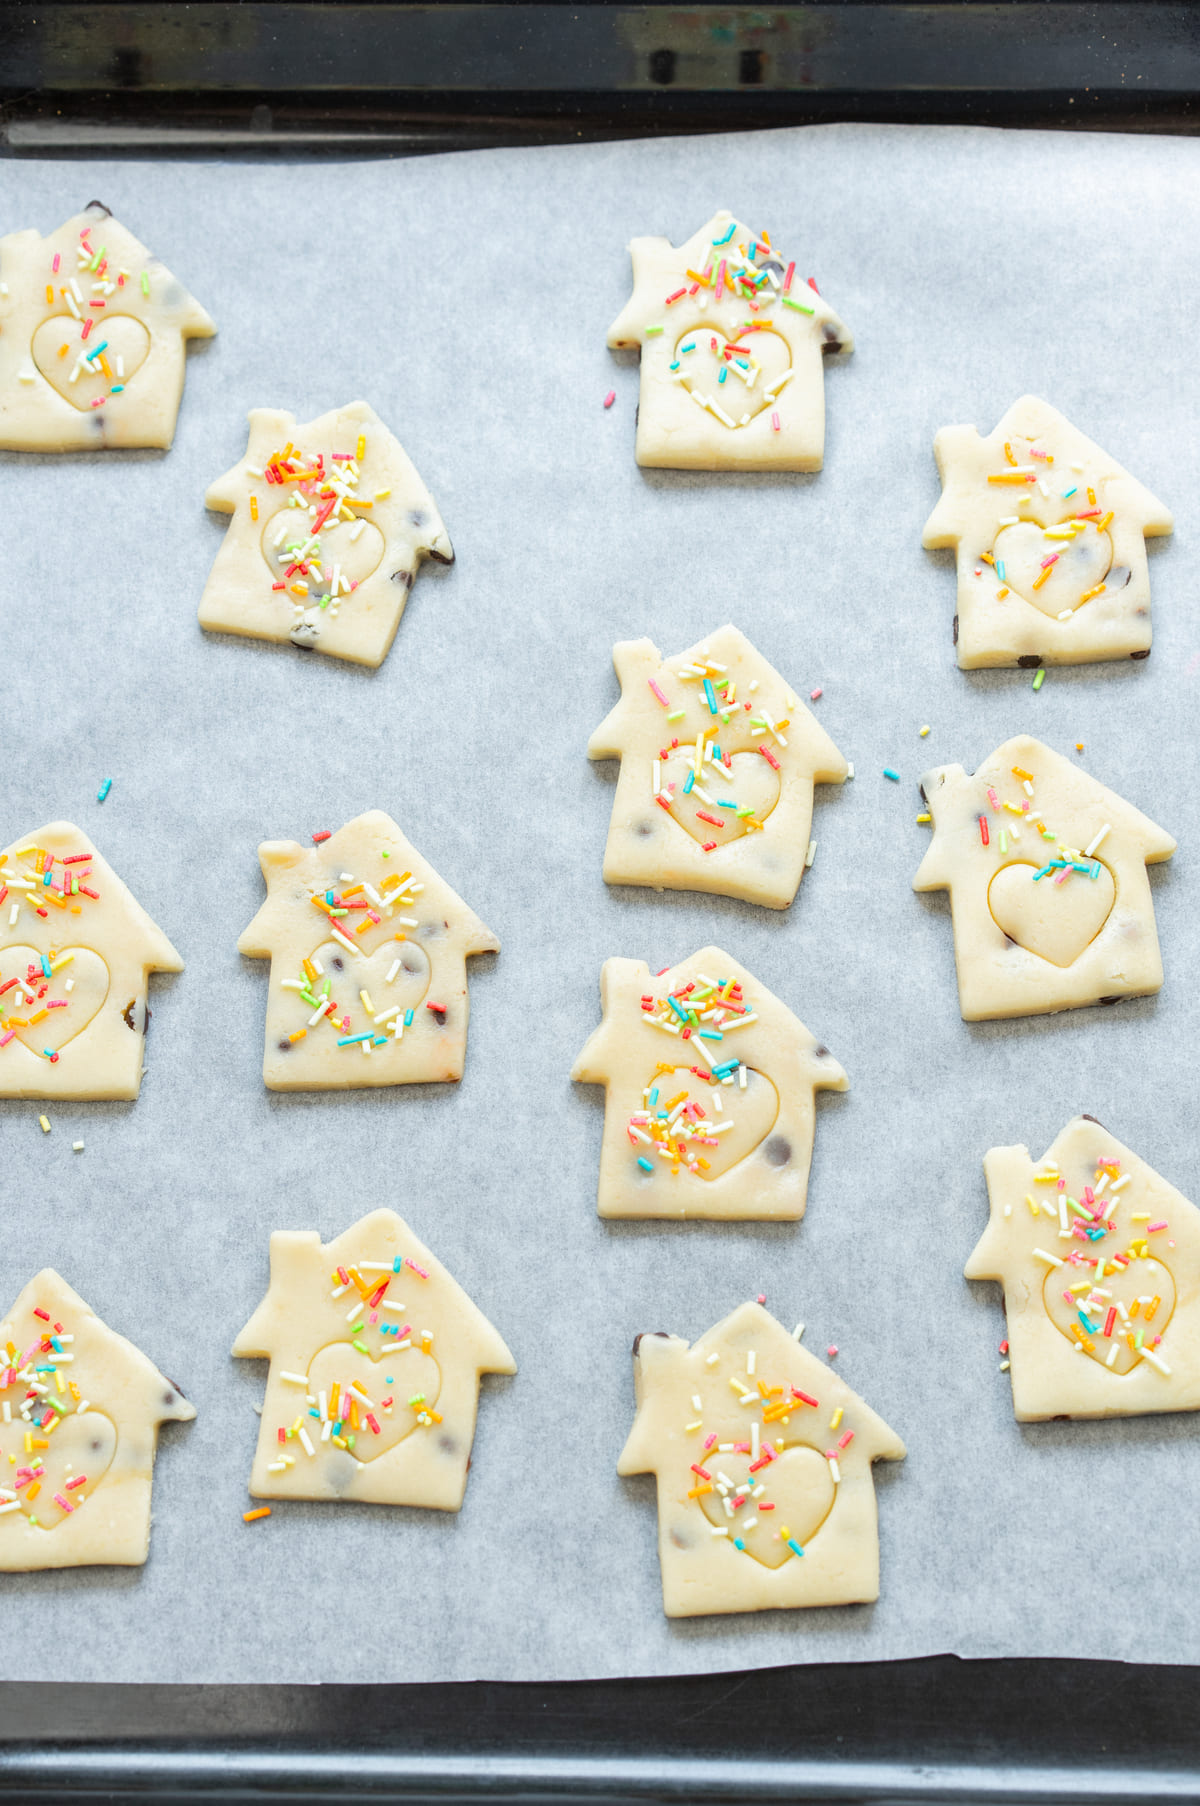
I transfer the cut-out cookies onto a parchment-lined baking sheet and add the colorful sprinkles on top (I either use the sprinkles or the chocolate chips, I just wanted to show you both!).
I like to decorate before baking them because it helps the sprinkles set in place without needing icing.
Bake the cookies in a preheated oven at 400°F (200°C) for about 10 to 12 minutes. But don’t you dare leave your oven out of sight at this point because once the edges turn golden, they’re done!
Overbaking makes them hard, while just the perfect baking time keeps them crisp but still light.
Now, after baking, I remove them from the oven and wait about 5 minutes for them to firm up a bit and then transfer them to a wire rack to cool completely. This step is crucial, it’s what gives me the perfect crispy edge while staying tender inside.
If you want to decorate with cookie icing make sure you let them dry completely before adding it, otherwise it’ll melt and you won’t be able to create those cute and sharp designs!
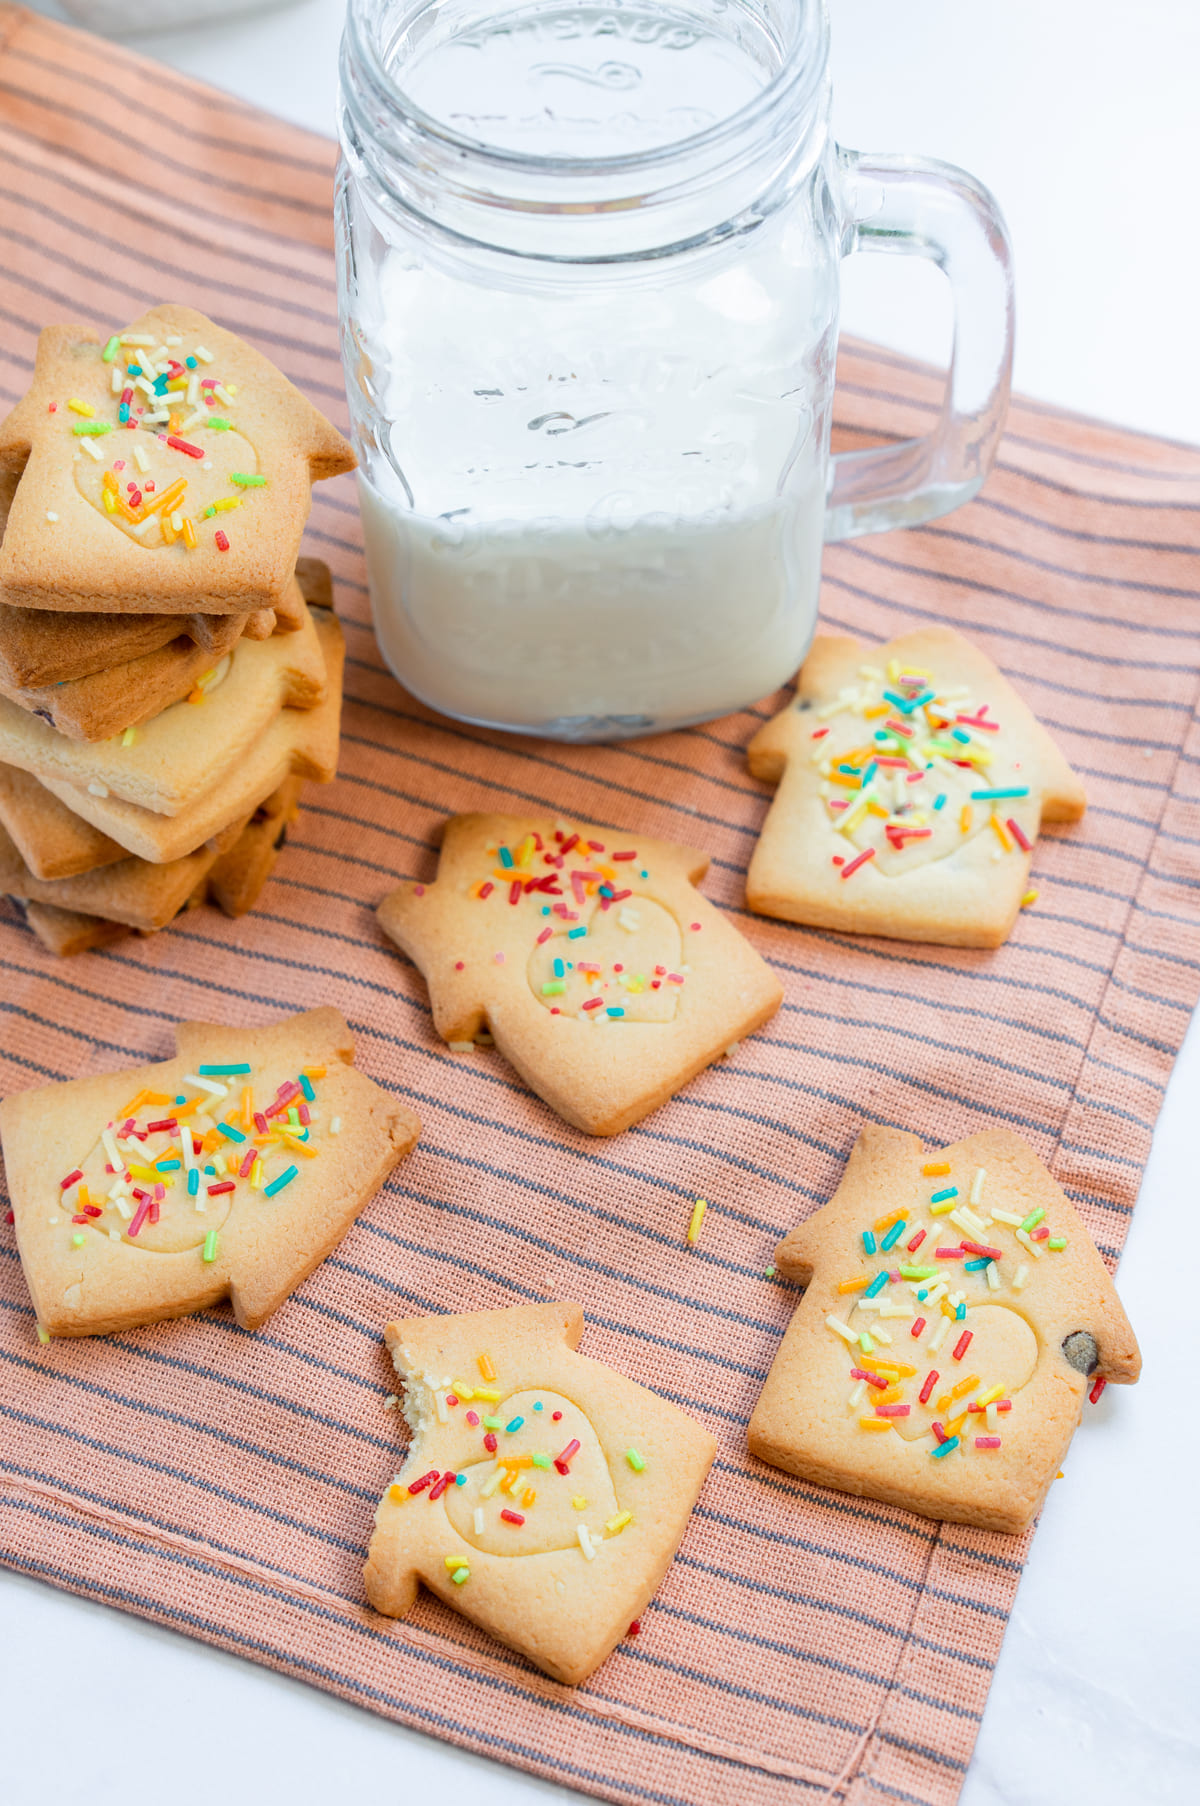
And we’re done! You can eat them once they’re completely cool.
Since I’ve been making these for so long I learned that they taste even better the next day, which makes them perfect for the holidays. I usually keep them in the fridge for about 5 to 6 days, and I’ve also frozen them for about 2 months. Once thawed at room temperature, they still tasted just as good as freshly baked.
Rita and I usually bake everything on Christmas Eve, that way we can spend more time together with family on Christmas Day instead of being stuck in the kitchen.
Variations I’ve Tried And Loved
These are a classic, so I’ve never experimented with them as much as other cookie recipes. Still, I obviously had to try and add my own twist to it as I’ve been making these for about 8 years now. Here are some variations I also make all the time:
- Almond Sugar Cookies – Instead of the vanilla extract, sometimes I use almond extract. The cookies taste just like bakery-style sugar cookies! My mom loves these and always asks me to make a separate batch just for her to freeze.
- Lemon Zest Twist – If you want a more zesty flavor that cuts some of the sweetness from these cookies, add the zest of one lemon to the dough. Trust me, it makes them taste lighter and less sugary.
- Cinnamon Sugar Topping – For a cozier and warmer taste, I like to sprinkle the tops with cinnamon sugar before baking. I love this variation. They taste amazing and the whole house ends up smelling like a bakery!
- Decorate with Cookie Icing – Whenever I want even more traditional sugar cookies, I decorate them with royal icing or a simple powdered sugar glaze. Just make sure the cookies are fully cooled or the icing will melt! Rita and I usually do a Christmas contest to see who makes the best looking Christmas cookies.
- Gluten-free – I’ve also made a gluten-free version for my cousin Claudia (who has gluten intolerance)! I used Bob’s Red Mill Gluten-Free 1-to-1, they tasted just as good and still held their shape without falling apart!
Most of these are simple but tasty variations! This recipe is kind of like a blank canvas and you can add basically anything and they’ll still taste just as good or even better. Let me know which variation you go for!
But, my favorite one is actually decorating them with Rita. I usually win the competition but I like to let her think she won… (So, shhh, don’t tell her!). She also makes these incredible Maple Pecan Blondies that I love, so it’s best to let her win sometimes.
Mistakes To Avoid When Making My Christmas Cookies
Just like any other recipe, there’s some things that can happen when making my Christmas sugar cookies! But don’t worry, nothing major. Unless you forget about them in the oven… Yes, that has happened to me before. Moving on…
Let me now share with you the mistakes I’ve faced while making these:
- Not softening the butter enough – If your butter is still too firm and cold, won’t cream properly with the sugar. So, your cookies will come out quite dense. But don’t try to melt it or you’ll end up with greasy, flat cookies like mine were once!
- Adding all the flour at once – It may seem faster and easier to just dump all flour at once, but your dough will be dry and crumbly. I like to add it gradually until the dough is soft and no longer sticky when I touch it.
- Overloading with chocolate chips – I’ve added too many chocolate chips before and it was so hard to roll and cut the dough evenly. So, a small handful is plenty. Unless you have tiny hands like Rita, in that case, a whole handful is necessary
- Rolling the dough too thick or too thin – After trying different thicknesses, I found that about ¼ inch (roughly half the thickness of two stacked quarters) is the perfect thickness. Thicker than that and the cookies will take longer to bake and stay doughy in the center, while thinner ones burn at the edges!
- Overbaking – In my oven, 10 to 12 minutes is usually enough. Once the edges turn golden, I take them out. They’re still going to be soft in the middle and might look underbaked. But, don’t worry, they firm up as they cool!
And that’s it! Easy and simple. Still, if you have any questions, don’t hesitate to leave it in the comments.
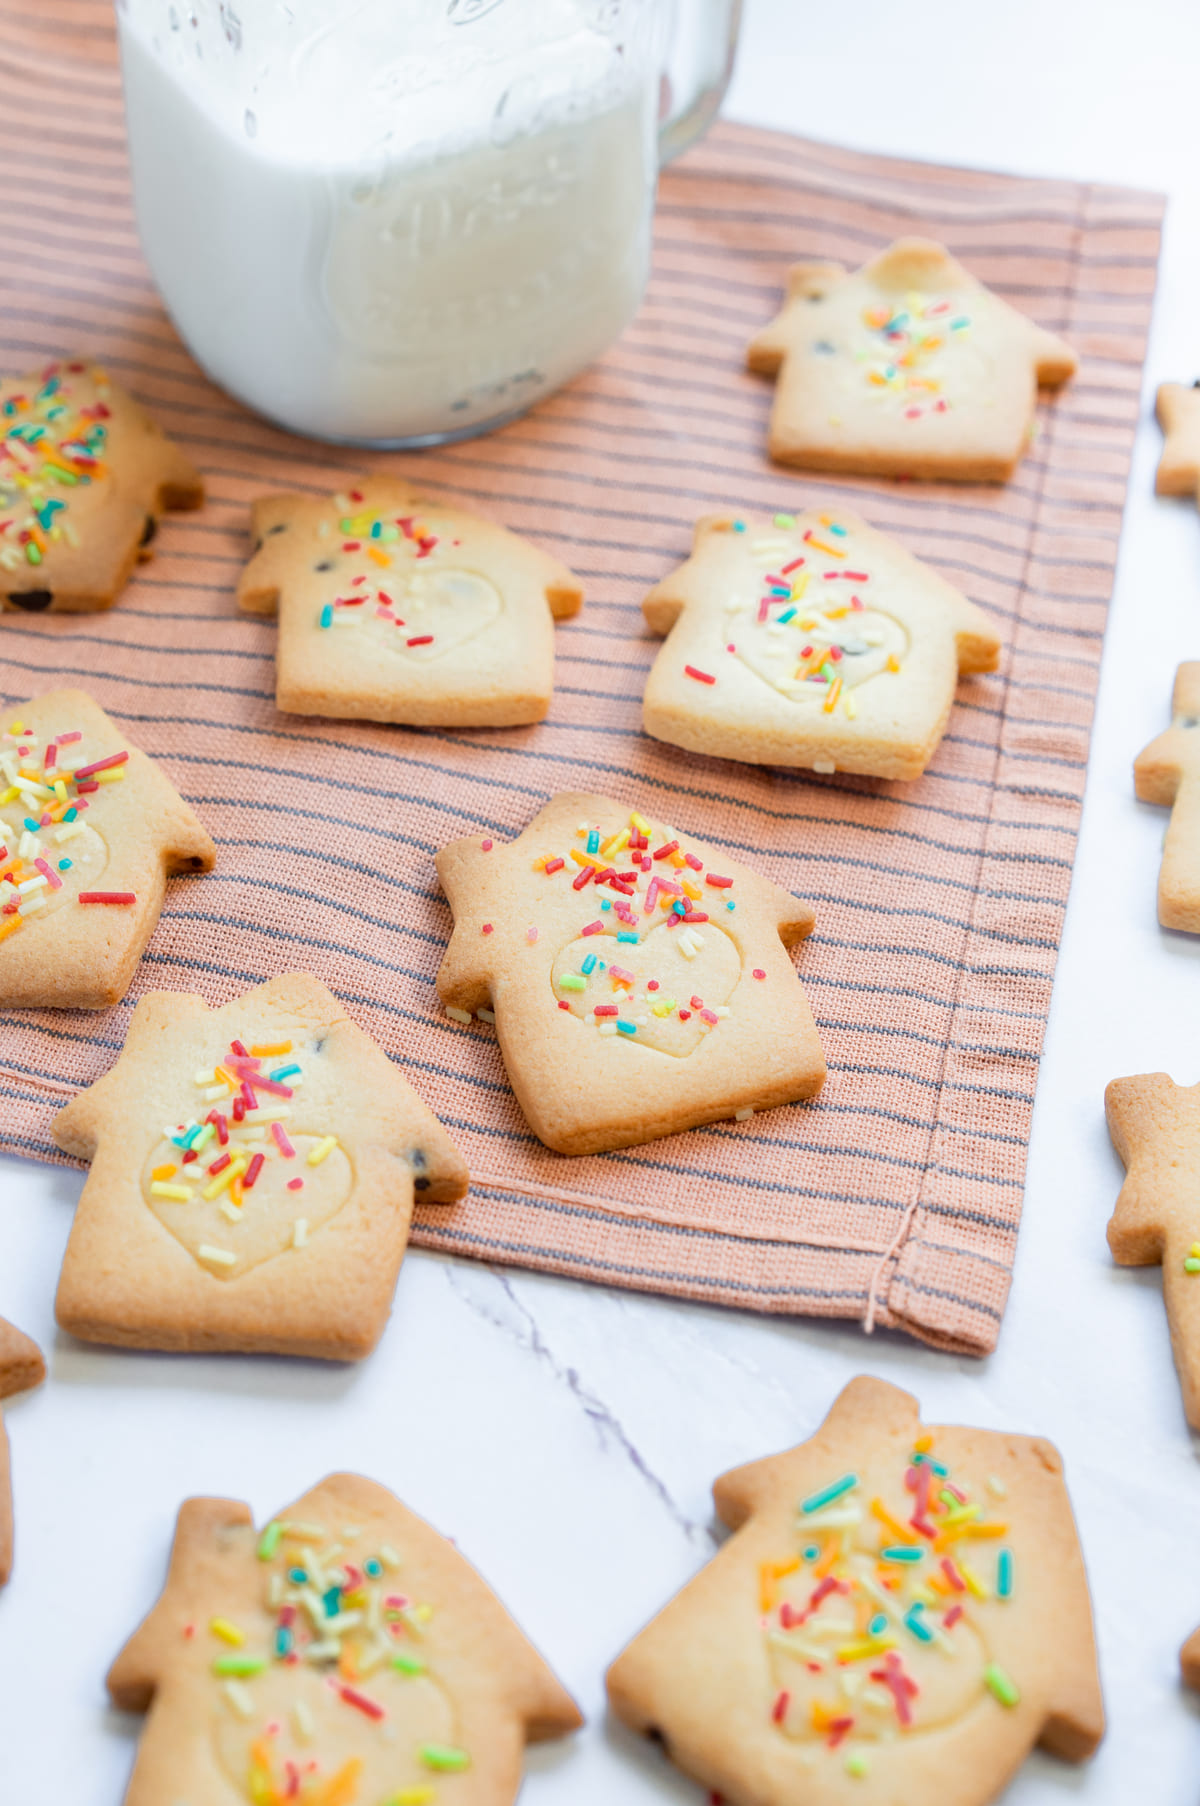
And that’s it! My super simple 3-ingredient Christmas Sugar Cookies are ready to enjoy. They’re quick, fun and bring back that nostalgic feeling every time I bake them. If you give these a try, I’d love to see your own creations and festive designs too!


Easy 3-Ingredient Christmas Cookies
Description
Buttery, melt-in-your-mouth Christmas sugar cookies made with just 3 simple ingredients. Perfect for cutting into festive shapes, decorating with icing or sprinkles, or enjoying plain.
Ingredients
Instructions
-
Preheat the Oven
Set oven to 400°F (200°C) and line a baking sheet with parchment paper.
-
Cream Butter and Sugar
Beat softened butter with powdered sugar until smooth and fluffy; mix in vanilla if using.
-
Add Flour
Gradually stir in flour until dough is soft and no longer sticky; fold in chocolate chips if desired.
-
Roll and Cut
Roll dough between parchment to ¼ inch thick (about two stacked quarters). Dust cookie cutter with flour, cut shapes, transfer to baking sheet, and add sprinkles if desired.
-
Bake and Cool
Bake for 10 to 12 minutes, until edges turn lightly golden. Cool 5 minutes on tray, then transfer to a wire rack. Decorate with icing once completely cooled.
Nutrition Facts
- Amount Per Serving
- Calories 88kcal
- % Daily Value *
- Total Fat 5g8%
- Saturated Fat 3g15%
- Cholesterol 13mg5%
- Sodium 1mg1%
- Total Carbohydrate 10g4%
- Dietary Fiber 0.2g1%
- Sugars 4g
- Protein 0.8g2%
- Calcium 2 mg
* Percent Daily Values are based on a 2,000 calorie diet. Your daily value may be higher or lower depending on your calorie needs.