
Jorge and I can’t get through a Christmas Eve without eating some Red Velvet Crinkle Cookies. It’s already part of our Christmas Eve tradition in the new house, and that’s why I took so long, but finally decided to publish this recipe on Big Cravings!

Unlike many recipes, this Red Velvet Crinkle Cookie recipe doesn’t rely solely on food coloring for its beautiful color and intense flavor. I added real melted dark chocolate for a richer and more intense taste.
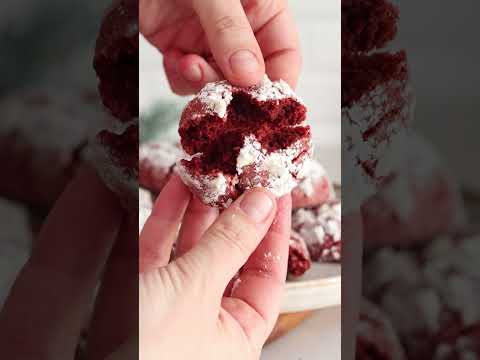
Furthermore, I like to do a double coating! First with granulated sugar, then with powdered sugar… This double coating makes the crinkles pop in the oven, giving you that bold, snowy contrast. They even remind me of my Snowball cookies recipe that I posted last month!
And these are just some of the qualities of these cookies… Wait until you see the full recipe!
Ingredients for Red Velvet Crinkle Cookies
One of the things I LOVE about this recipe is its simplicity. People who see these cookies think they have many ingredients and are super complex, but the truth is that anyone has all these ingredients in their pantry, ready to use.

It’s important to note that I always use measurements in grams, so I include them for all the ingredients. In my opinion, this gives us more control over the recipe. If you’re less experienced at cooking, for example, you should give it a try.
For the Cookies
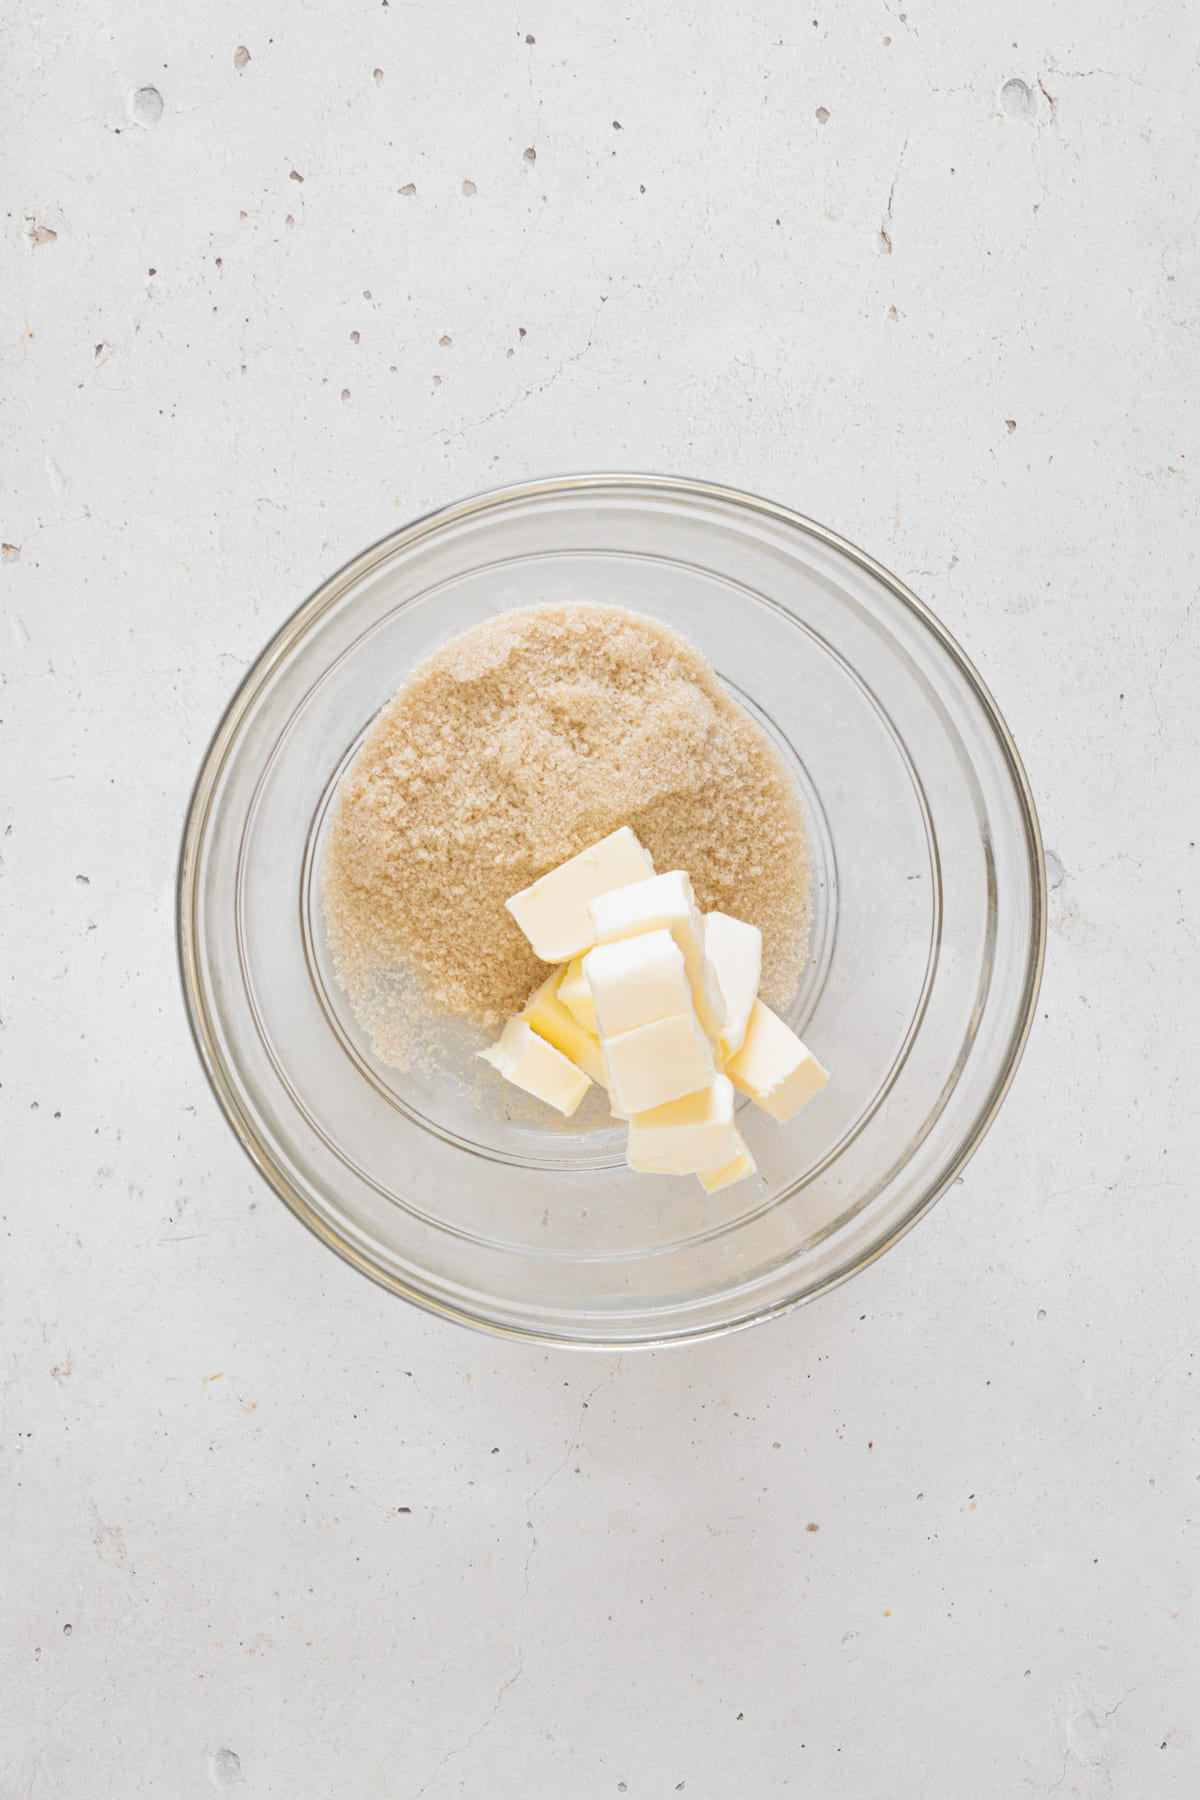
- ½ cup unsalted butter, softened (115g) – Softened butter creams better and gives you a smoother dough. I ALWAYS recommend using unsalted butter, because that way we can control the salt level in the recipe.
- ¾ cup light brown sugar, packed (150g) – Brown sugar is amazing because, in addition to adding moisture and chewiness to cookies, it helps them last longer at room temperature.
- 2 large eggs, room temperature (≈100g total) – I love free-range eggs! I have a neighbor who raises free-range chickens, and I buy eggs from him whenever possible. Free-range eggs have a nicer color, are a little bigger (usually), and have a different flavor!
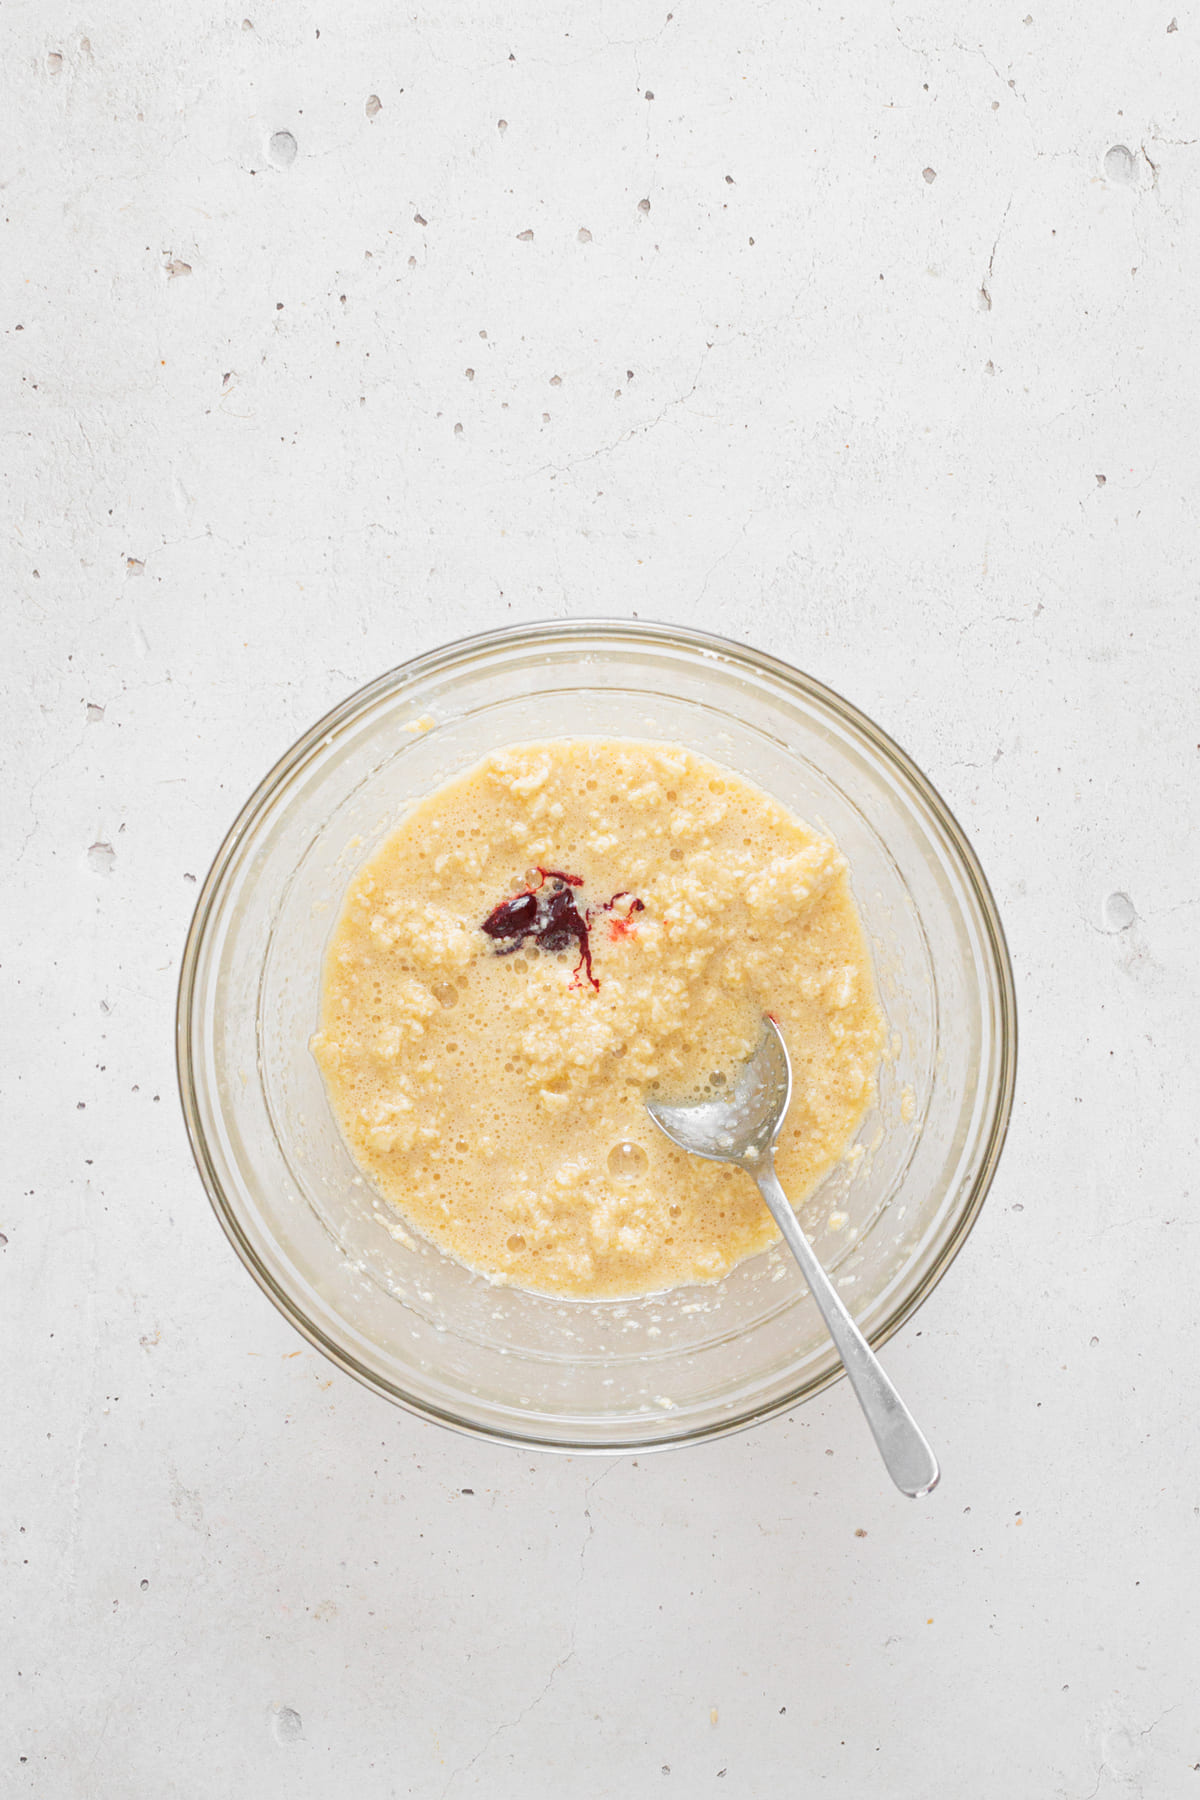
- ½ teaspoon red gel food coloring (≈2g) – It’s important for giving cookies that famous color. Don’t overdo it, add a little at a time until you get the desired color. Believe me, the food coloring is very strong, just one drop is enough to see results!
- 2 ⅓ cups all-purpose flour (290g) – It was the flour that worked best for me. I tested almond flour once and the dough fell apart! It turned oily and fragile… It was a disaster!
- ¾ cup dark chocolate, melted and slightly cooled (150g) – I recommend using a high-quality dark chocolate. My go-to is Ghirardelli 70% Cacao, which melts beautifully and gives deeper flavor.
- 2 teaspoons baking powder (8g) – Check the expiration date before using! I’ve used baking powder past its expiration date before, and the dough simply didn’t rise. Since it’s something we use sparingly, it’s normal to forget and let it spoil.
For Coating:
- ½ cup granulated sugar (100g)
- ½ cup powdered sugar (60g)
How to Make Red Velvet Crinkle Cookies
First of all, preheat the oven to 350 ºF (180°C) and line a baking sheet with parchment paper. It will take us about 20 minutes to prepare the recipe, so if your oven preheats quickly, you can wait to preheat it for about 10 minutes.
In a large bowl, work the softened butter together with the brown sugar using a spatula or wooden spoon until creamy and well combined. It’s really important that you have the butter at room temperature, otherwise you’ll end up like I did, the dough will be full of lumps (if it’s too cold).
My favorite trick is to take the butter out of the fridge and leave it on the kitchen counter for 45 minutes. It usually always comes out perfectly!
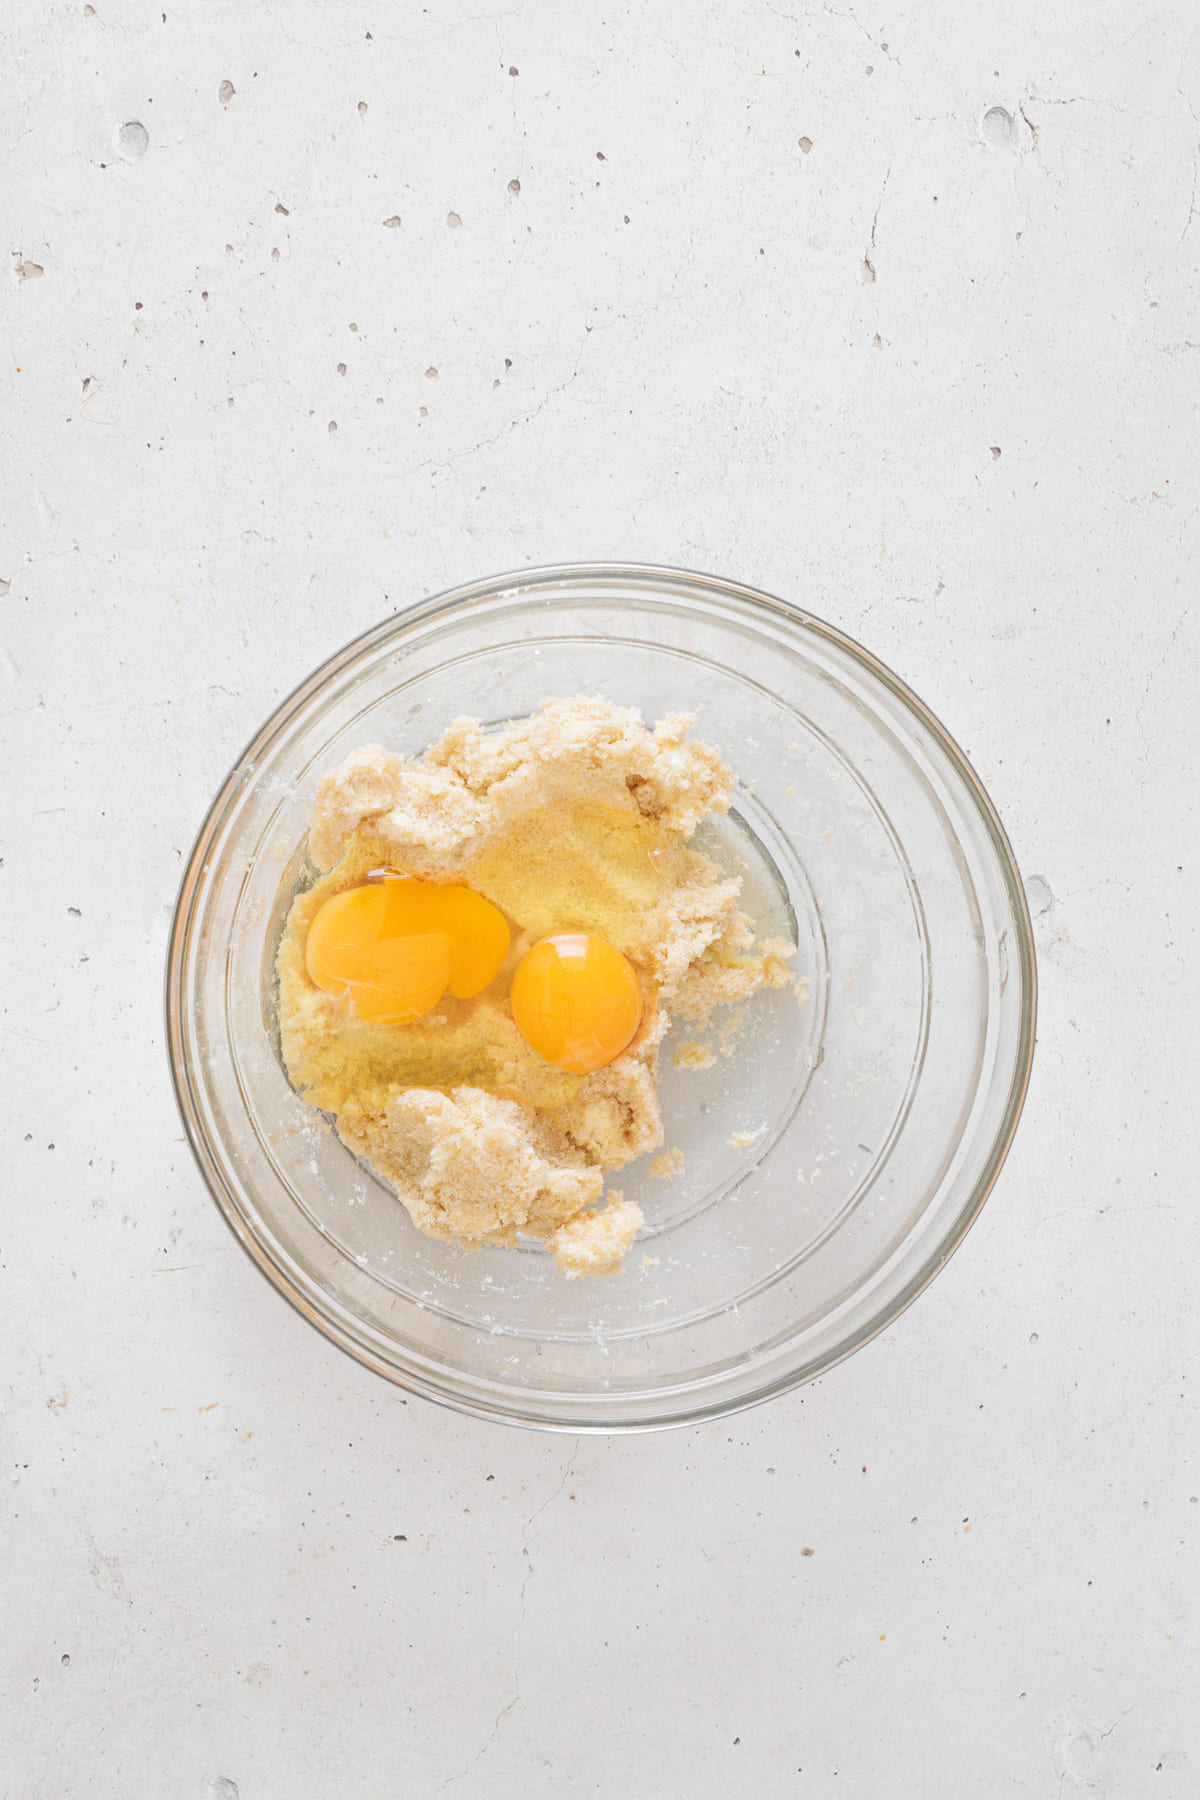
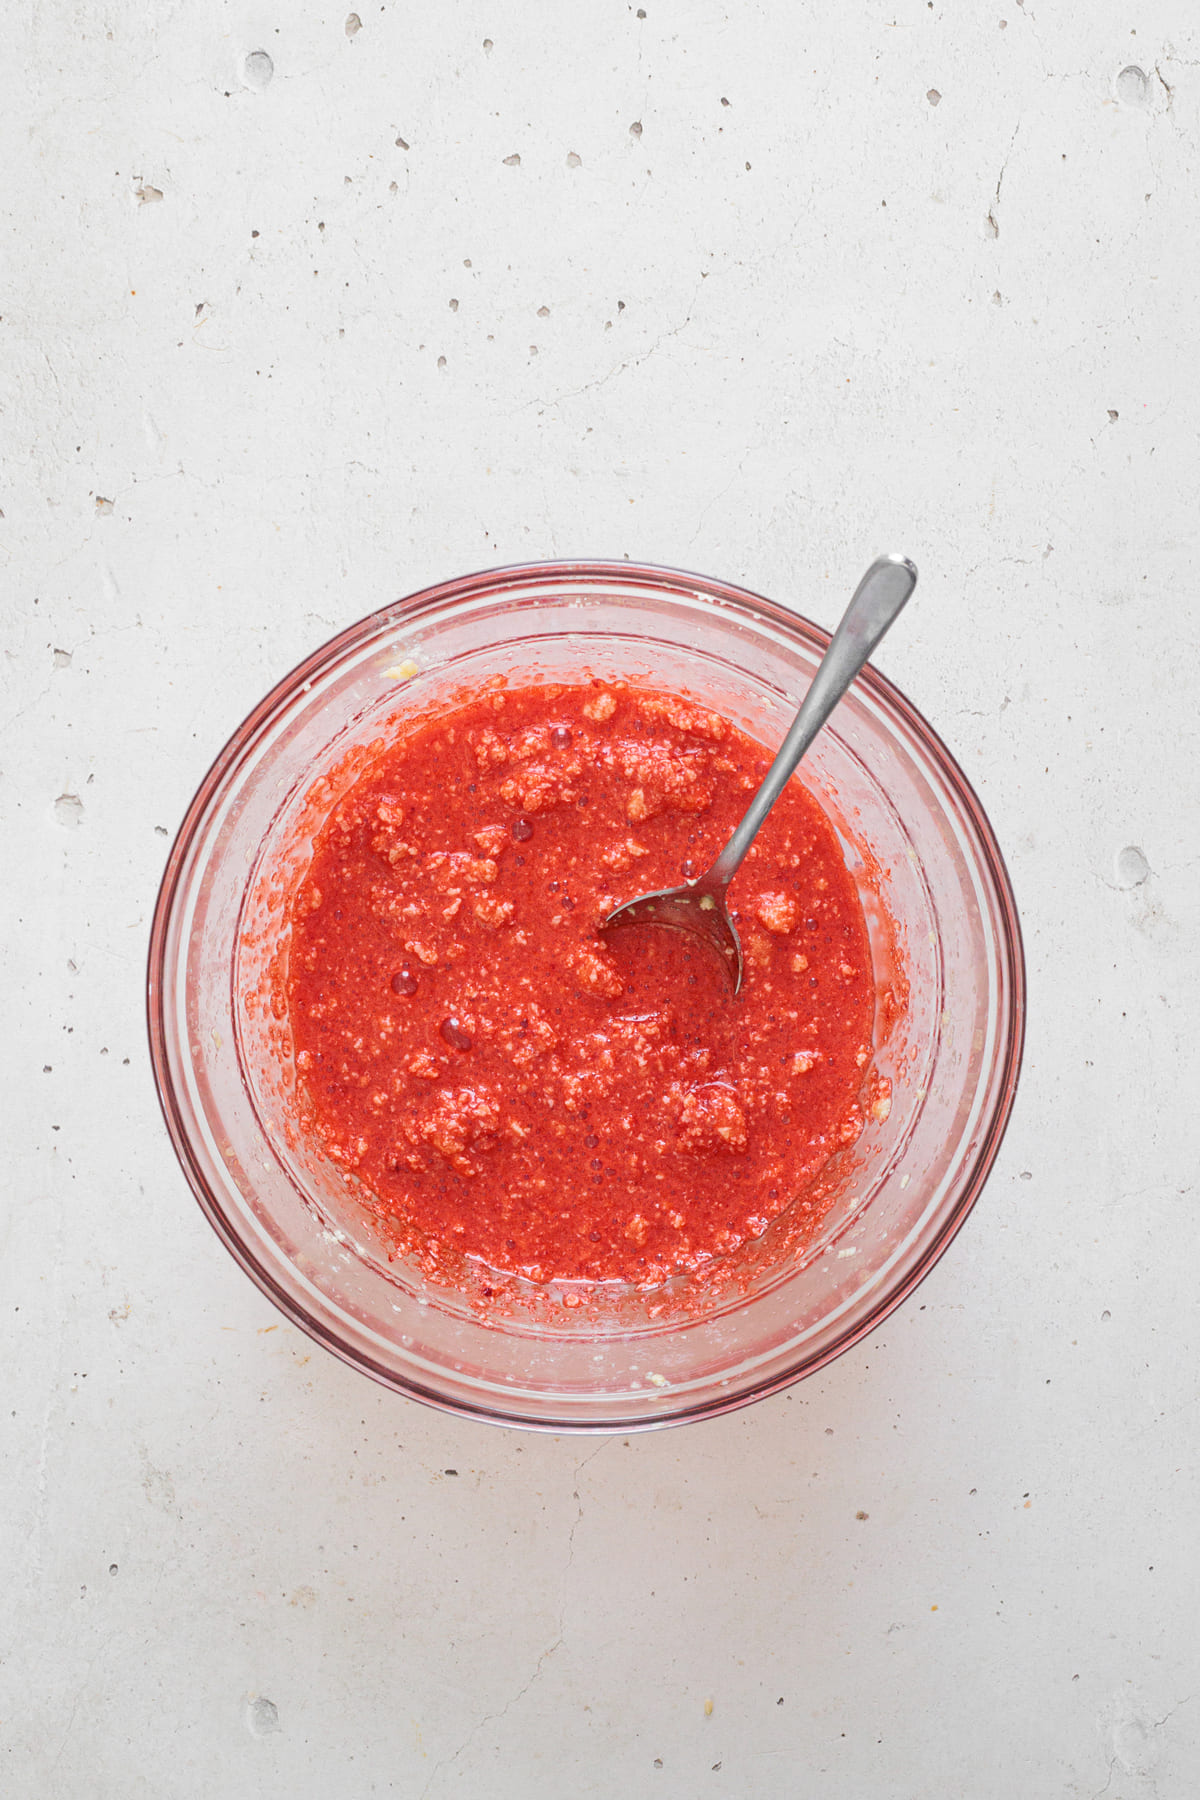
Add the eggs one at a time, mixing after each addition. Stir in the red gel coloring until the color is evenly distributed.
Just like with butter, it’s important to use eggs at room temperature so they mix better with the dough (believe me, you’ll notice the difference!). You can take them out of the fridge about 20 minutes before using them.
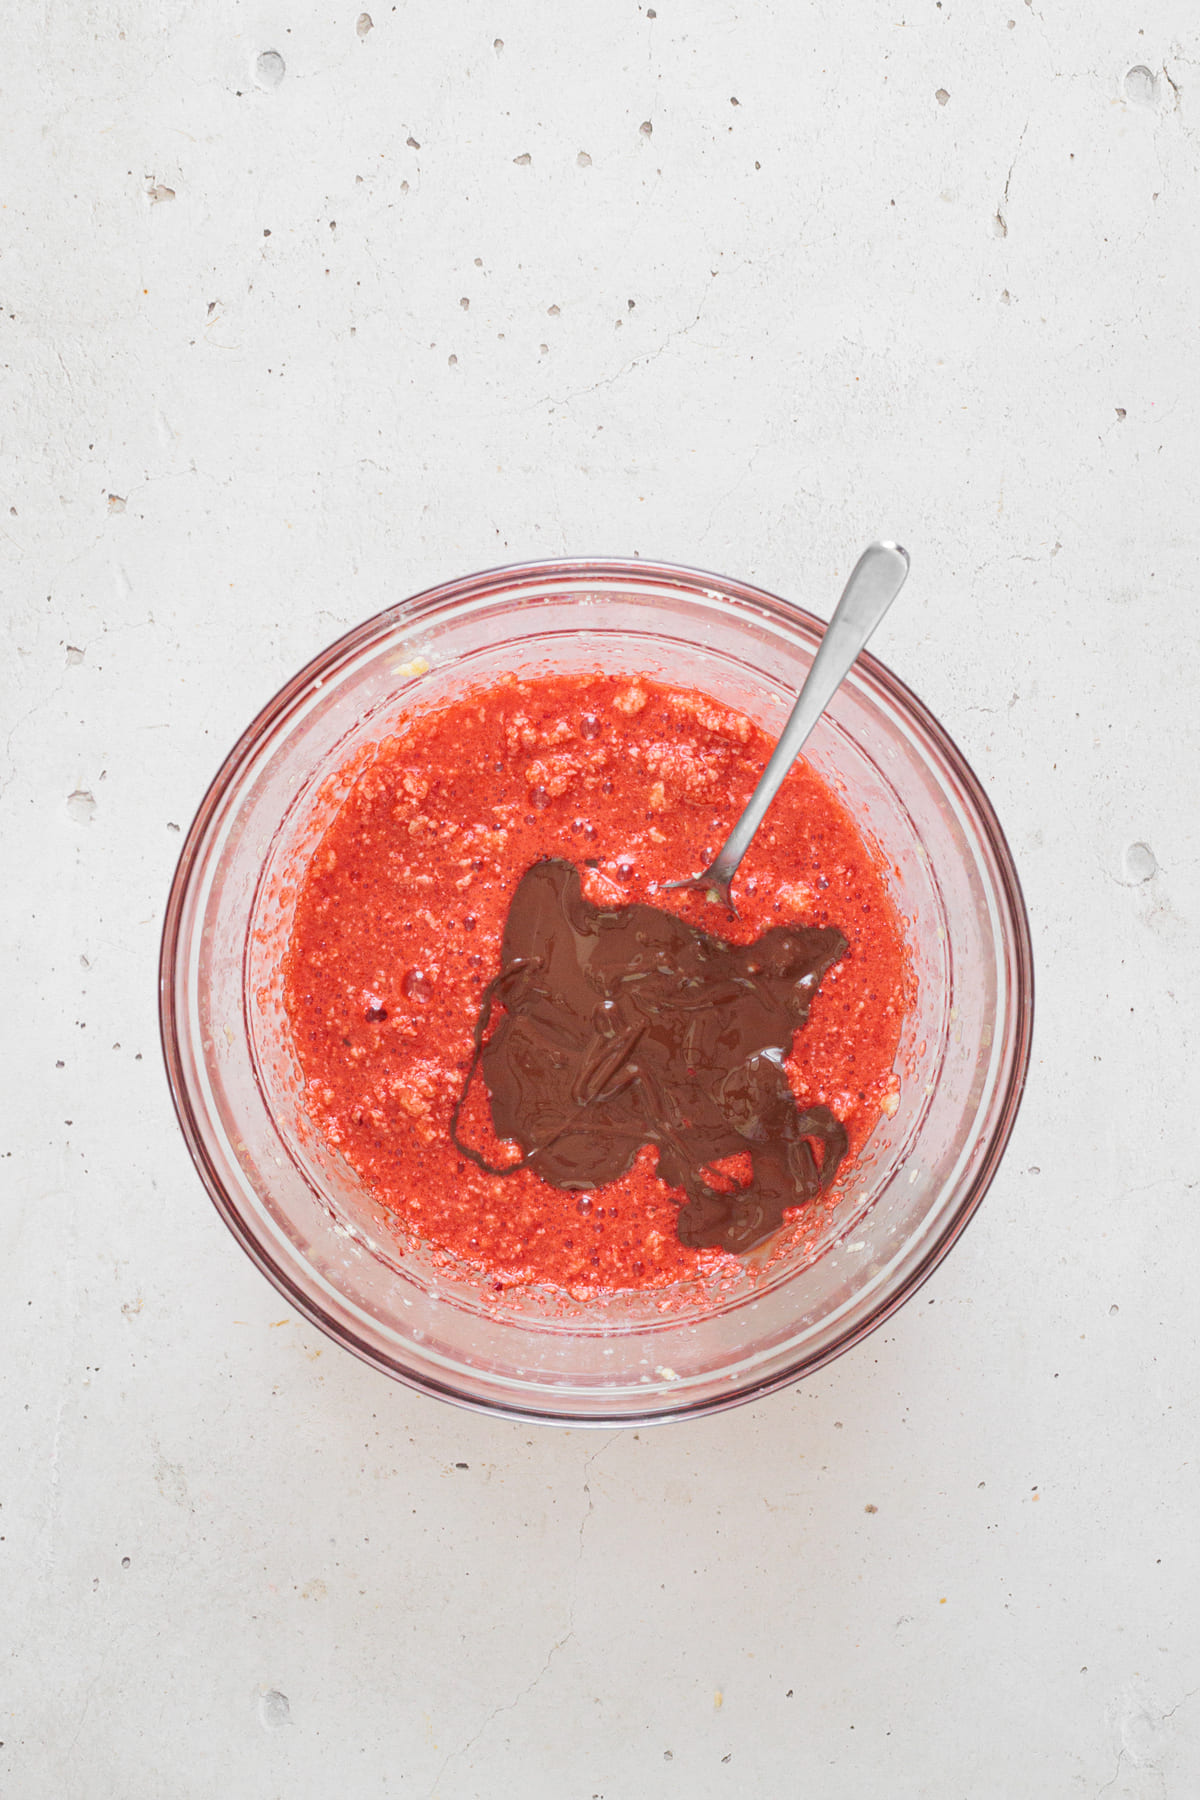
Now, add the melted, slightly cooled chocolate and mix until the batter is smooth.
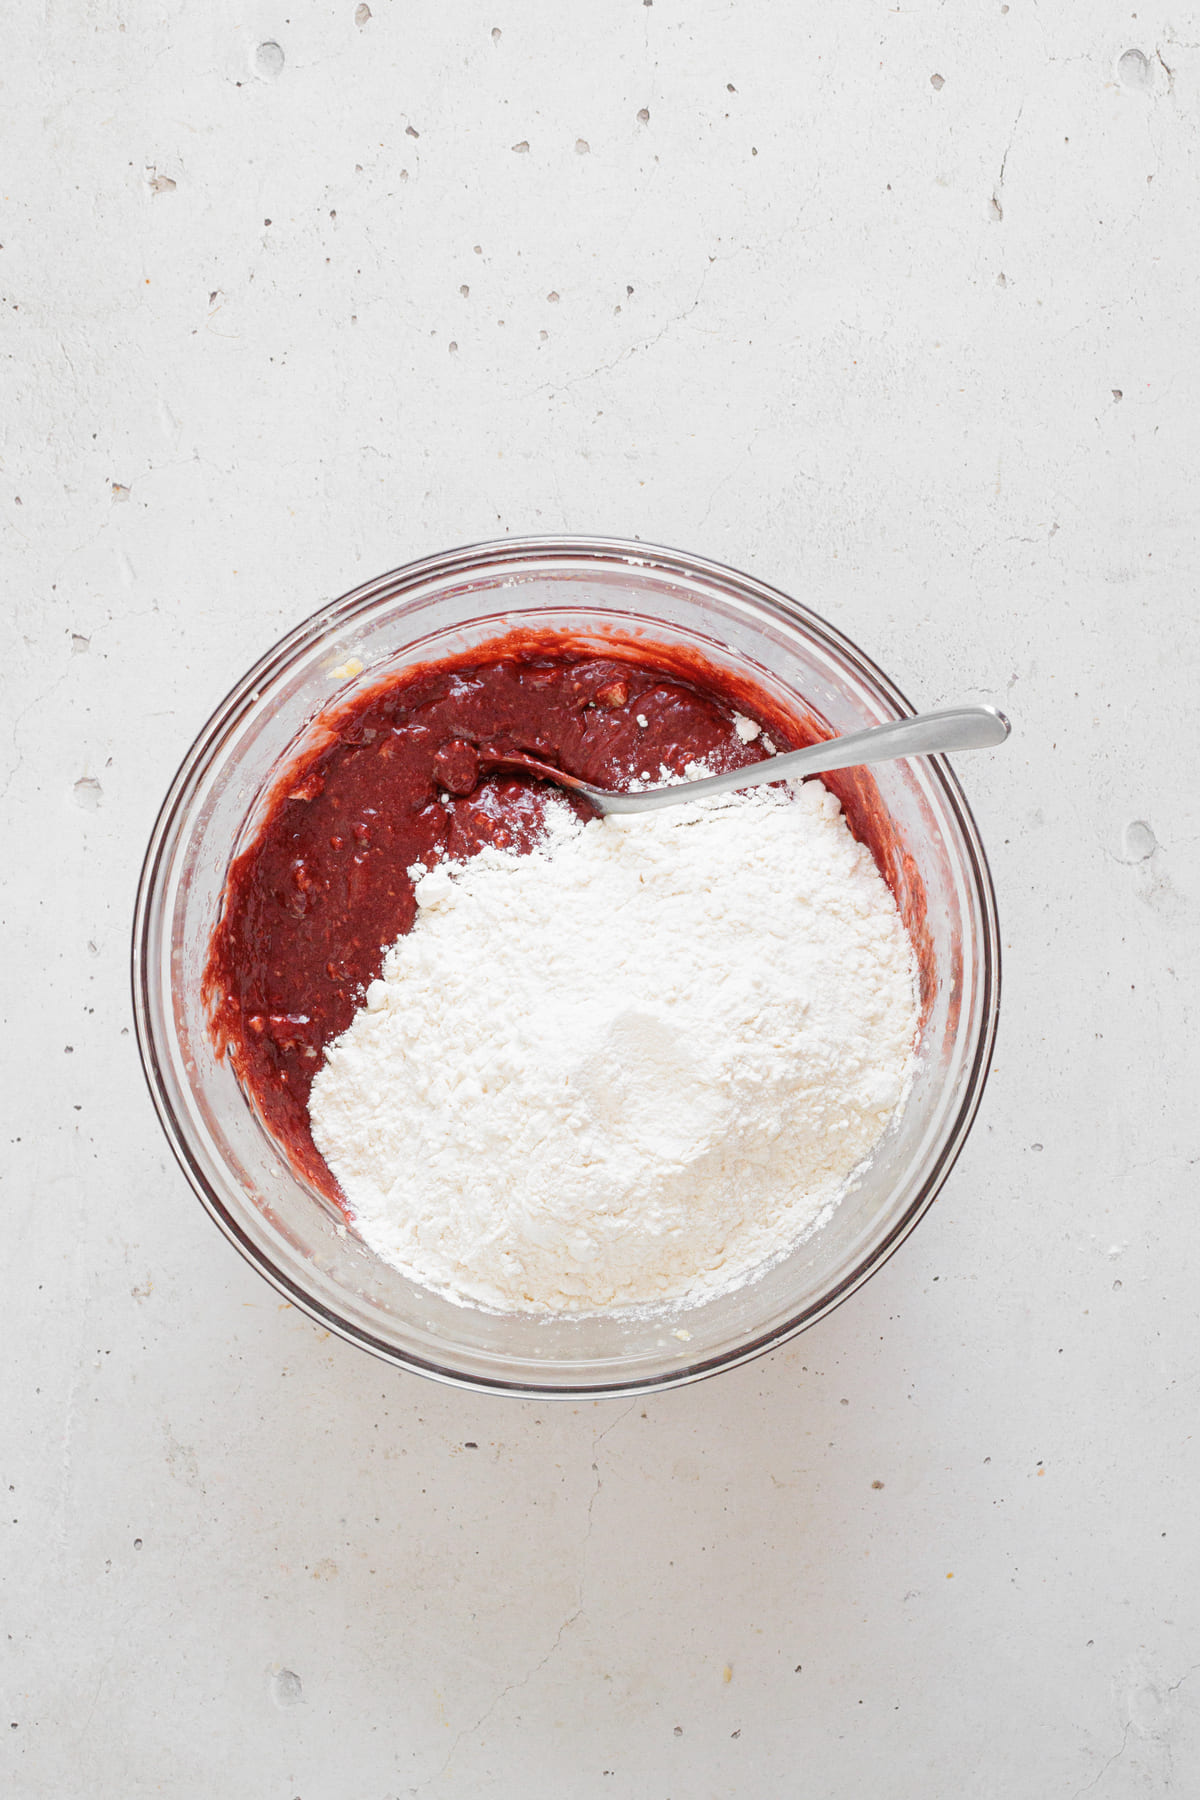
Sift together the flour and baking powder. Gradually add them to the wet mixture, stirring just until a uniform dough forms (avoid overmixing).
Sifting really helps here! It removes small clumps (especially in baking powder) and gives you a lighter, smoother dough that bakes evenly. I know, sometimes it looks like nothing changes when you sift flour, but it really does improve texture!
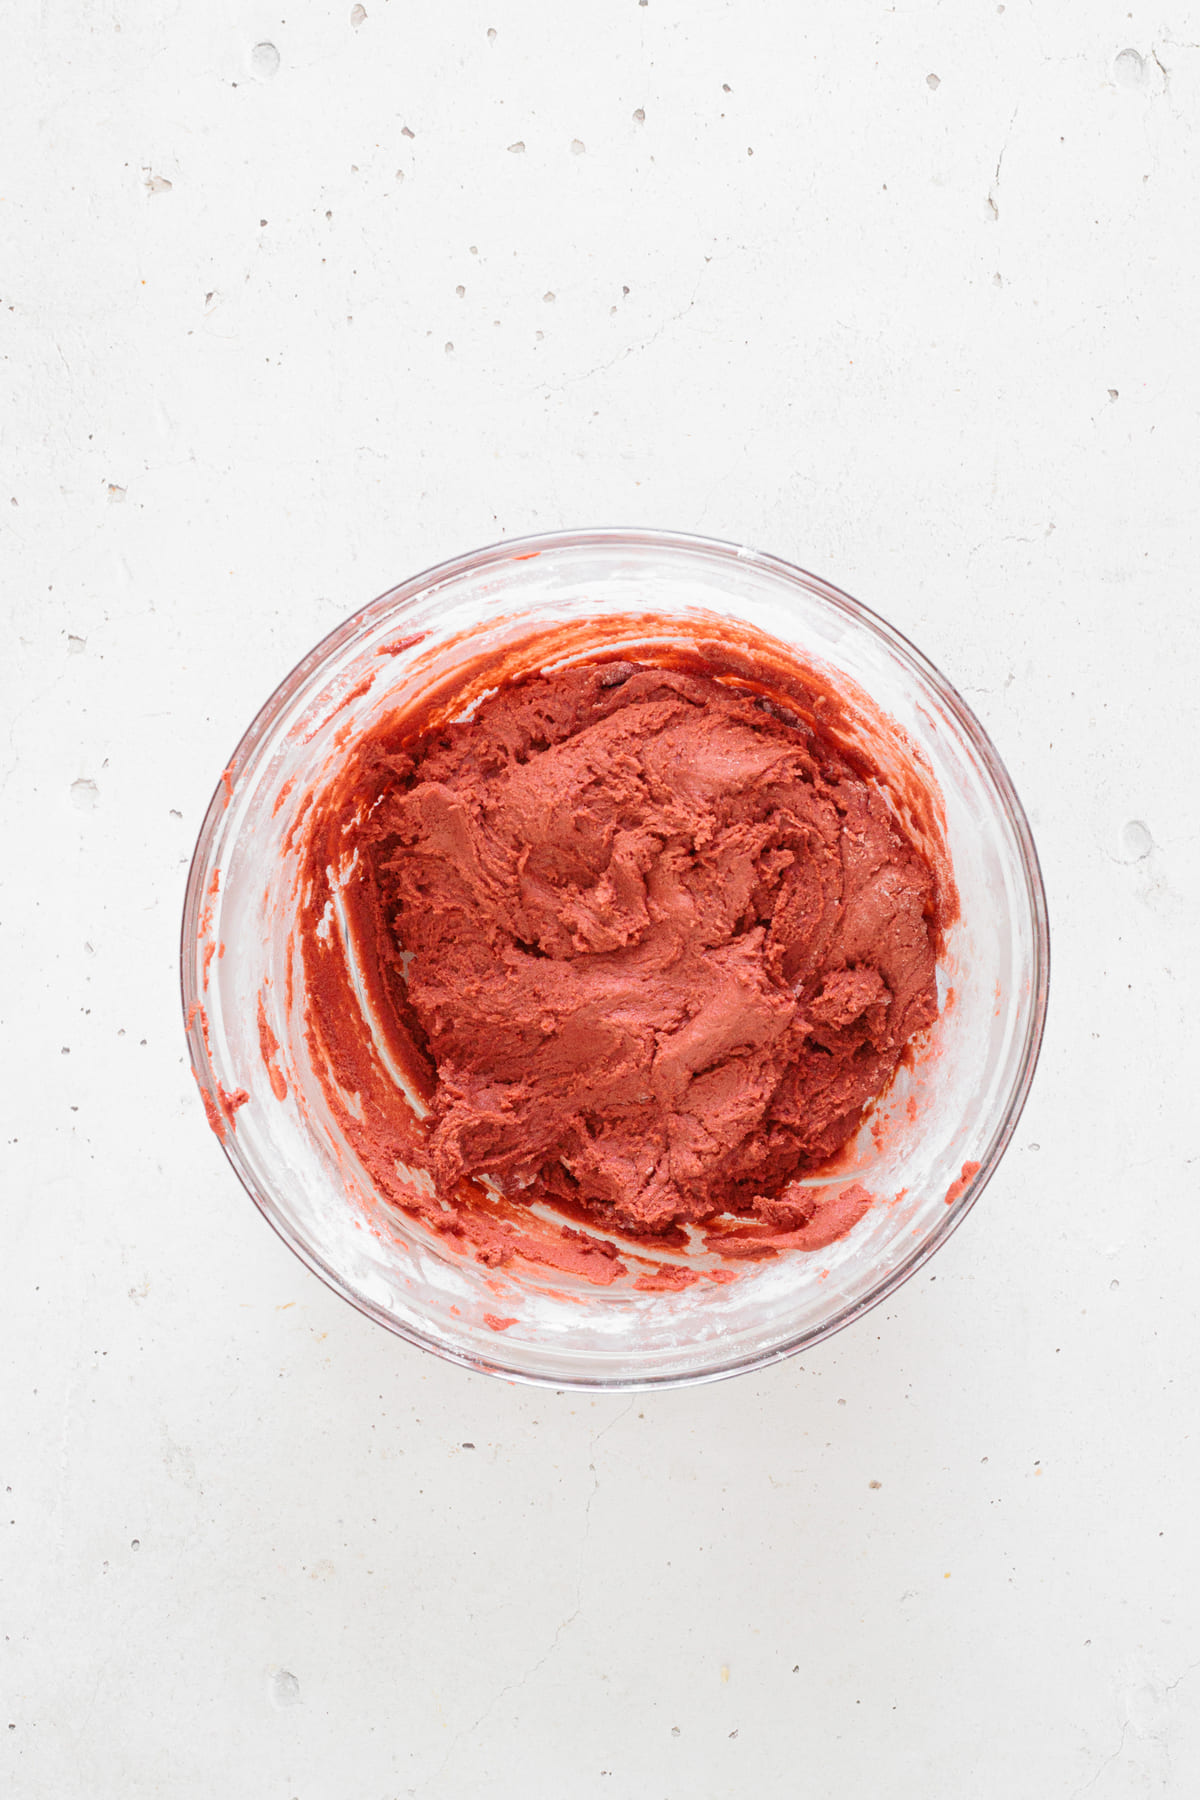
Once the dough has a texture similar to the image below, you can stop beating it.
Now, prepare two bowls: one with granulated sugar and one with powdered sugar.
Scoop out portions of dough and roll them into small balls, and… When you form the balls with your hands, don’t expect them to have that cracked look, okay? The cracks will only appear in the oven!
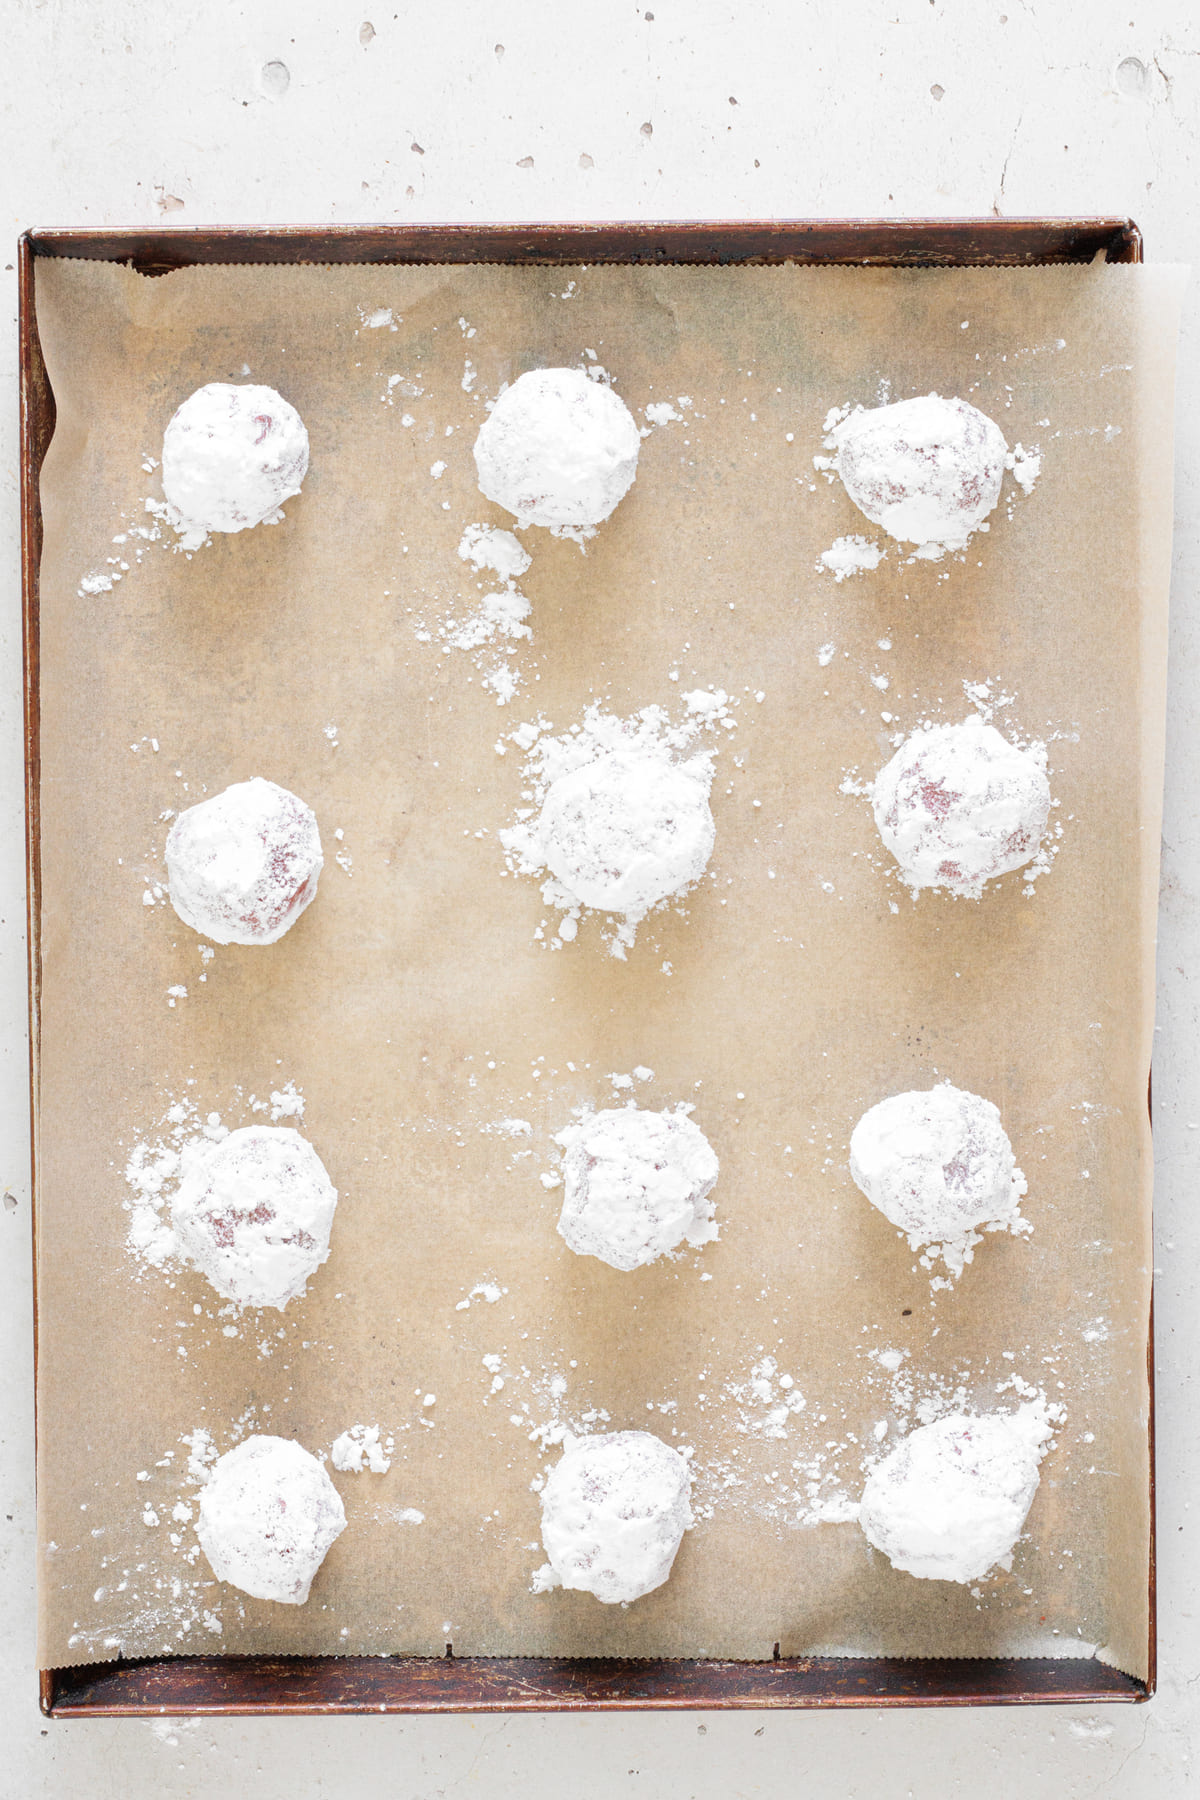
Now it’s my favorite part! Coat each ball first in granulated sugar, then in powdered sugar, and place the coated dough balls on the baking sheet.
Bake for about 10 minutes, until the cookies puff up and develop the classic crinkled surface. Let the cookies cool on the baking sheet for 5 minutes, then transfer them to a wire rack to cool completely.
And there you have it, our cookies are ready to serve at Christmas or any other holiday!
I love serving these cookies along with my 3-Ingredient Gingerbread Truffles and Jorge’s famous recipe for 3-Ingredient Peppermint Bark Clusters.

Common Mistakes When Making Crinkle Cookies
I have to give Jorge credit… Why? Because he started posting the mistakes he made while creating recipes, and the readers loved it! So, I decided to start publishing my articles that way too!
Of the mistakes I made while testing this recipe, these were the most notable:
- I used very cold butter – it was incredibly difficult to mix with the sugar and the dough was full of lumps! In fact, I only started to be able to mix the butter with the other ingredients as it got warmer and softer.
- I used spoiled baking powder – it was a complete disaster! The cookies didn’t rise, they were too dense and tasteless. It was a mistake I won’t make again!
- Baking too long – believe me, it’s a huge mistake! Overbaked crinkle cookies get cakey instead of soft and fudgy. I only had to be distracted for 5 minutes, and that was more than enough for them to overcook.
Take advantage of this and don’t make the same mistakes I did! If you make any mistakes that aren’t mentioned in this section, you know you can leave a comment below.
How to Store Red Velvet Crinkle Cookies
If you’ve seen my other recipes, you know I hate waste! Since we make a lot of recipes for Big Cravings and social media, we always have a lot of leftover food. This makes us learn how to store and preserve it in the best way possible. Luckily for you, I have excellent tips on how to store these cookies so you can eat them later.
- At room temperature – Thanks to the brown sugar, the cookies keep well at room temperature for 4 to 5 days. After about 6 days, the cookies will start to lose their texture and the dusting coating will also begin to disappear.
- You can also freeze them – You can freeze the cookies, after they’ve been baked and cooled, for up to 2 months. I like to put a layer of parchment paper between them so they don’t stick together or lose their lovely powdered sugar coating.
- I don’t recommend storing them in the fridge – Besides not lasting much longer than at room temperature, they become drier and harder. I didn’t like that at all.
If you need any more tips on how to store these cookies, you know you can leave a comment below.

So, did you like my famous Red Velvet Chocolate Crinkle Cookies? I really hope so!
Before you go, I’d love for you to also try Jorge’s Chocolate Thumbprint Cookies (perfect for Christmas!) and my 3-Ingredient Christmas Cookies, which take less time to prepare.
Merry Christmas!


Red Velvet Crinkle Cookies
Description
These Red Velvet Chocolate Crinkle Cookies are soft, fudgy, and full of rich chocolate flavor. Rolled in sugar for that perfect crackled top, they’re quick to make and perfect for the holidays or any time you’re craving an easy, festive cookie.
Ingredients
For the Cookies
For Coating
Instructions
-
Preheat the oven
Preheat the oven to 350ºF (180ºC) and line a baking sheet with parchment paper.
-
Cream butter and sugar
In a large bowl, mix the softened butter and brown sugar with a spatula or wooden spoon until creamy and well combined.
-
Add eggs and coloring
Add the eggs one at a time, mixing after each addition. Stir in the red gel food coloring until evenly combined.
-
Add melted chocolate
Pour in the melted, slightly cooled dark chocolate and mix until the batter is smooth.
-
Add dry ingredients
Sift the flour and baking powder together. Gradually fold them into the wet mixture just until a uniform dough forms (avoid overmixing).
-
Roll and coat the dough
Prepare two bowls: one with granulated sugar and one with powdered sugar. Scoop the dough into small balls, coat each first in granulated sugar, then in powdered sugar.
-
Arrange on baking sheet
Place the coated dough balls onto the prepared baking sheet.
-
Bake the cookies
Bake for about 10 minutes, until the cookies puff up and develop a crinkled top.
-
Cool completely
Let the cookies cool on the baking sheet for 5 minutes, then transfer them to a wire rack to cool completely.
Nutrition Facts
Servings 18
- Amount Per Serving
- Calories 145kcal
- % Daily Value *
- Total Fat 7g11%
- Saturated Fat 4g20%
- Cholesterol 25mg9%
- Sodium 35mg2%
- Potassium 90mg3%
- Total Carbohydrate 19g7%
- Dietary Fiber 1g4%
- Sugars 12g
- Protein 2g4%
* Percent Daily Values are based on a 2,000 calorie diet. Your daily value may be higher or lower depending on your calorie needs.