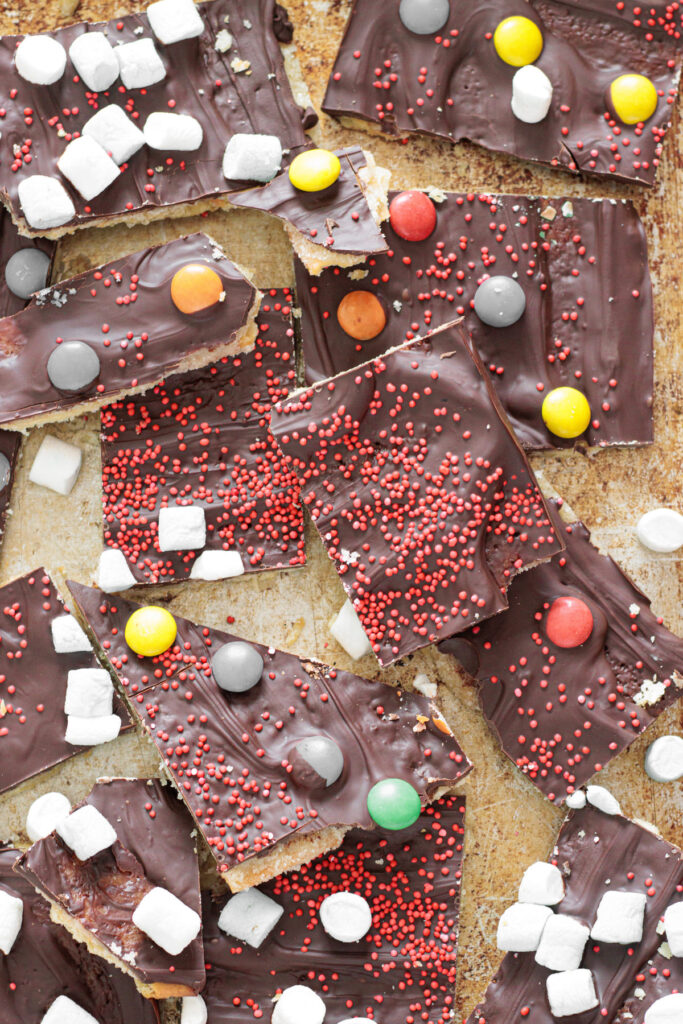
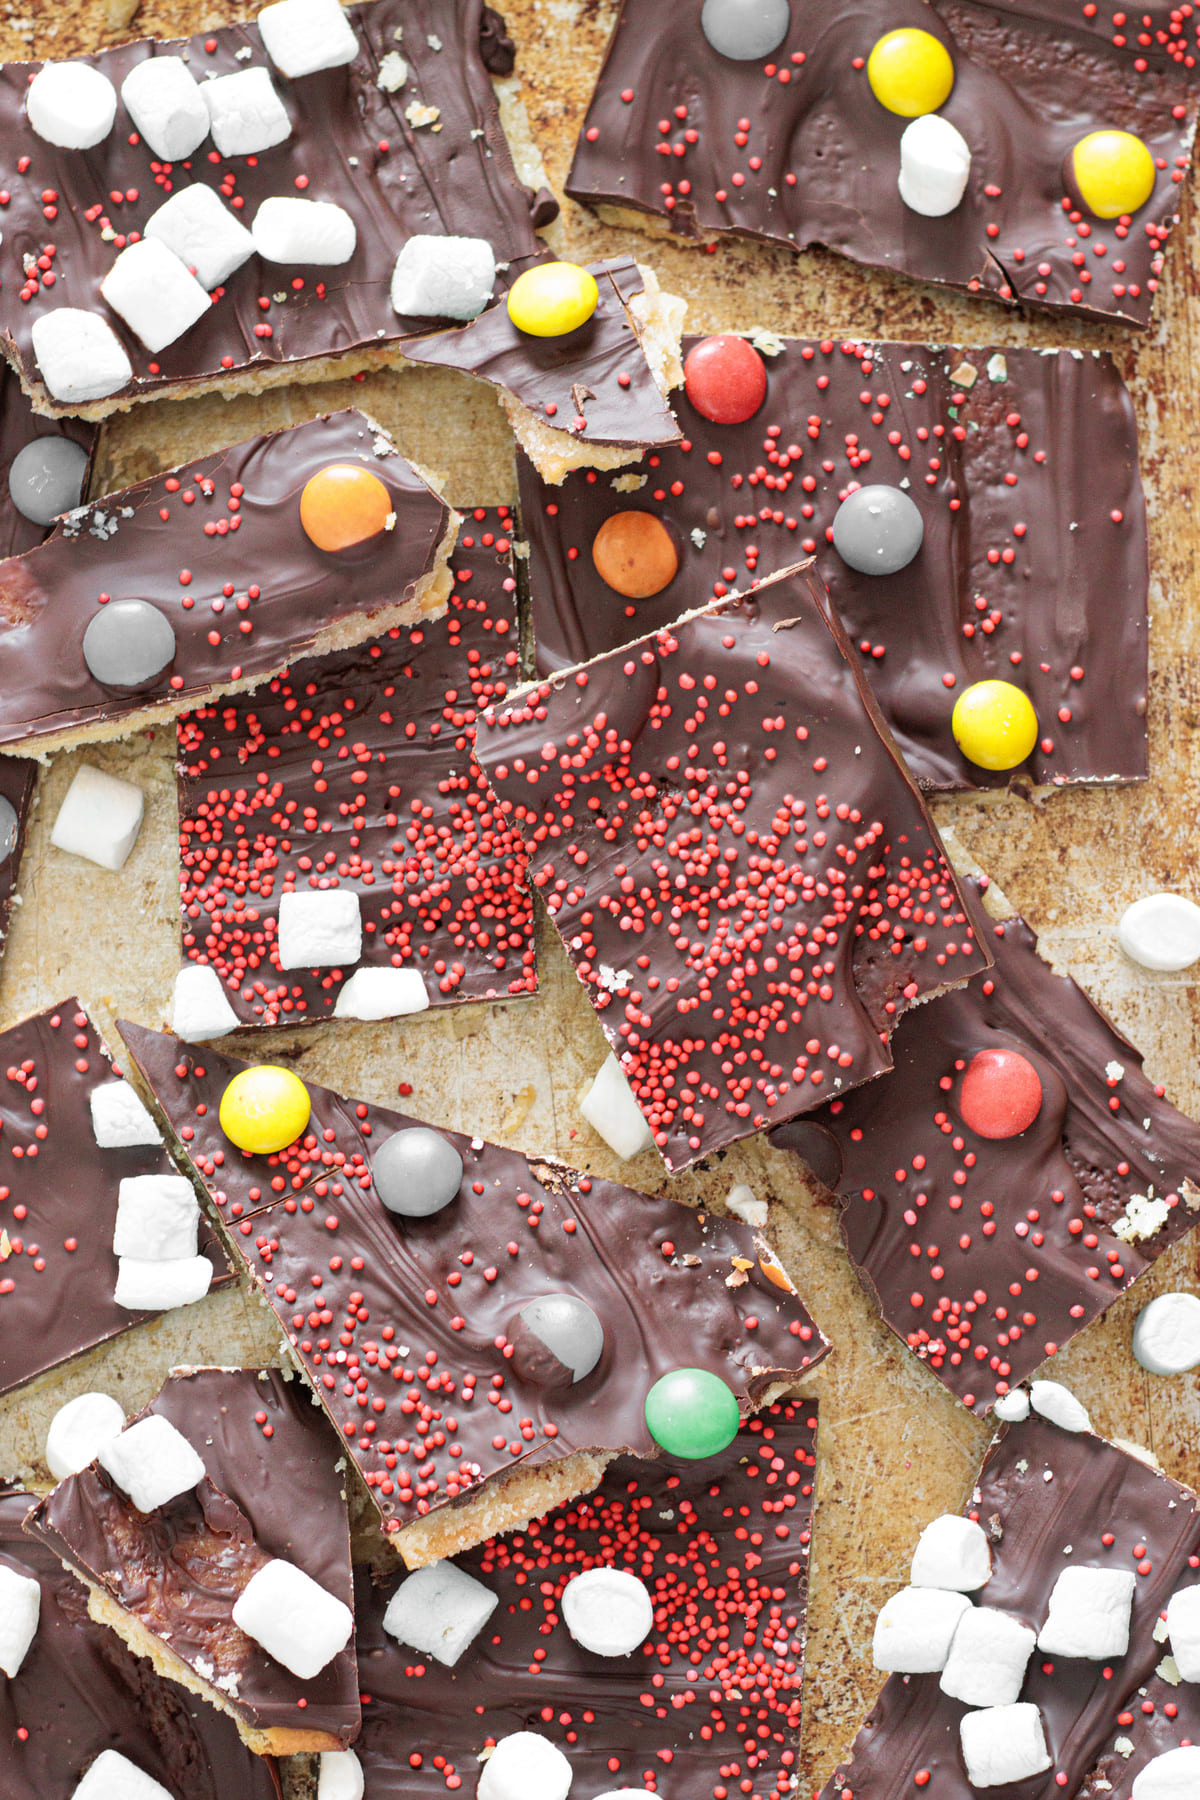
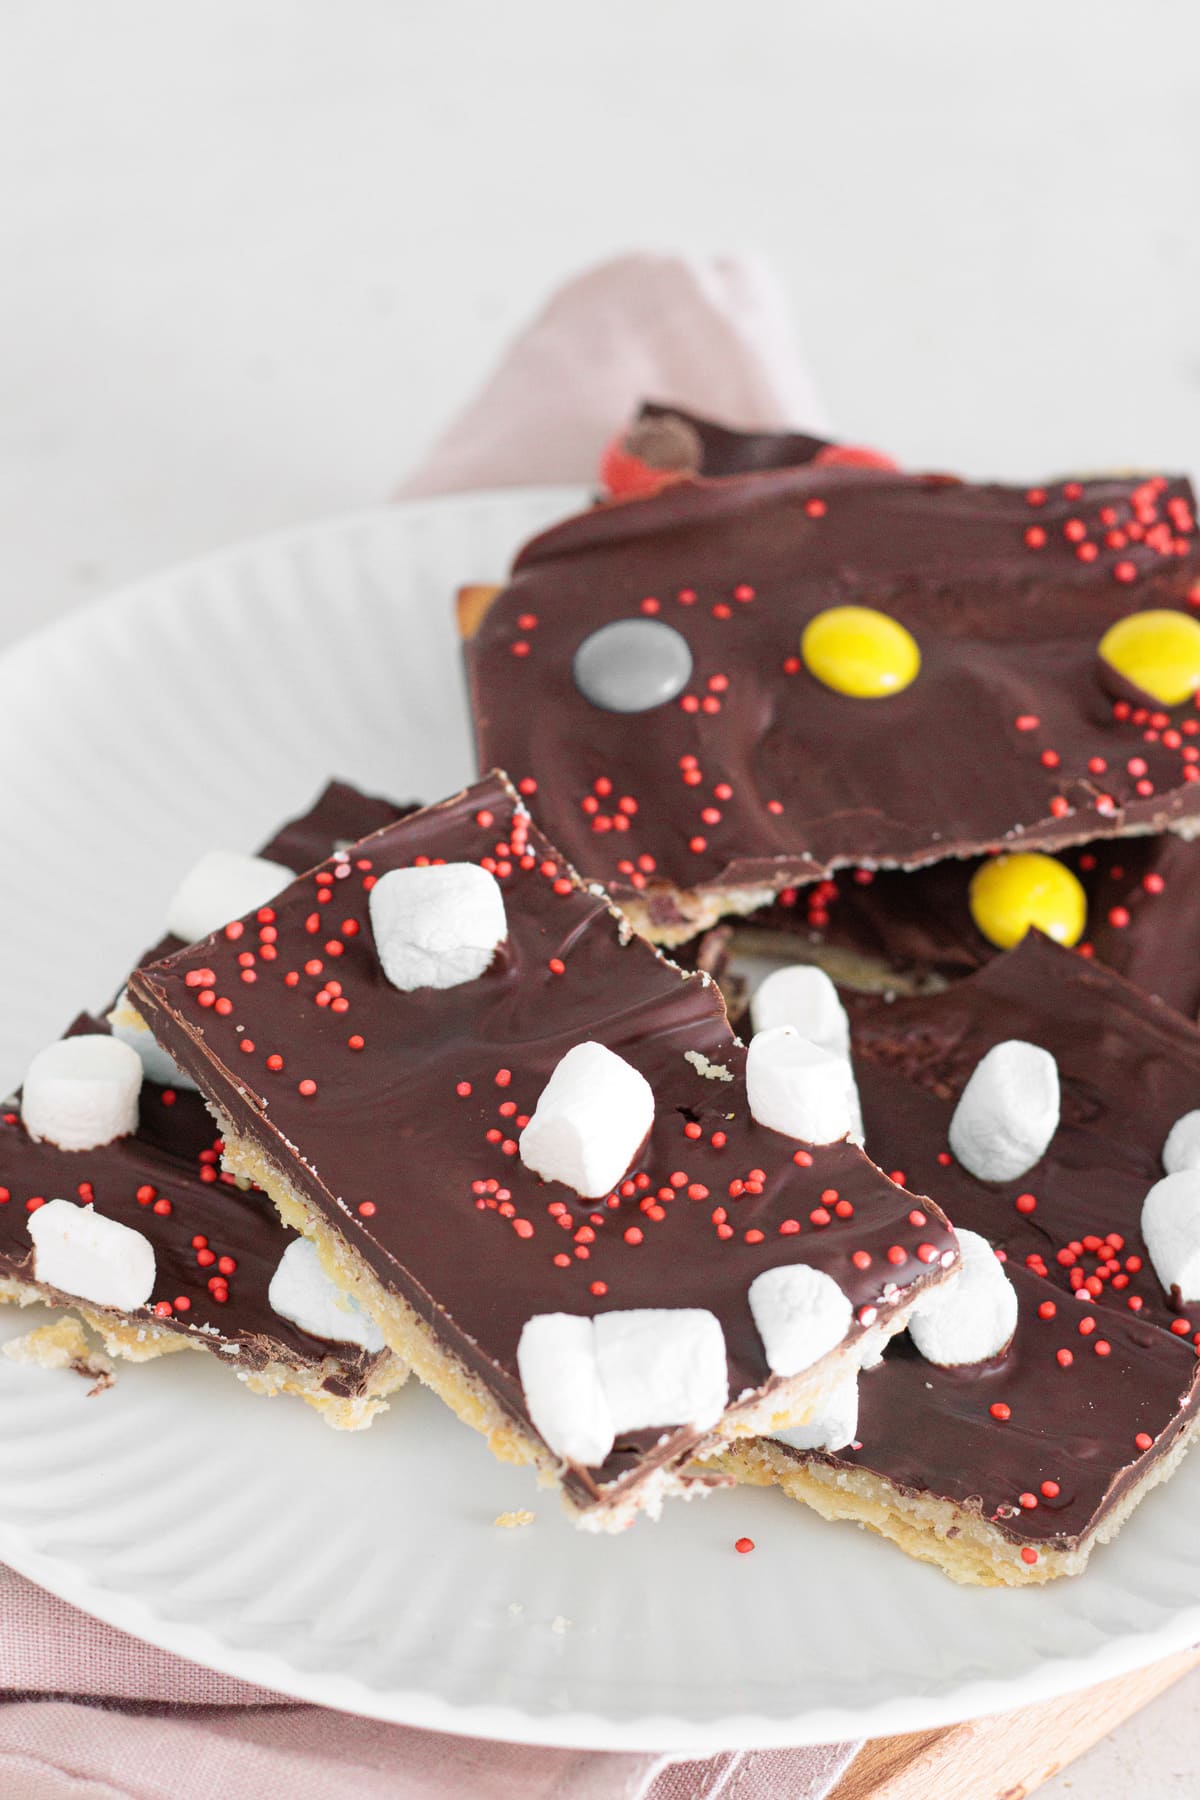
I can't believe I forgot to show you how to make the best Christmas crack recipe ever! I know Christmas is coming, but there's still time, because all you need is about 15 minutes to prepare this recipe... Yes, 15 minutes! Unless you drop the ingredients like I did, then it takes a bit longer!
The Ultimate Christmas Crack
This is a super simple recipe that I've been using for over three years, ever since I moved into my new house with Jorge. It's a simple, quick recipe that always turns out well, because there really isn't much that can go wrong here! It's so simple that even my nephew can make it!
I'm going to teach you how to make these Christmas Crackers right now. Shall we?
Here's The Ingredients You'll Need
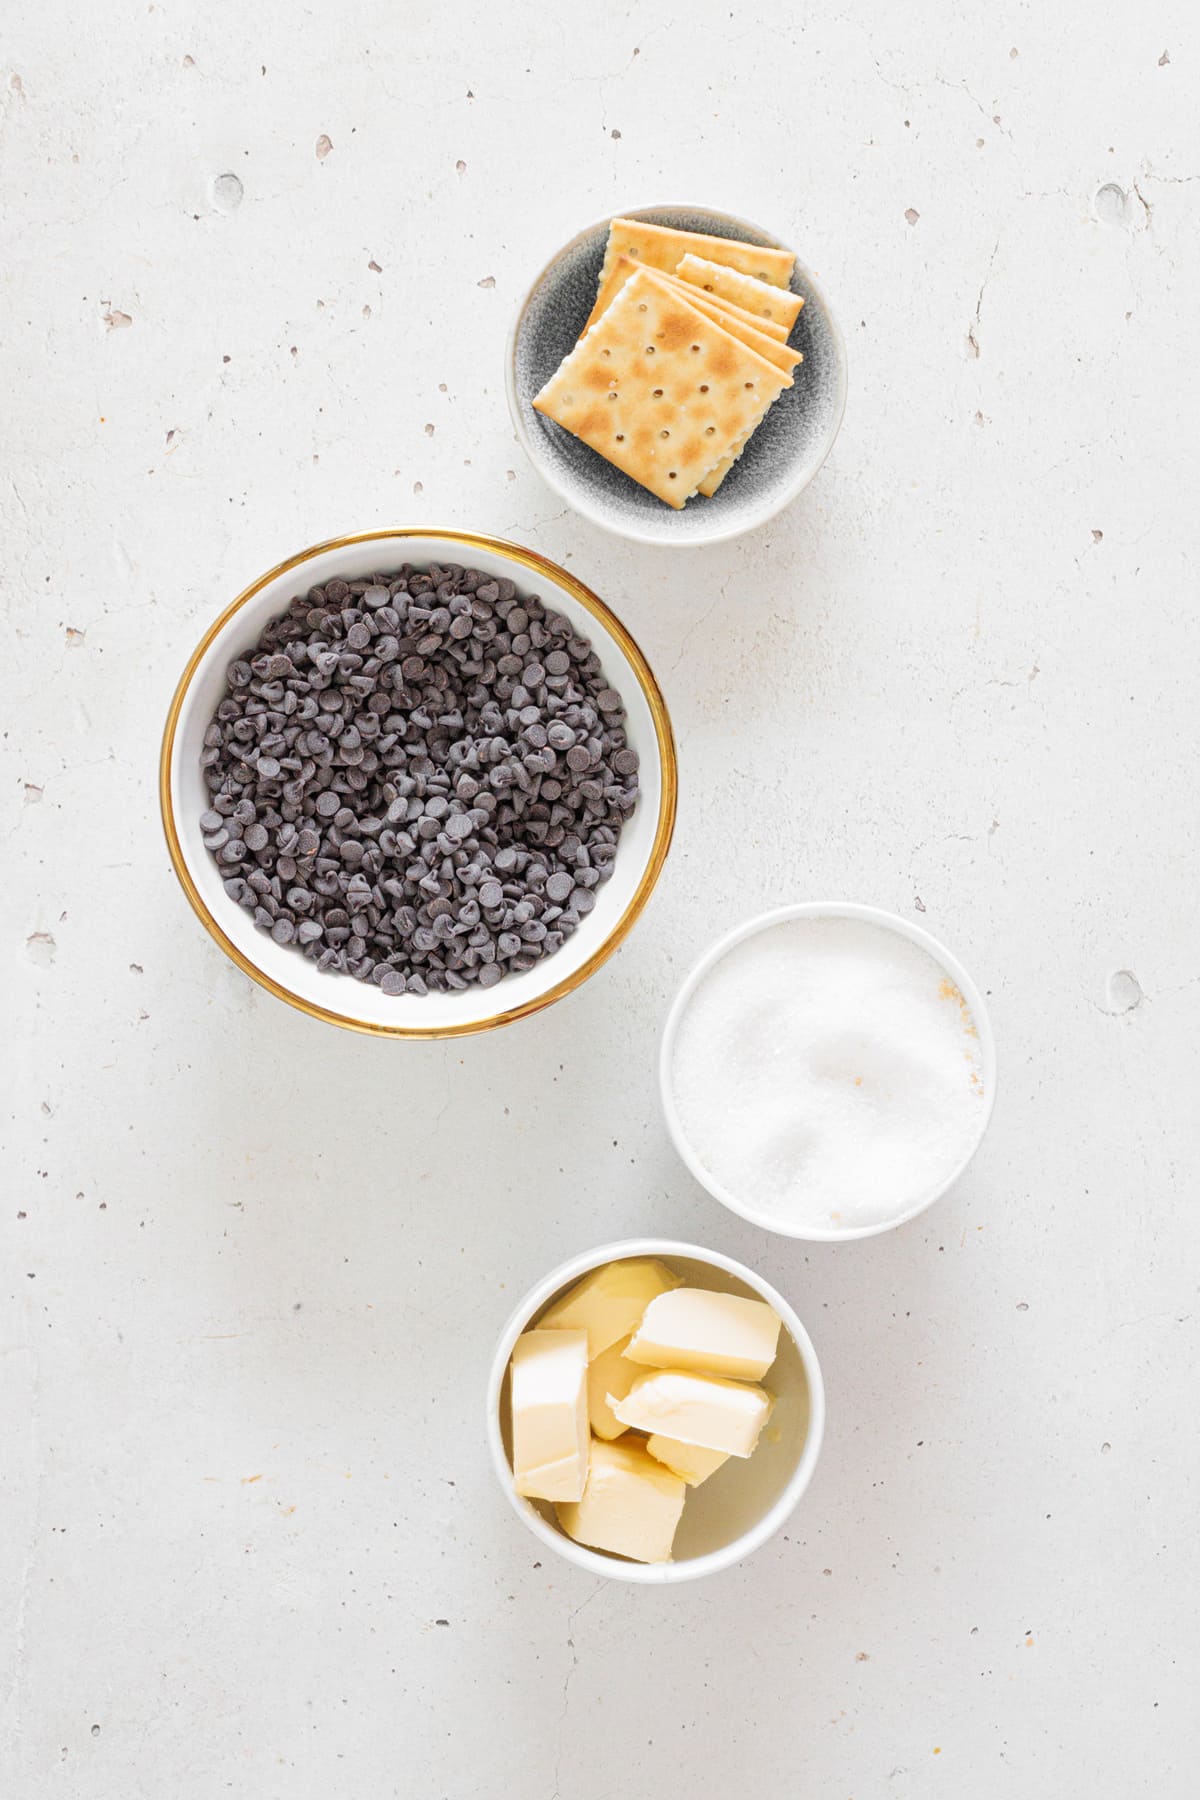
You only need four ingredients for this recipe. Of course, if you want to decorate your Christmas crack with more ingredients, you can do so, but the truth is, it's not necessary! As long as we add that green and red touch, they're Christmassy!
Ingredients for Christmas Crack
1 sleeve Saltine crackers (about 30–35) - I like to use plain, lightly salted crackers. The important thing is that they're unflavored crackers, so as not to change the overall flavor of our recipe. I like to use Westminster Saltine Crackers, but any brand will do.
1 cup unsalted butter (225g) - It's important to use unsalted butter, so we can better control the amount of salt in the recipe. I tried it with margarine, and the flavor wasn't as intense.
1 cup granulated sugar (200g) - Use white sugar because it melts evenly and creates that crisp, toffee-like snap once cooled. I also tried it with brown sugar, but it adds too much moisture to the caramel. It was softer and chewier; in fact, I didn't like it at all.
1 ¾ cups dark chocolate chips (300g) - Use quality chocolate, as it will be one of the main ingredients in these crackers. You can also use white chocolate if you prefer.
How to Make the Ultimate Christmas Crackers
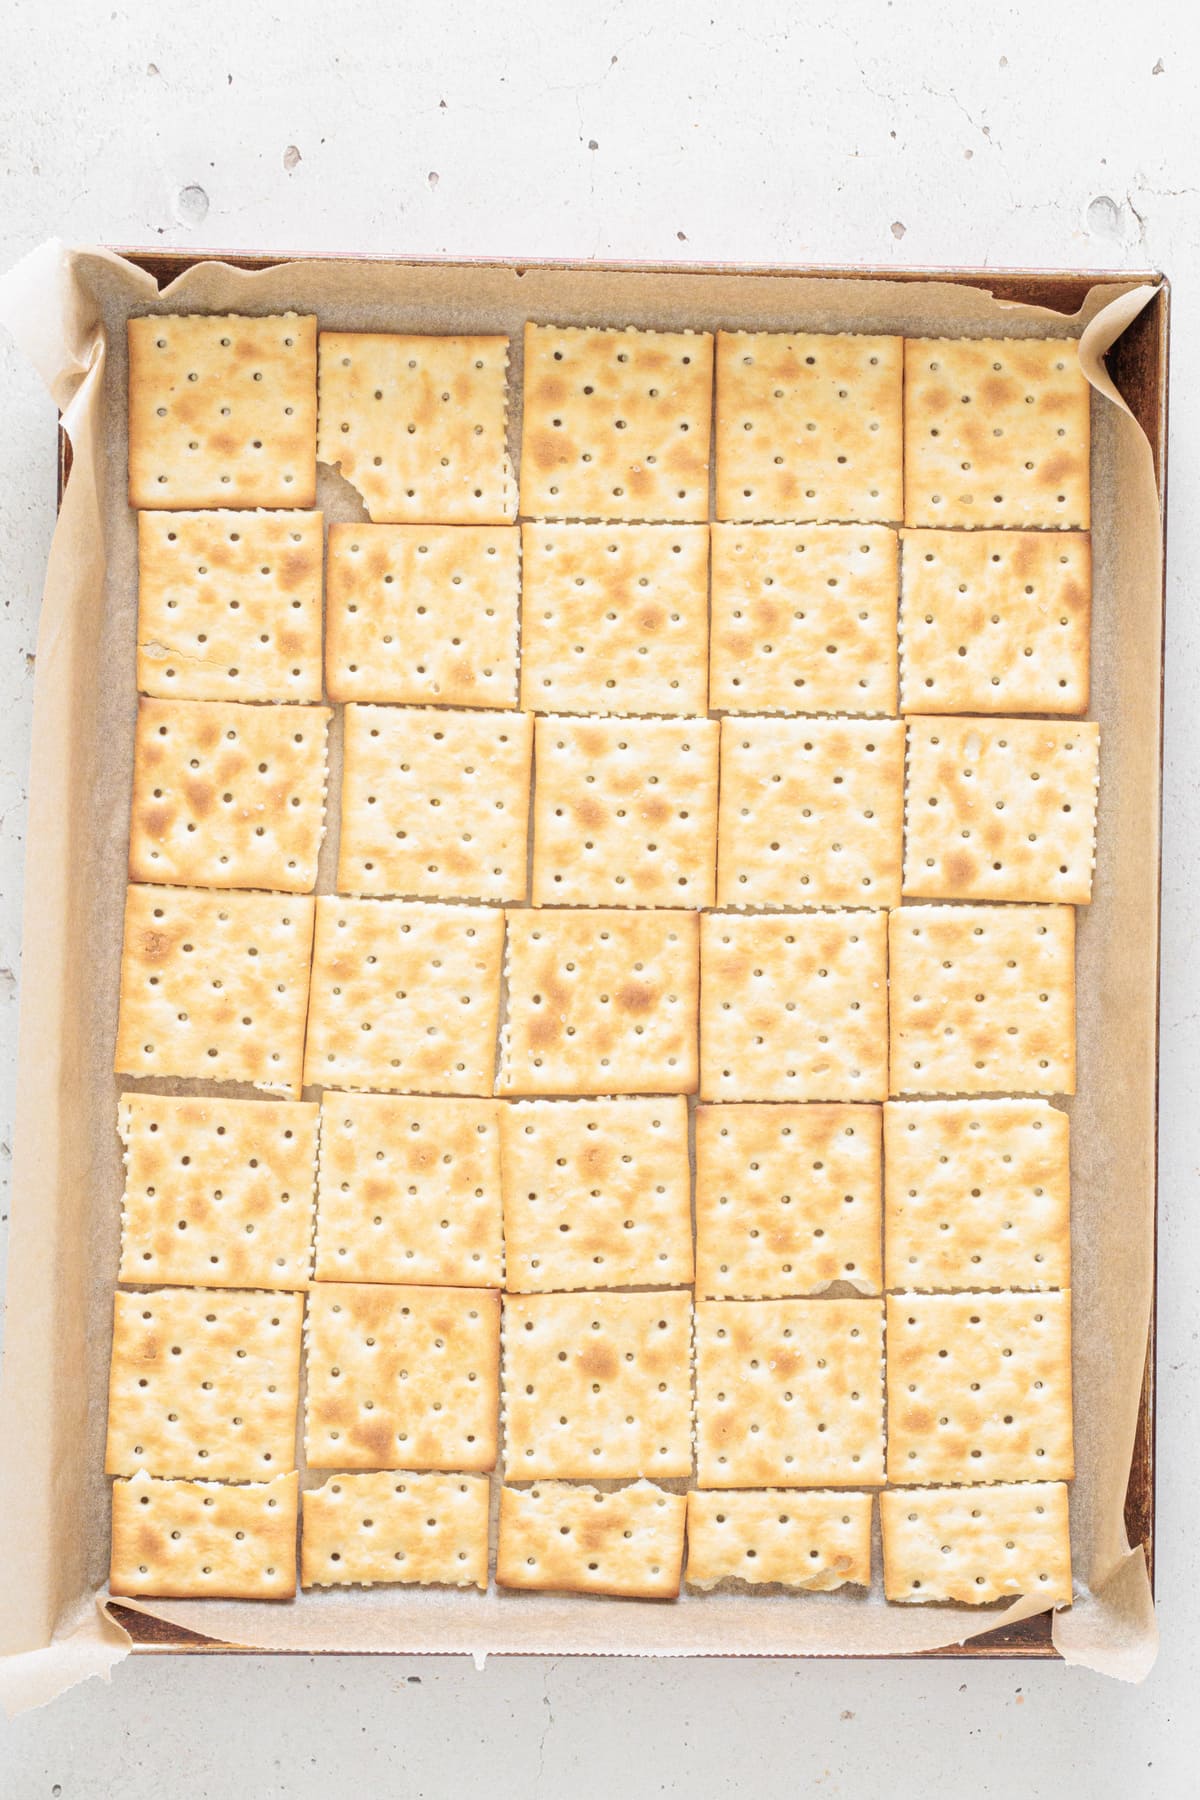
Line a rectangular baking tray with non-stick parchment paper, making sure it covers the edges well. Place the crackers in a single layer to fully cover the bottom of the pan.
In my case, as you can see in the image below, I had to break the bottom crackers so they covered the baking tray. I recommend you do the same; you'll end up with a more perfect cracker.
Line tray and arrange crackers in one layer.
Line tray and arrange crackers in one layer.
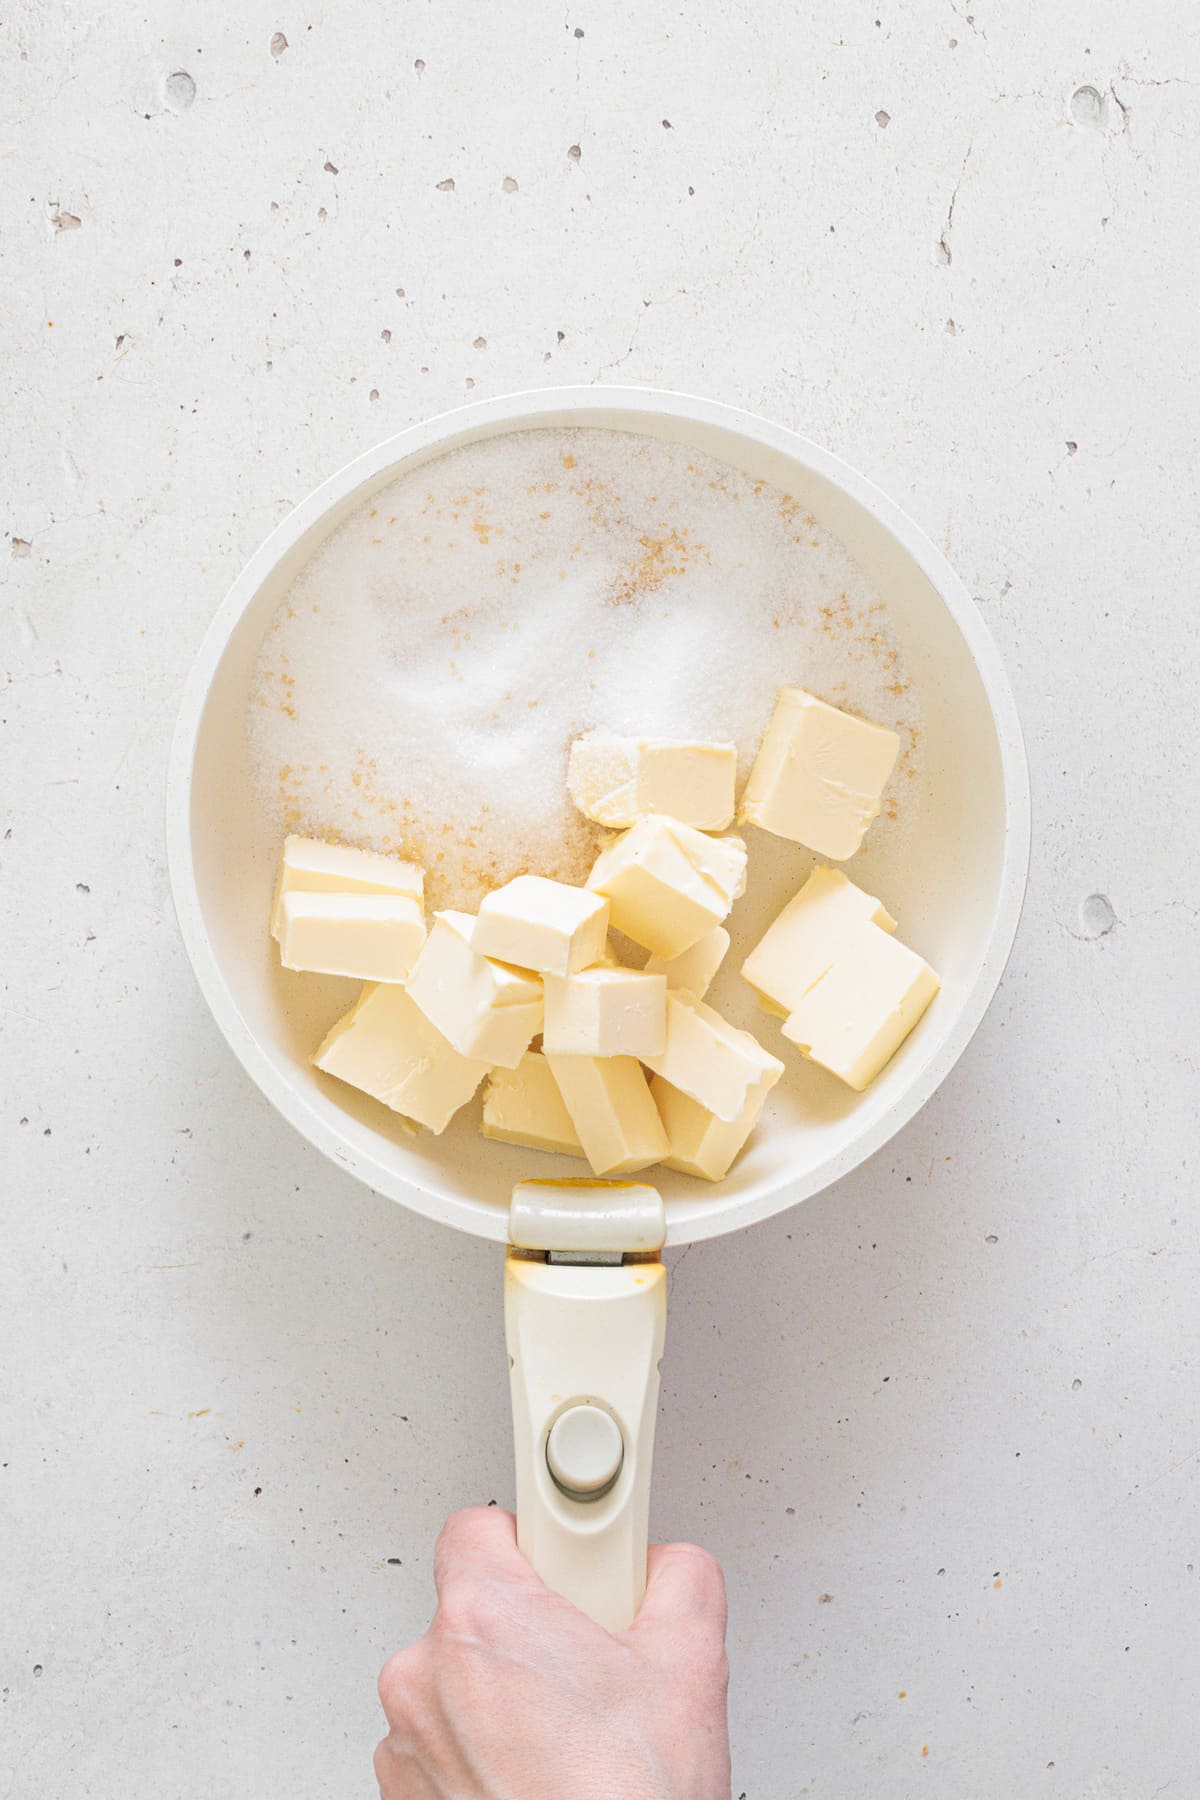
In a heavy-bottomed saucepan, melt the butter and sugar over medium-high heat, stirring frequently. It's very important that you keep stirring, otherwise the sugar will burn and you won't get the syrup you want. Believe me, I know what I'm talking about; I once got distracted and burned everything!
Once the mixture begins to boil, let it simmer for about 3 minutes, stirring constantly, until it thickens slightly and turns a rich amber color (it should reach about 130–145°C / 270–290°F).
Immediately pour the hot caramel over the crackers and spread it evenly with a spatula to cover the surface.
Melt butter and sugar until golden.
Spread caramel evenly over crackers.
Now it's my favorite part, it's time to bake! Bake at 350ºF (175ºC) for 5 minutes, until the caramel bubbles vigorously. If your oven is one of those that burns food very quickly, I recommend that you start checking after 3 minutes, it's better to be safe than sorry.
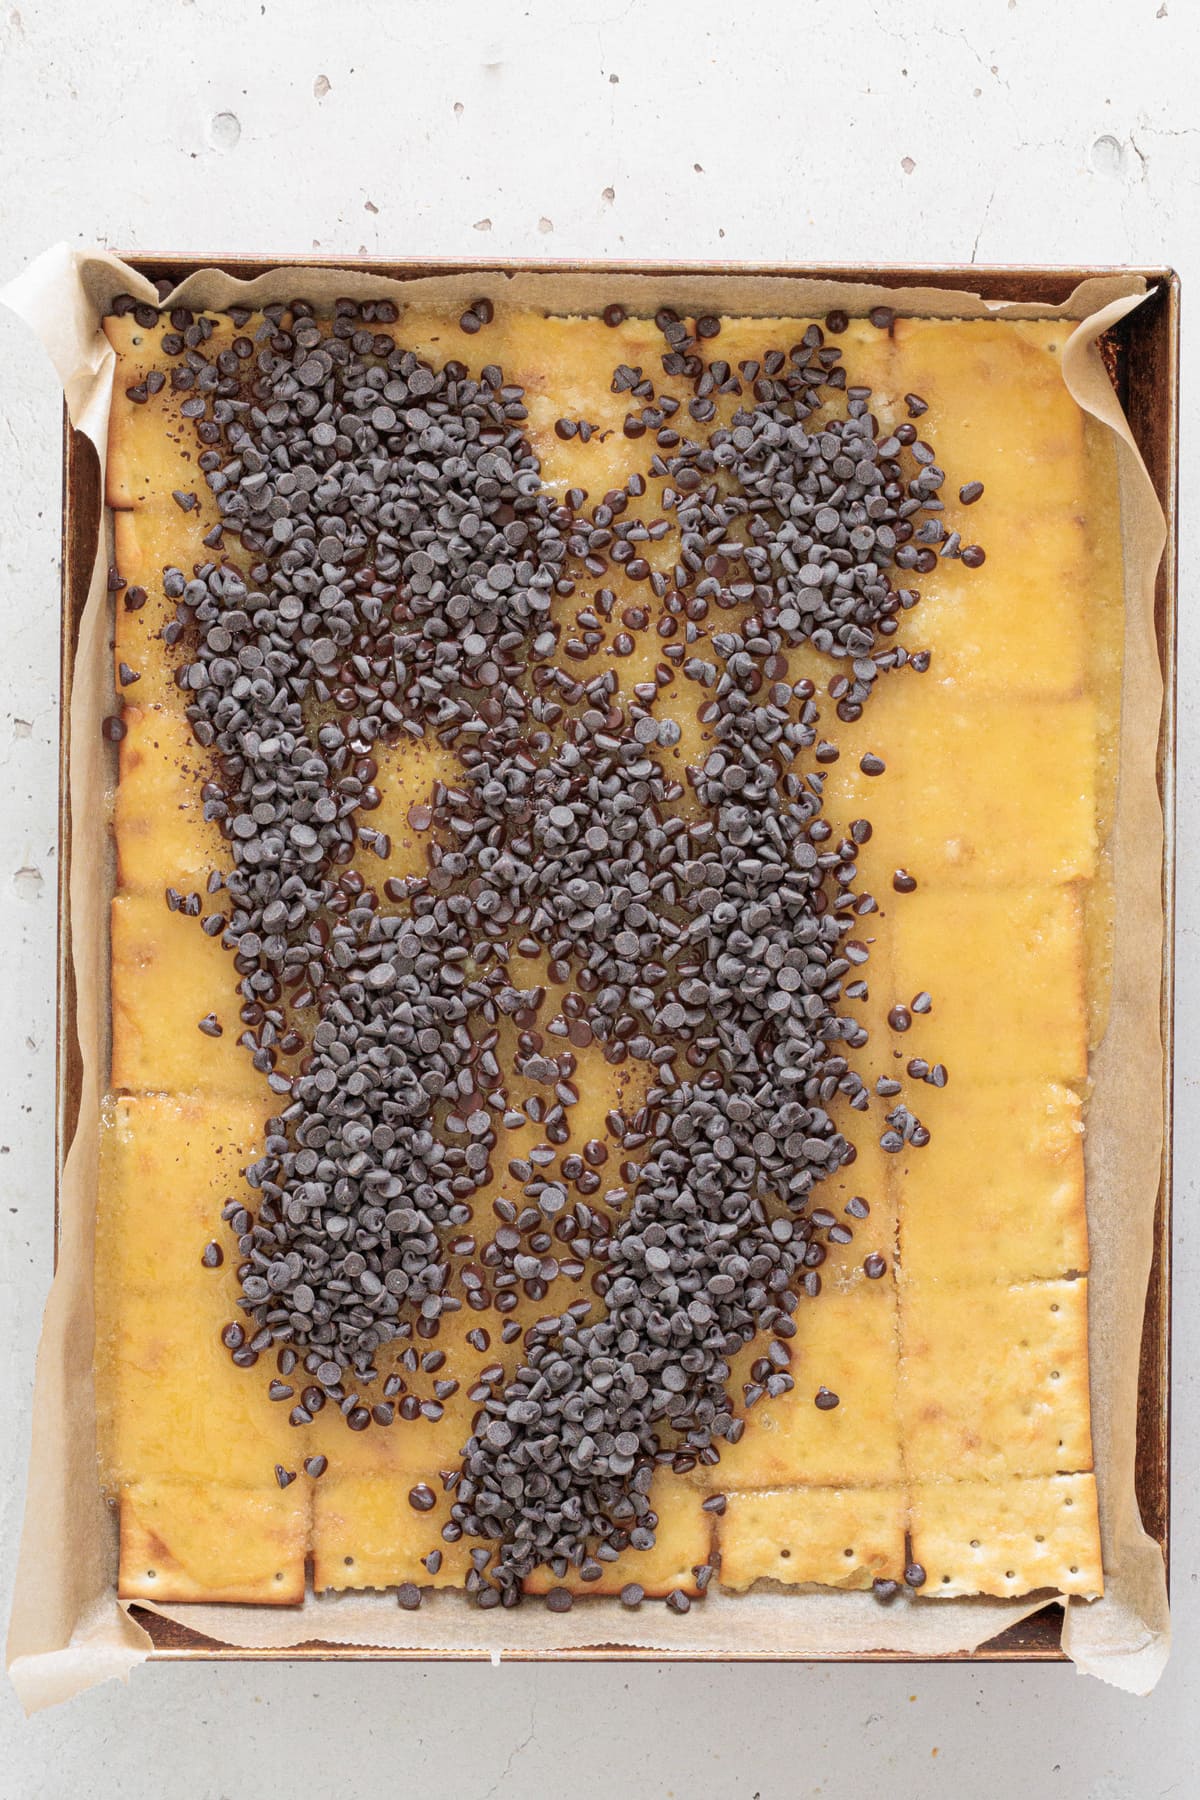
Remove the pan from the oven, sprinkle the chocolate chips over the top, and cover with aluminum foil for about 5 minutes to let the residual heat melt the chocolate.
Remove the foil and gently spread the melted chocolate evenly with a spatula. It will look like the image below, it looks simply delicious!
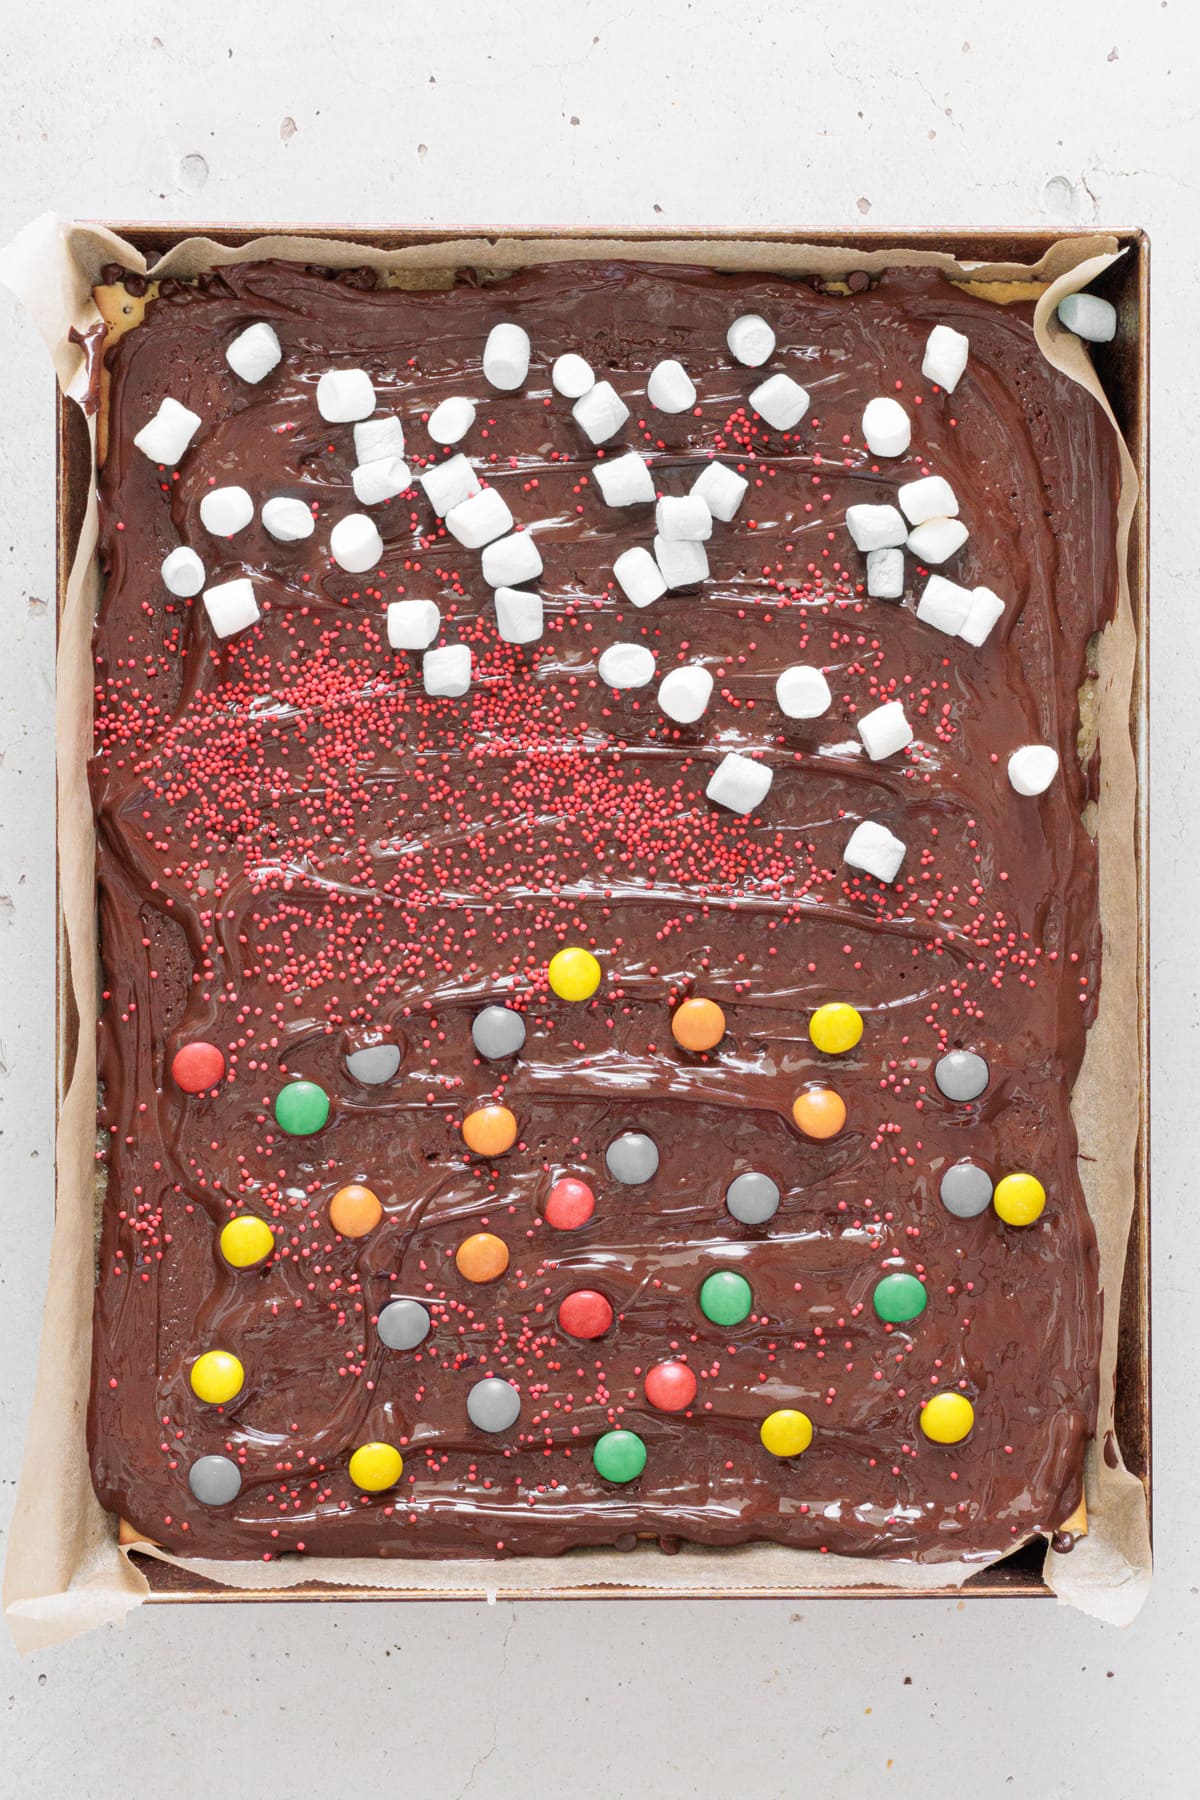
If you like, sprinkle with chopped nuts, flaky salt, shredded coconut, or colorful sprinkles for decoration. I'll leave this part up to you, because it really comes down to personal taste, decorate with the ingredients you like best!
Sprinkle chocolate chips on hot caramel.
Spread melted chocolate evenly.
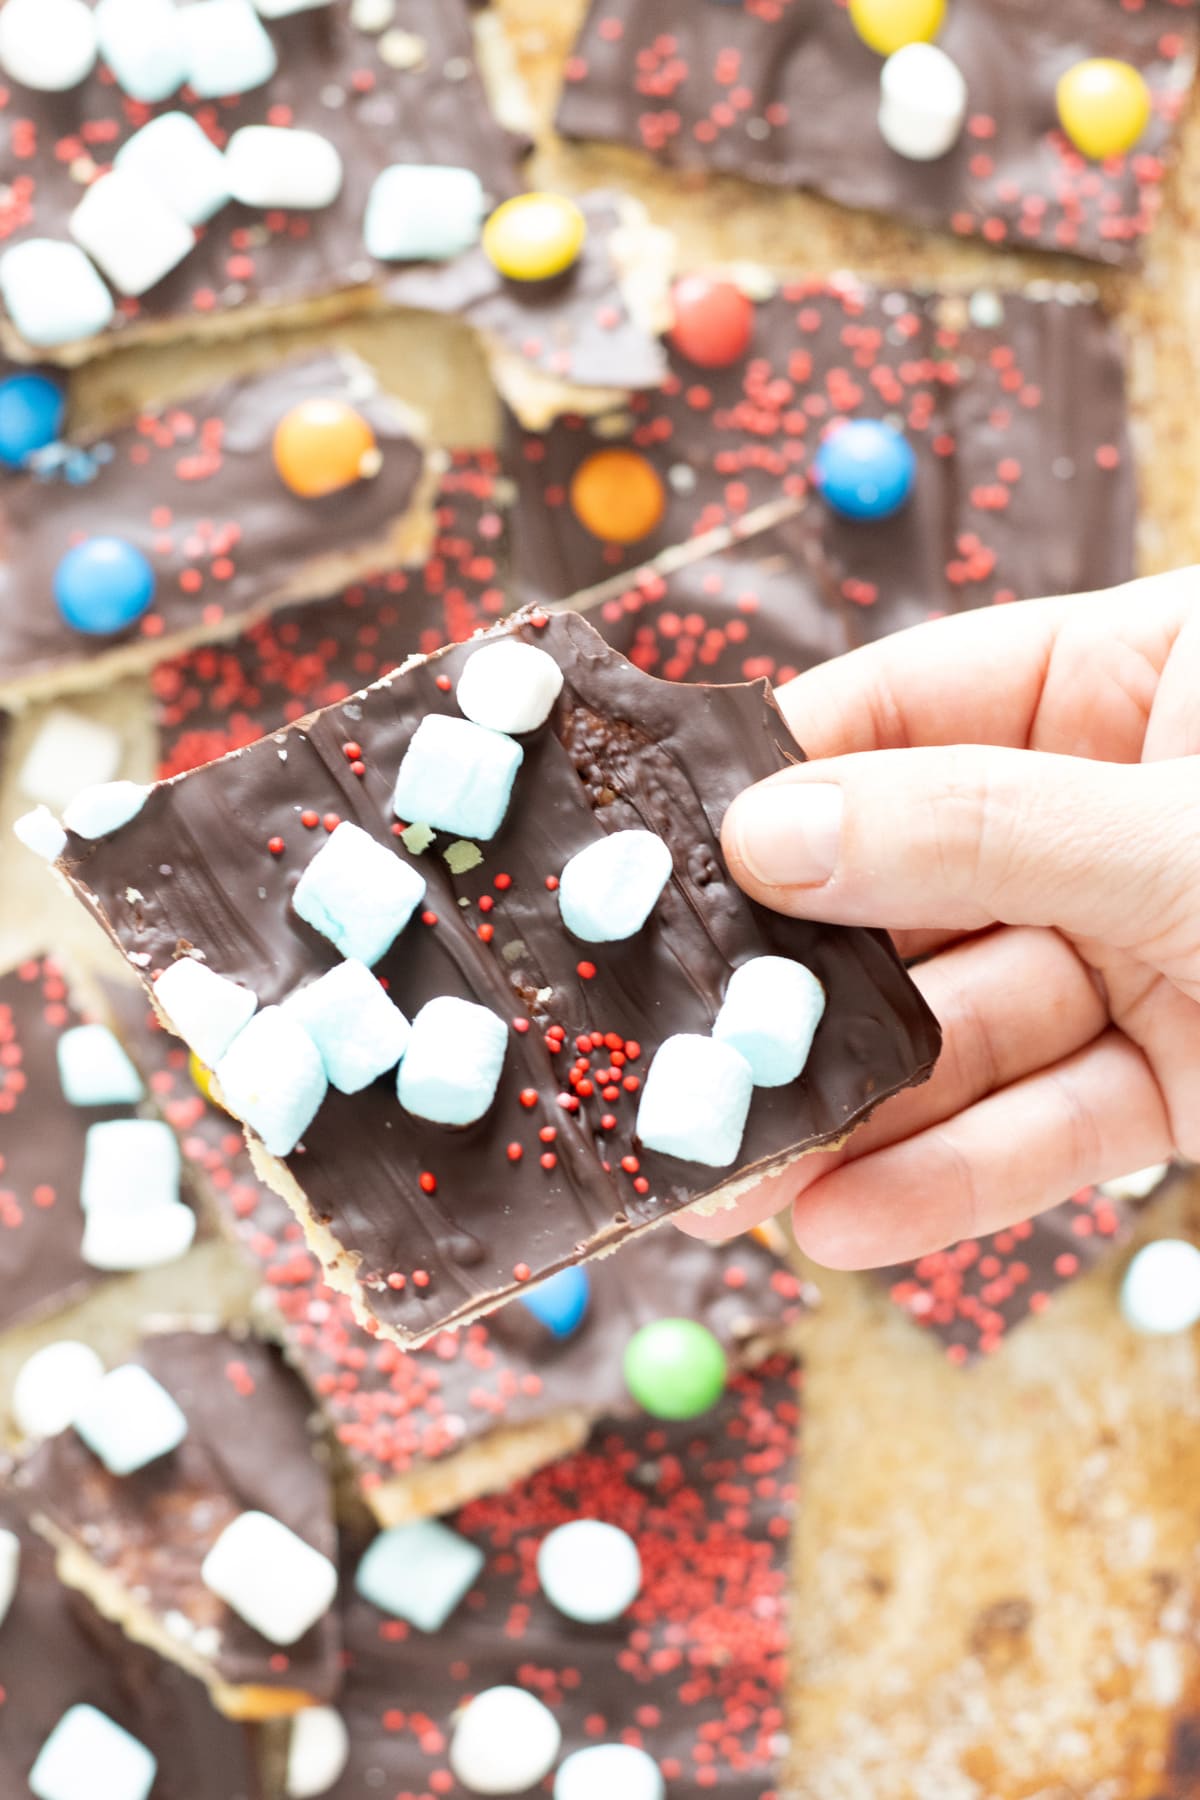
Allow the toffee to cool completely at room temperature or refrigerate for at least 2 hours until firm. Once set, break the toffee into pieces with your hands or cut it into squares with a knife!
Add toppings while chocolate is soft.
And voila, your Christmas Crack is ready! Break them into pieces, put them in the fridge, and then on the Christmas table.
By the way, take advantage and also save my Snowball Cookies recipe, they are becoming a favorite among my Facebook followers!
You'll Love These Variations
What I love about this recipe is that the combinations are practically endless. We can decorate it however we want, there are no wrong choices! Even so, I decided to show you some variations I tried and liked.
White chocolate - Instead of using dark chocolate chips, you can also use white chocolate chips. Your Christmas cracks will have a sweeter flavor, but with a completely different appearance, they actually look beautiful!
Peanut Butter Swirl - If you're a peanut butter fan like me, you won't want to miss this variation. Drizzle warm peanut butter over the melted chocolate and swirl with a knife before cooling. I love it, Jorge loves it, and basically my whole family loves it!
Peppermint Bark Style - When I have a lot of kids at my Christmas party, I like to put out some crushed candy canes or peppermint candies. The Christmas Cracks look beautiful, and the kids love them.
If you know or have tried any other variations, you already know that you can (and should!) leave a comment below.
The Best Way to Package and Gift Homemade Christmas Crack
I think these Christmas Cracks are PERFECT for gifting! I'll give you some tips to make sure they reach their recipient perfectly.
First, let them cool completely. Then, cut the Christmas Cracks into perfect pieces. Use your hands or a sharp knife to make clean, gift-worthy pieces.
Wrap them, but don't stack them on top of each other. You need to use parchment or wax paper to divide them, otherwise they might stick together!
Wrap and gift! You can store Christmas cracks at room temperature for 1 week, but if you refrigerate them, they'll keep well for 2 weeks.
This means you can start preparing your Christmas gift a week in advance, which is great!
Sweet, salty, and perfectly crunchy! This classic Christmas Crack recipe combines buttery toffee, melted chocolate, and crisp crackers for an irresistible holiday treat you can make in minutes. Perfect for gifting or sharing at any Christmas party!
Ingredients
1sleeve Saltine crackers
1cup unsalted butter (225g)
1cup granulated sugar (200g)
1 ¾cups dark chocolate chips (300g)
Instructions
1
Prepare the Baking TrayLine a rectangular baking tray with non-stick parchment paper, making sure it covers the edges well.
2
Arrange the CrackersPlace the crackers in a single layer to fully cover the bottom of the pan.
3
Make the CaramelIn a heavy-bottomed saucepan, melt the butter and sugar over medium-high heat, stirring frequently. Once it begins to boil, let it simmer for about 3 minutes until it thickens and turns amber.
4
Pour Over CrackersImmediately pour the hot caramel over the crackers and spread it evenly with a spatula.
5
Bake the Toffee LayerBake at 350°F (175ºC) for 5 minutes, until the caramel bubbles vigorously.
6
Add Chocolate ChipsRemove from the oven, sprinkle the chocolate chips on top, and cover with foil for 5 minutes to melt.
7
Spread the ChocolateUncover and spread the melted chocolate evenly over the caramel layer.
8
Add ToppingsSprinkle with chopped nuts, flaky salt, or your favorite decorations.
9
Cool Until FirmLet the toffee cool completely or refrigerate for at least 2 hours until solid.
10
Break and StoreBreak into pieces or cut into squares. Store in an airtight container in the fridge for up to 1 week.
Nutrition Facts
Servings 20
Amount Per Serving
Calories230kcal
% Daily Value *
Total Fat14g22%
Saturated Fat8g40%
Cholesterol25mg9%
Sodium95mg4%
Total Carbohydrate24g8%
Dietary Fiber1g4%
Sugars21g
Protein2g4%
* Percent Daily Values are based on a 2,000 calorie diet. Your daily value may be higher or lower depending on your calorie needs.
Rita Dias
Food Blogger
Hi, I'm Rita, a full-time food blogger, mom of two beautiful cats, and passionate about cooking and photography. I want to share with you simple but delicious recipes that I make in my own kitchen.