

My 3-Ingredient Peppermint Bark Clusters are the only holiday treat I never skip. It’s easy, delicious, and takes less than an hour from start to finish.
Plus, it’s that classic treat you can never go wrong with. You’re basically just melting and spreading chocolate. No mixer, no oven, nothing complicated! It has that fresh, crunchy texture everyone loves.
I make a big batch every year for my family, and I always set some aside for gift-giving!
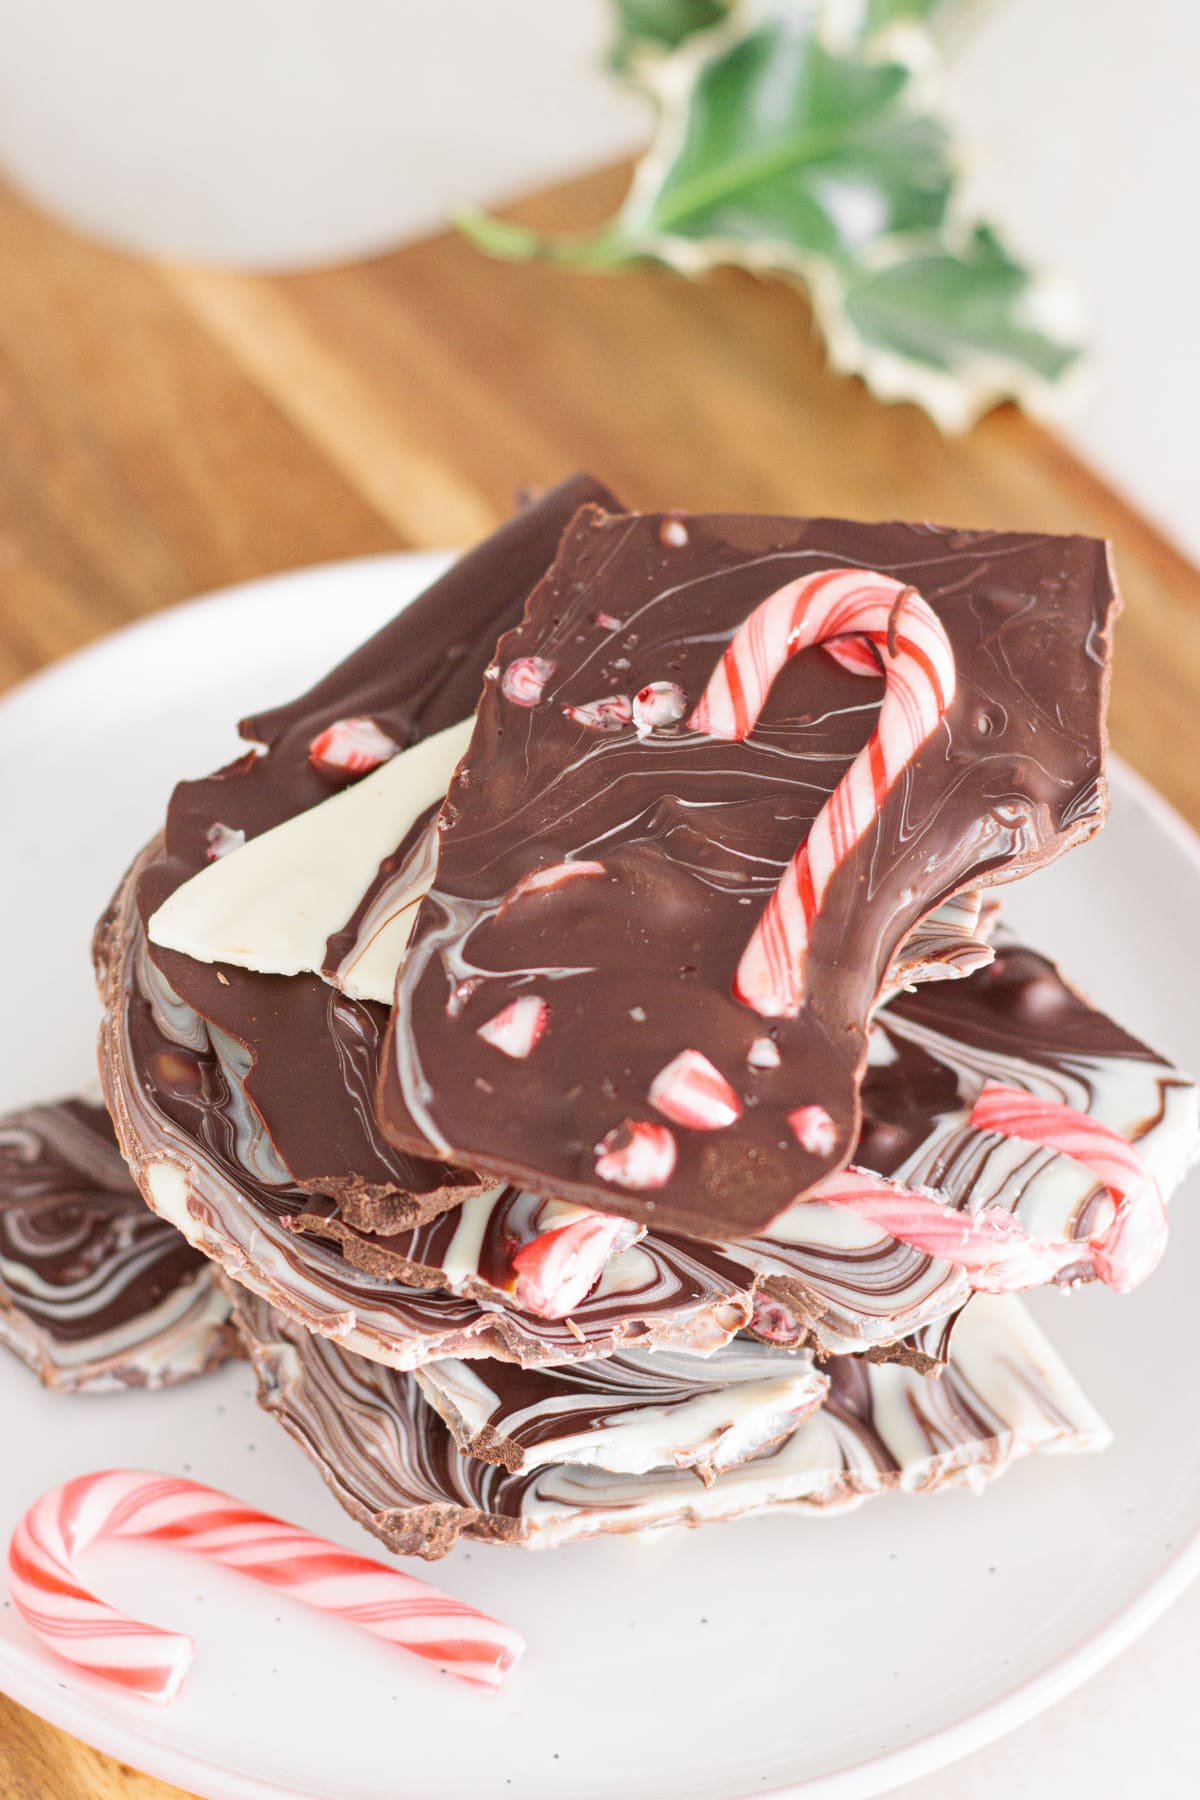
You might be thinking “this is just going to be another peppermint bark recipe…” but you couldn’t be further from the truth! This is going to be the ONLY recipe you’ll ever need from now on.
It only uses 3 ingredients, it takes about 45 minutes to make and enjoy, and it’s made with good chocolate, not the waxy stuff! Simple, easy, and delicious. It’s easy to double or triple the batch. And, you can never go wrong with too much peppermint bark!
Somewhere along the way, Rita and I turned it into a little competition to see who could create the simplest Christmas treat that still tastes rich and homemade.
She came in strong with her 4-ingredient (addictive) Christmas crack, so I had to answer with these 3-ingredient peppermint bark clusters! If you’re looking for a saltier holiday version, you need to try her recipe.
At this point, Rita and I are basically the few-ingredient royals of Christmas baking. Long live the bark! (See what I did there?!)
What You’ll Need
Now, this recipe is quite simple and only needs 3 ingredients. But you want to know the real secret to that rich chocolate taste? Don’t be cheap. Treat yourself. Get the good chocolate! And if anyone complains later… that’s on them. (Just kidding… kind of.)
I’ve tried it with the cheaper stuff before, and trust me. Never again! The cheaper baking bars replace cocoa butter with oils, so they melt poorly, don’t swirl well, and set with a dull, waxy finish. The secret is real chocolate that melts smoothly and gives the bark that perfect snap.
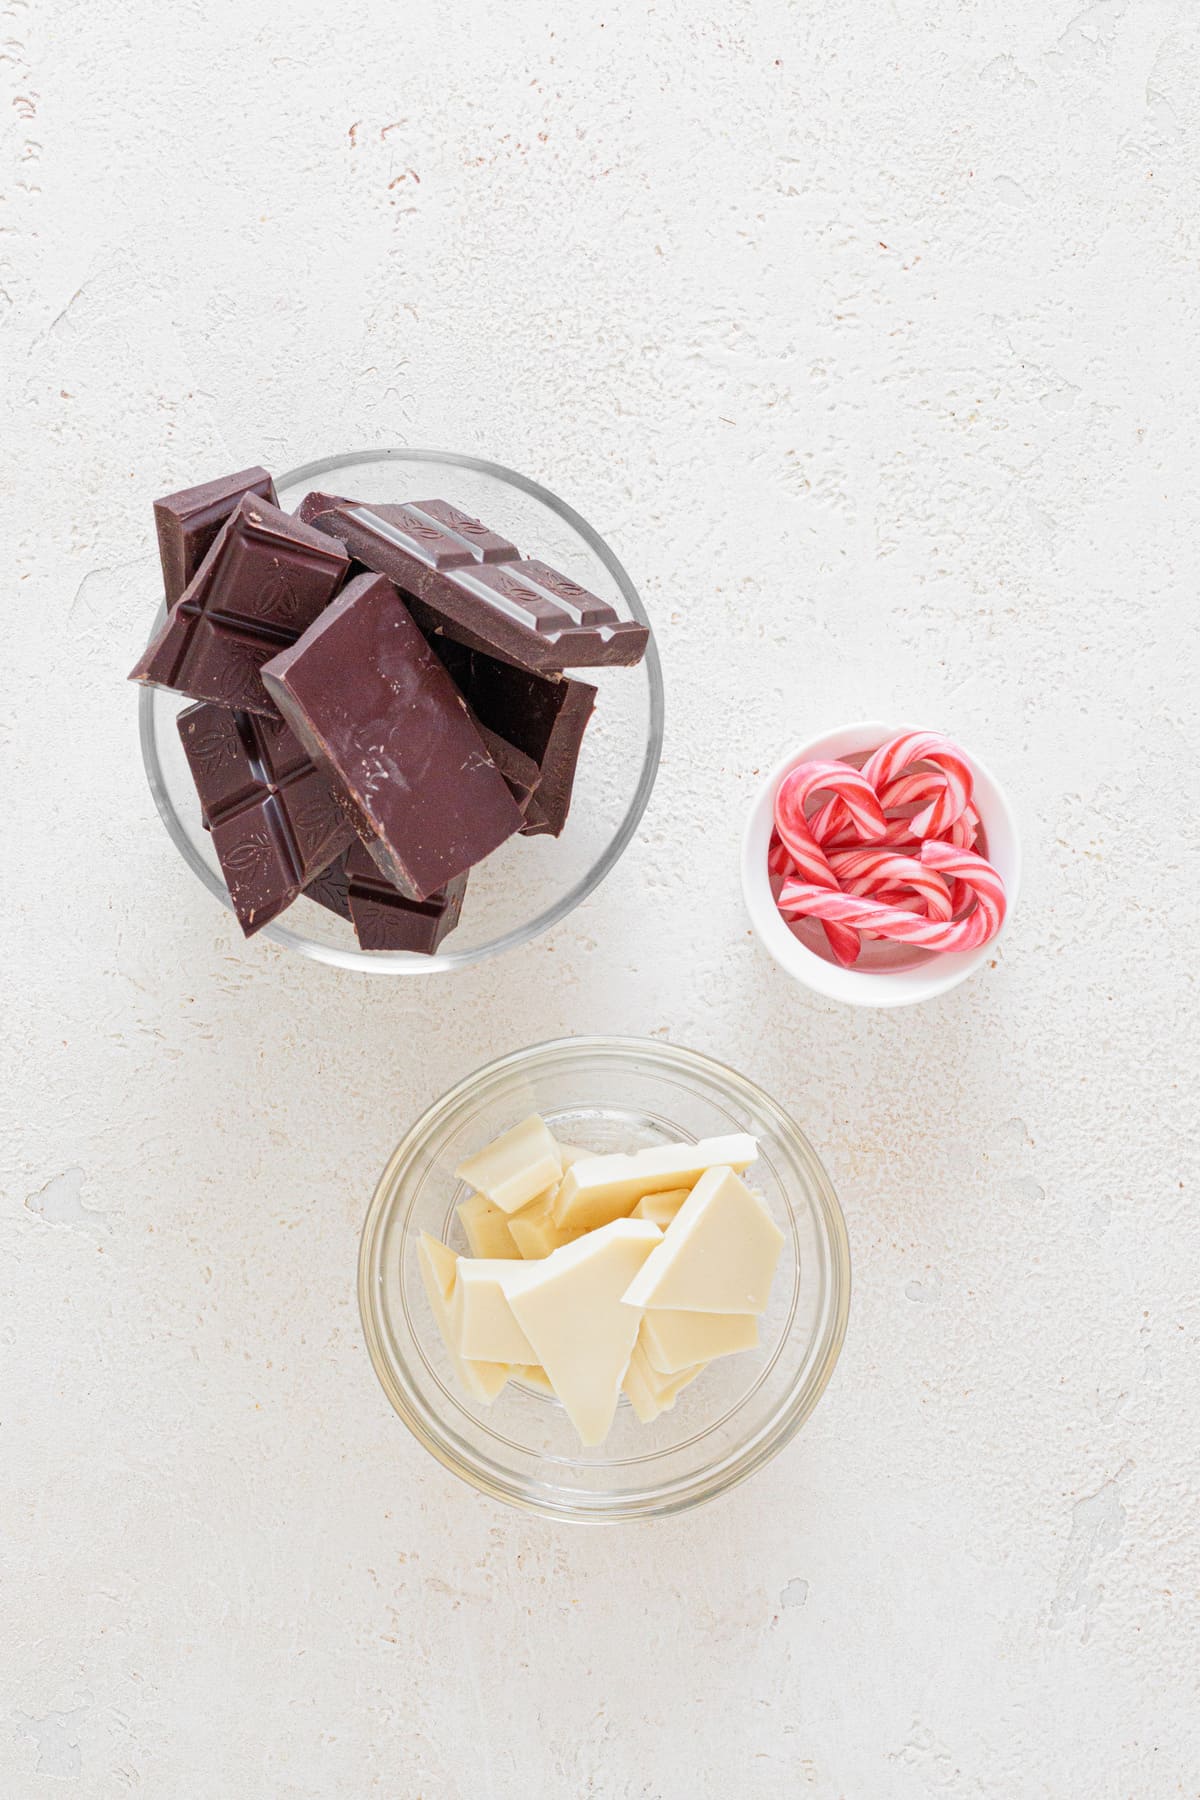
- 10.5 oz dark chocolate (about 1 ¾ cups chopped or chips) – I like to use Lindt Excellence 70% Dark Chocolate. It melts beautifully and has that deep, rich flavor that makes the bark taste premium. Any smooth, good-quality chocolate bar works. Just avoid the waxy baking bars!
- 10.5 oz white chocolate (about 1 ¾ cups chopped or chips) – For white chocolate, Ghirardelli White Chocolate Baking Bars are my go-to. They melt evenly and give you that perfect swirl without turning grainy. Definitely avoid the cheap “white baking chips”! They don’t behave the same and look yellowish once set.
- 8 full-size candy canes – Crush 5 and keep 3 whole for topping. Any brand works as long as they’re fresh and not sticky. Older candy canes don’t crush cleanly!
Following these exact measures, I get a full tray of peppermint bark clusters, which I usually make just for Rita and me. But if I’m making these for gifting or bringing to a holiday gathering, I double or triple the batch. Trust me, these disappear fast. You practically need to be as quick as Santa delivering gifts on Christmas Eve to catch a piece!
Alright, enough chit-chat, let’s make some chocolate magic.
How To Make My 3-Ingredient Peppermint Bark Clusters
To make the cleaning process easier, I like to use a baking sheet lined with parchment paper (trust me, it’s a pain in the bum to clean up… haha) and the whole thing lifts right off once it’s set.
Then I cut the chocolate into smaller chunks, both the dark and white chocolate. Using the classic double-boiler method, I start by melting the dark chocolate first and the white chocolate after.
I don’t know why but, for some reason, the past few times I’ve tried to melt the chocolate in the microwave in 30-second bursts and I’ve burned it. When that happens, the chocolate seizes (it turns grainy and stiff), and there’s no saving it. So, I’ll stick to my pot with simmering water for the next few months!
While the chocolate is melting, I take this time to crush some peppermint candy canes into small chunks. I usually put them in a zip-top bag, press out the air, and with a rolling pin gently tap them to crush. Keep 2 or 3 whole to add on top.
Once it has fully melted, I spread the dark chocolate with a spoon on the parchment paper. Add half of the crushed peppermint candy canes.
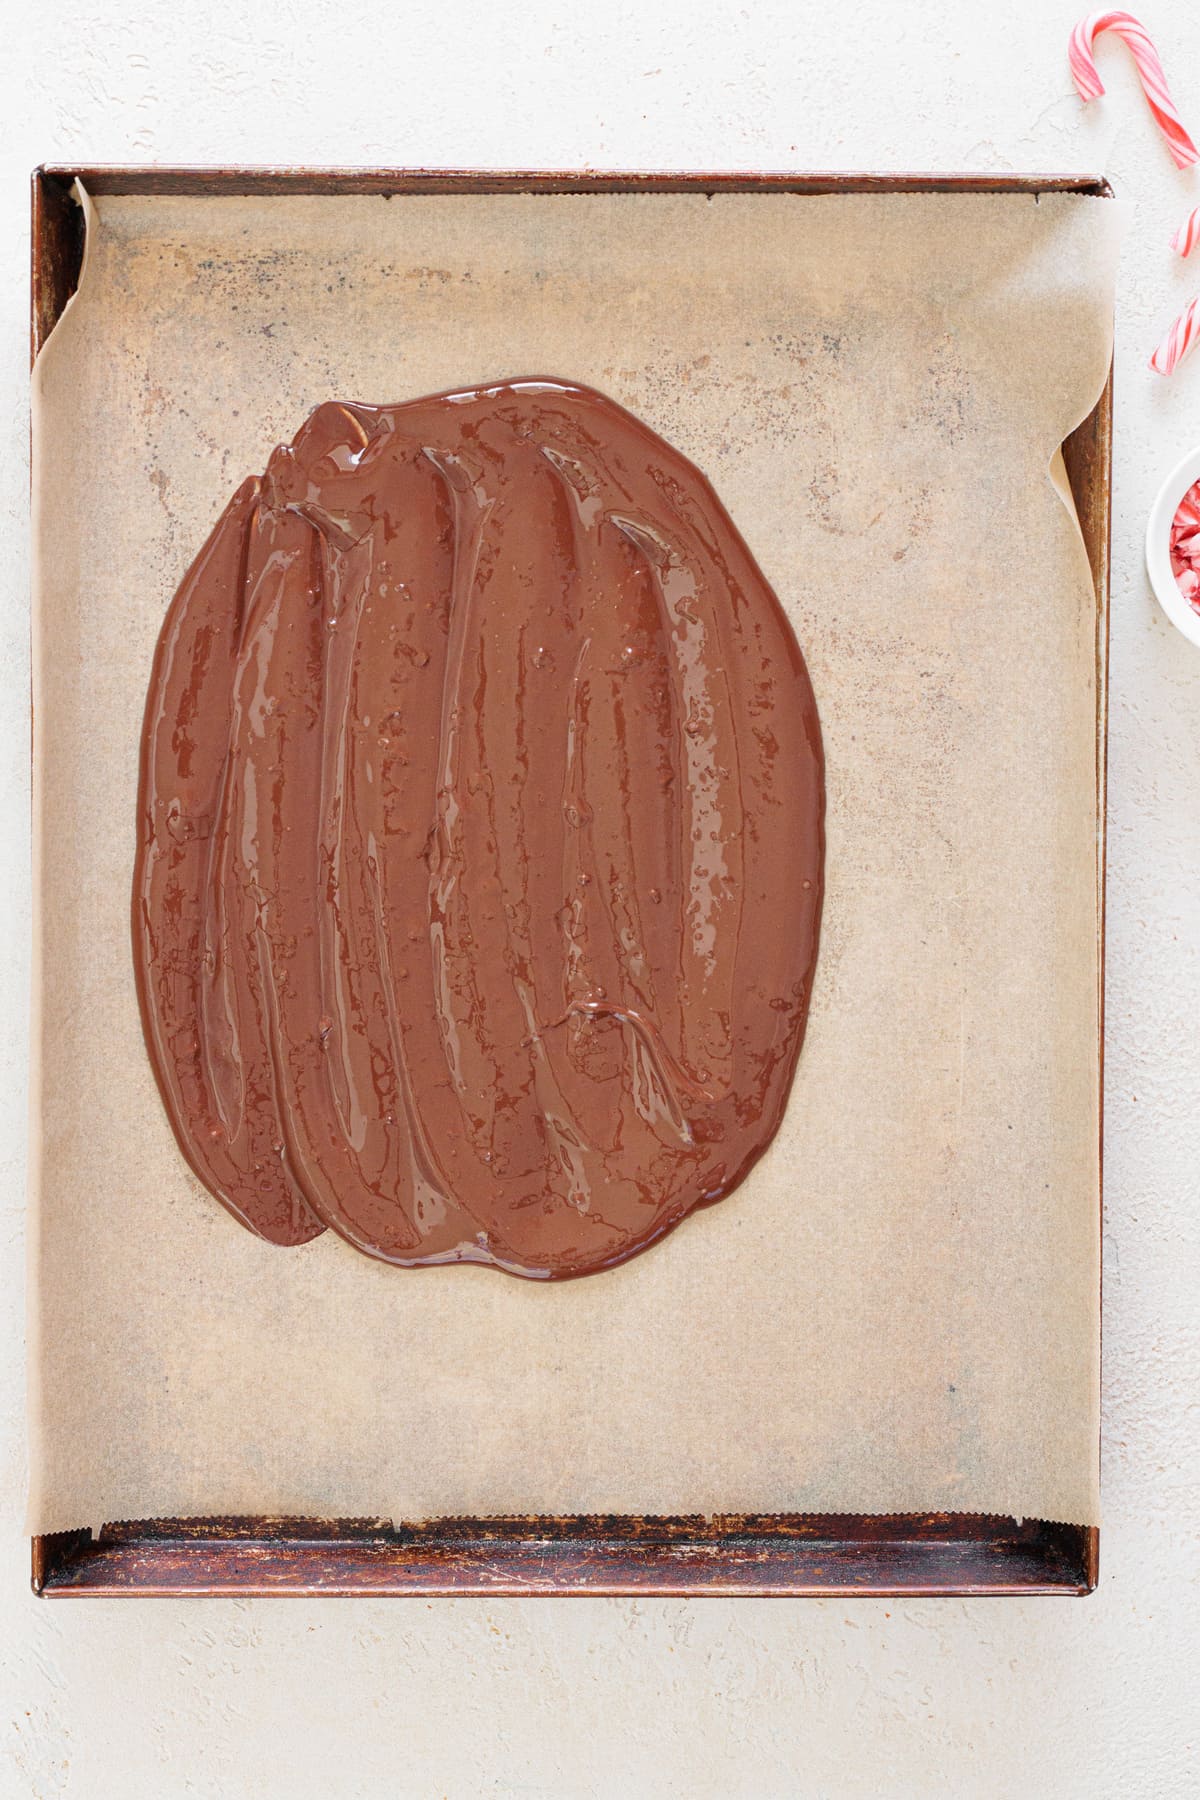
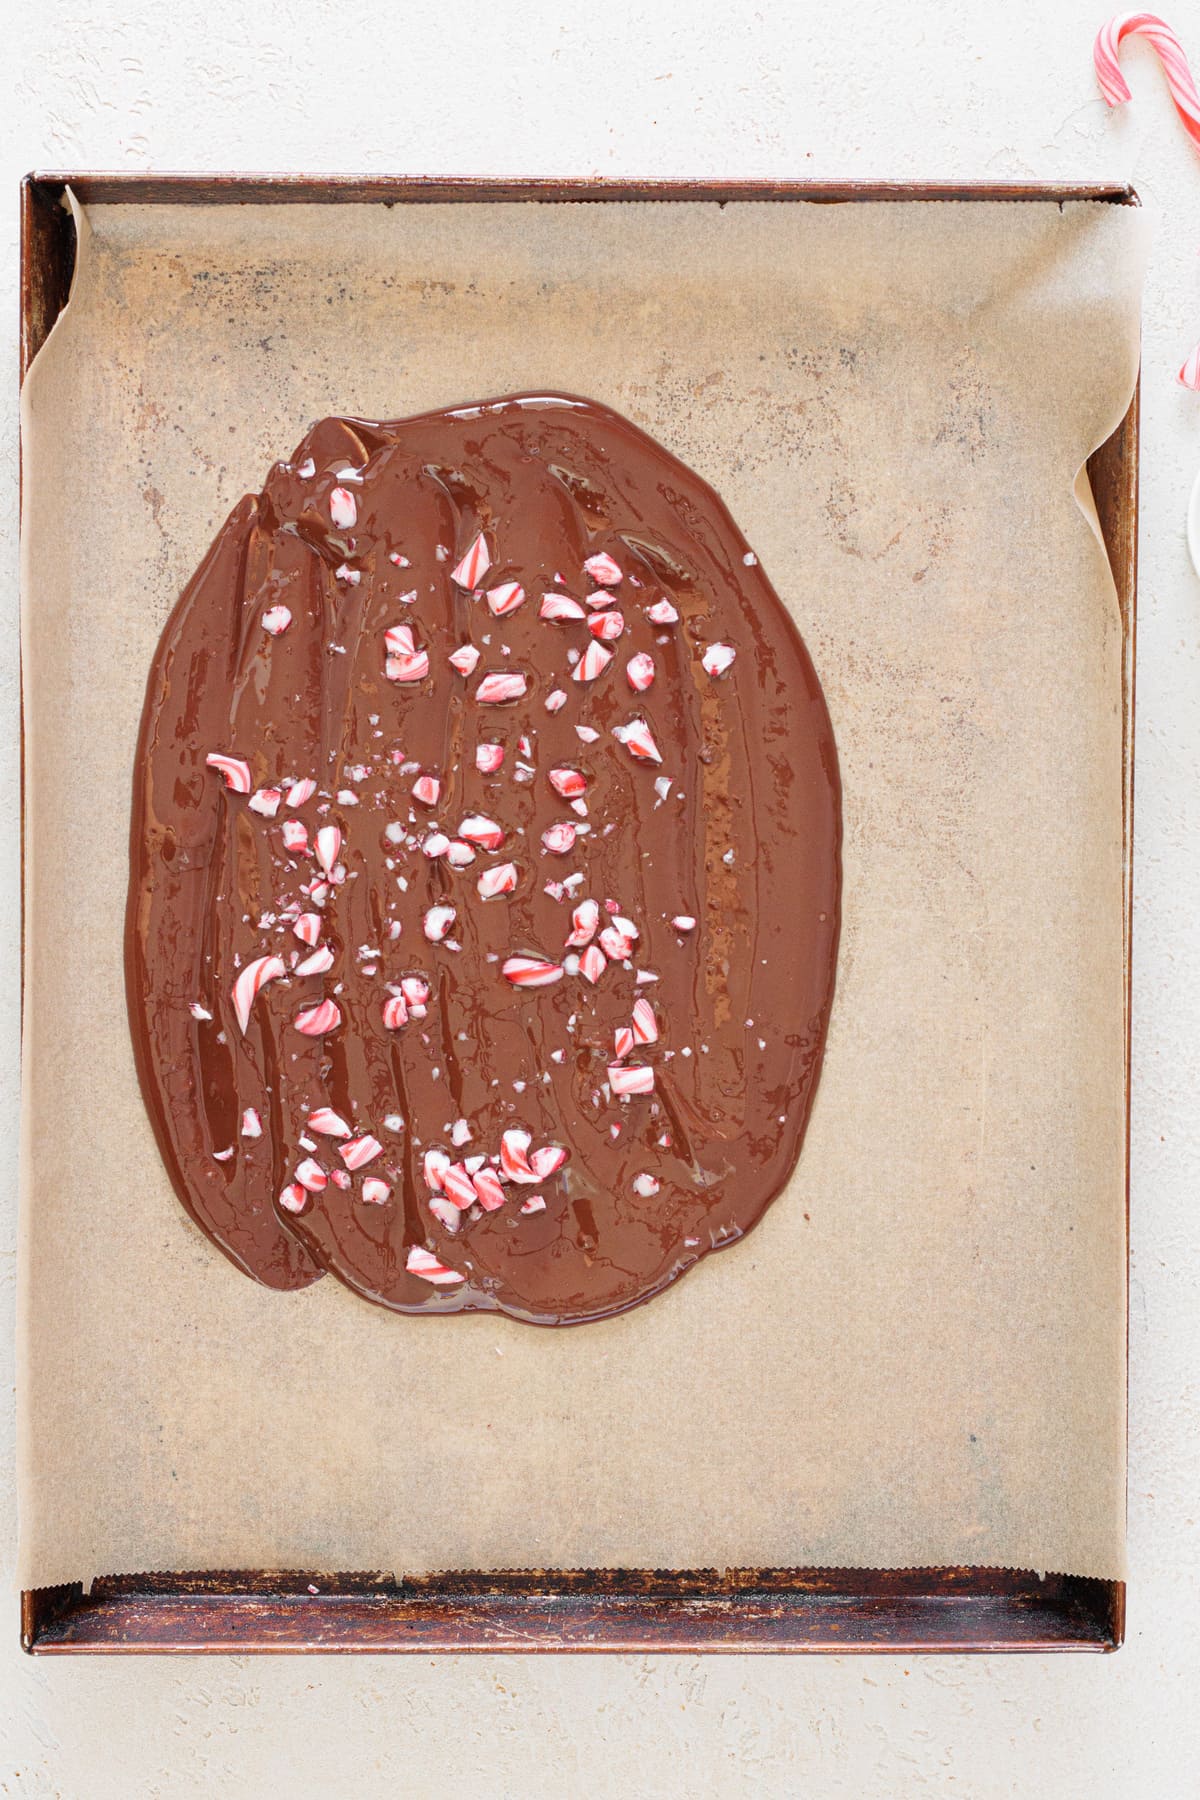
I pour the melted white chocolate right next to the dark chocolate. Don’t pour it over or you won’t be able to make that beautiful swirl effect.
Now, using the tip of a spoon, I gently swirl the two together (don’t use the tip of a knife… I tried and cut the parchment paper, oops). Just do a few light movements, but don’t overmix, or the colors will turn muddy.
After that, I sprinkle the rest of the peppermint candy canes on top (the whole ones as well). Don’t wait for it to harden or they won’t stick to the chocolate!
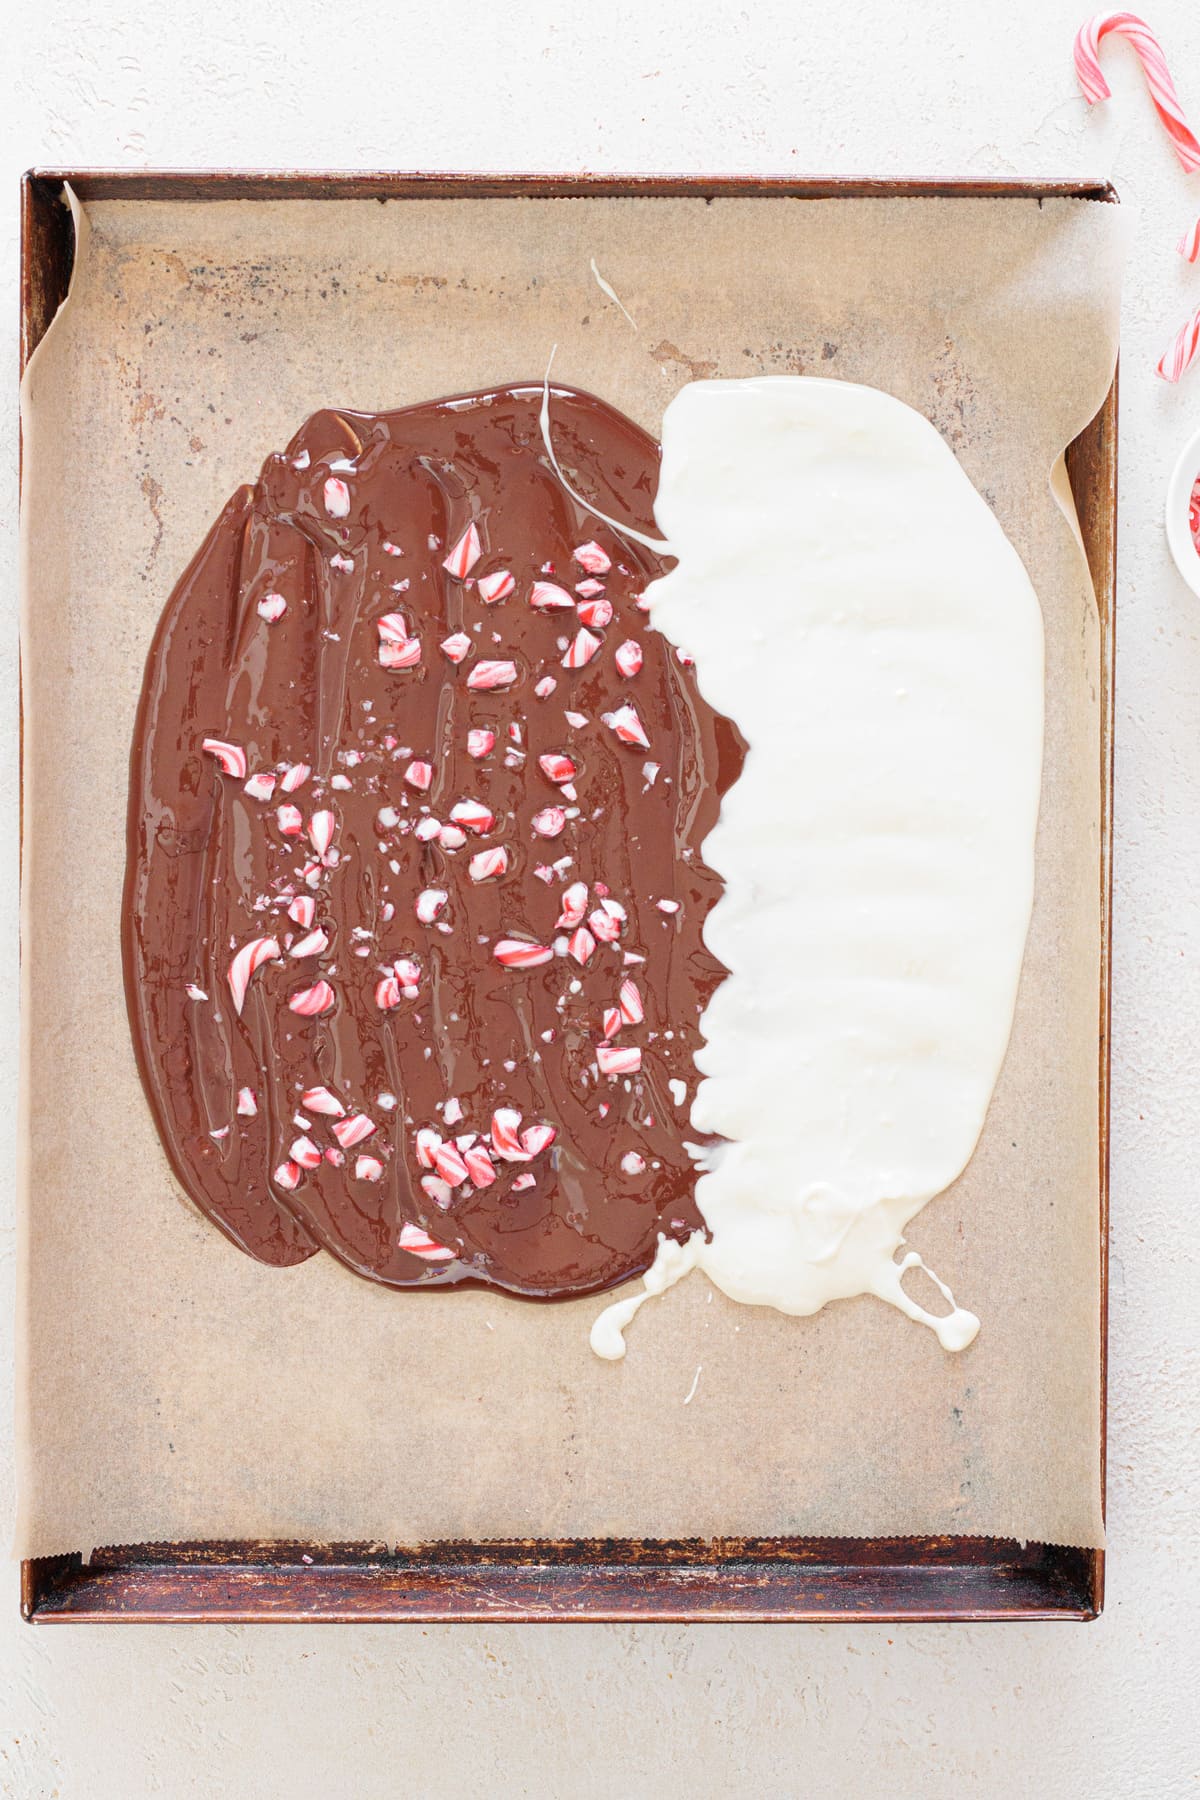
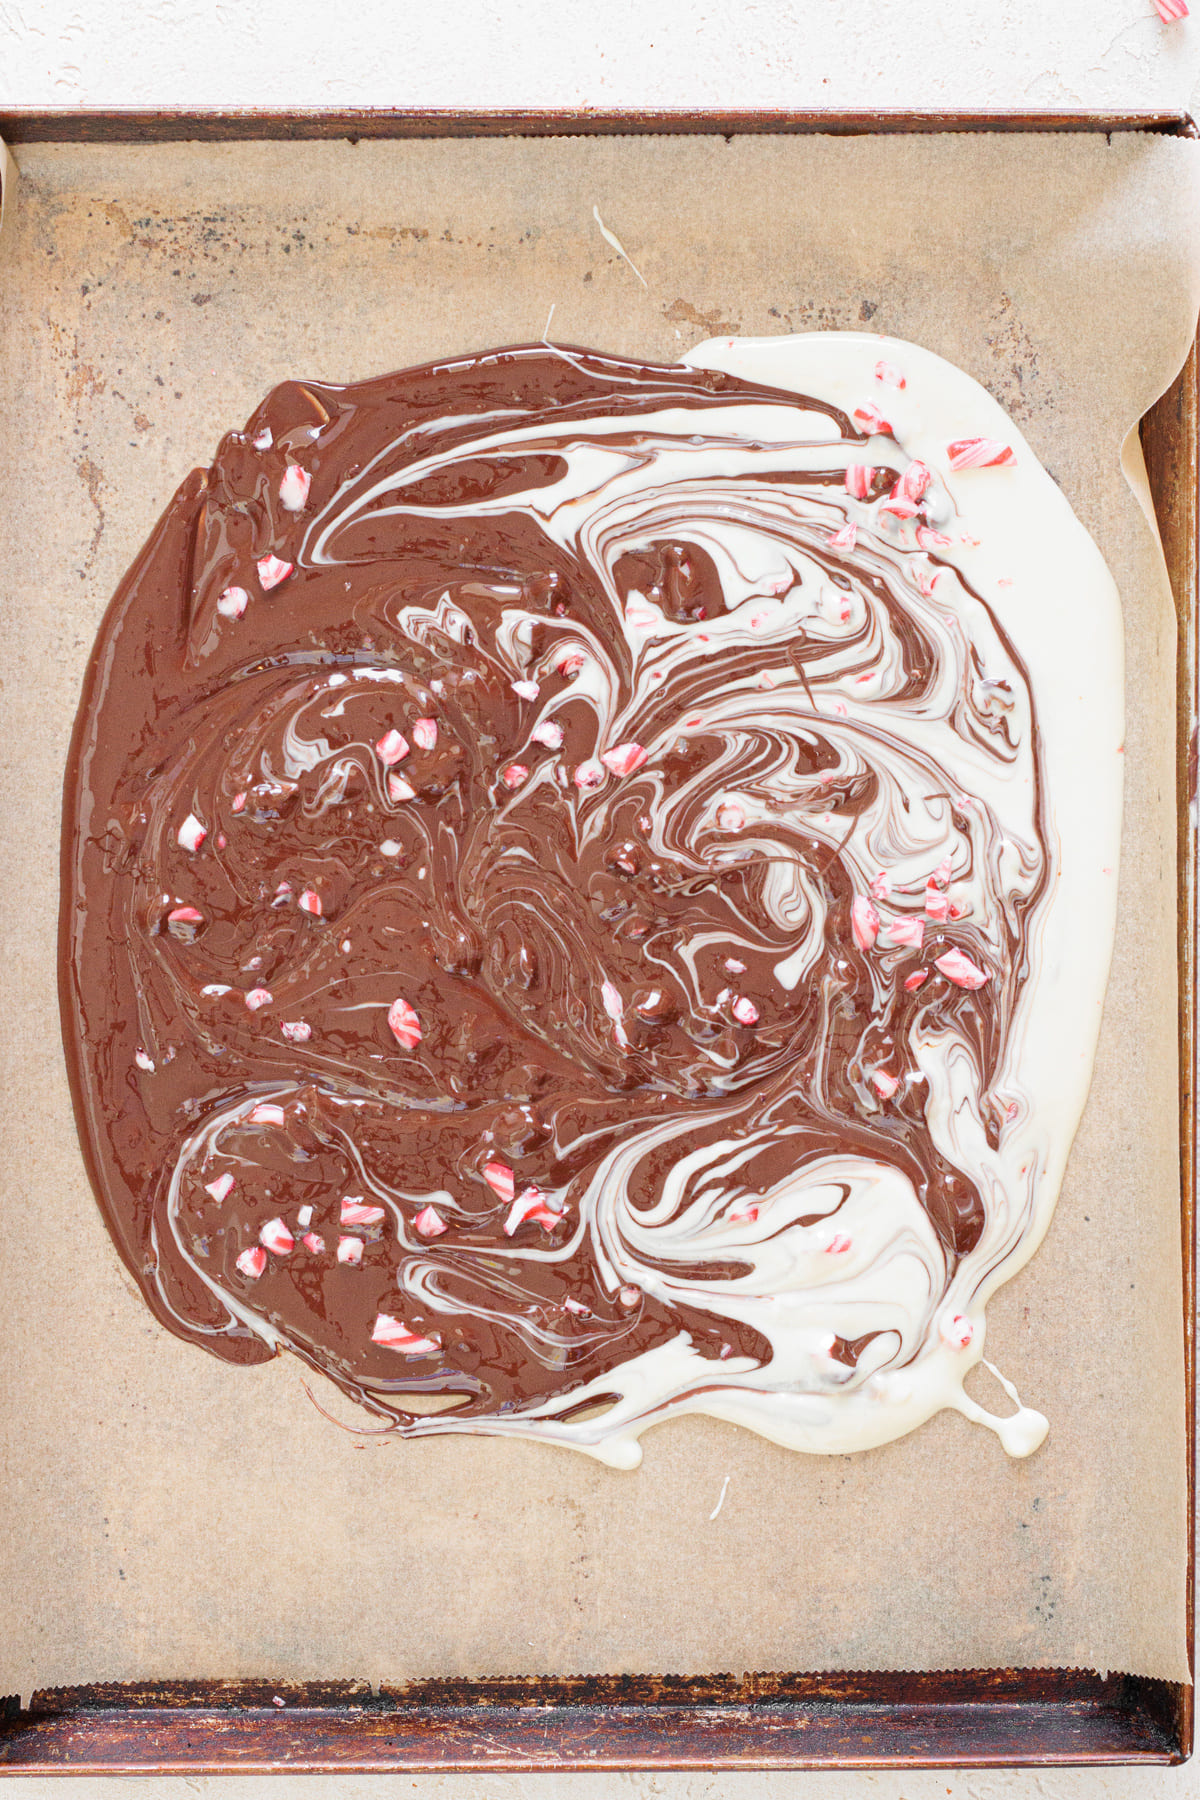
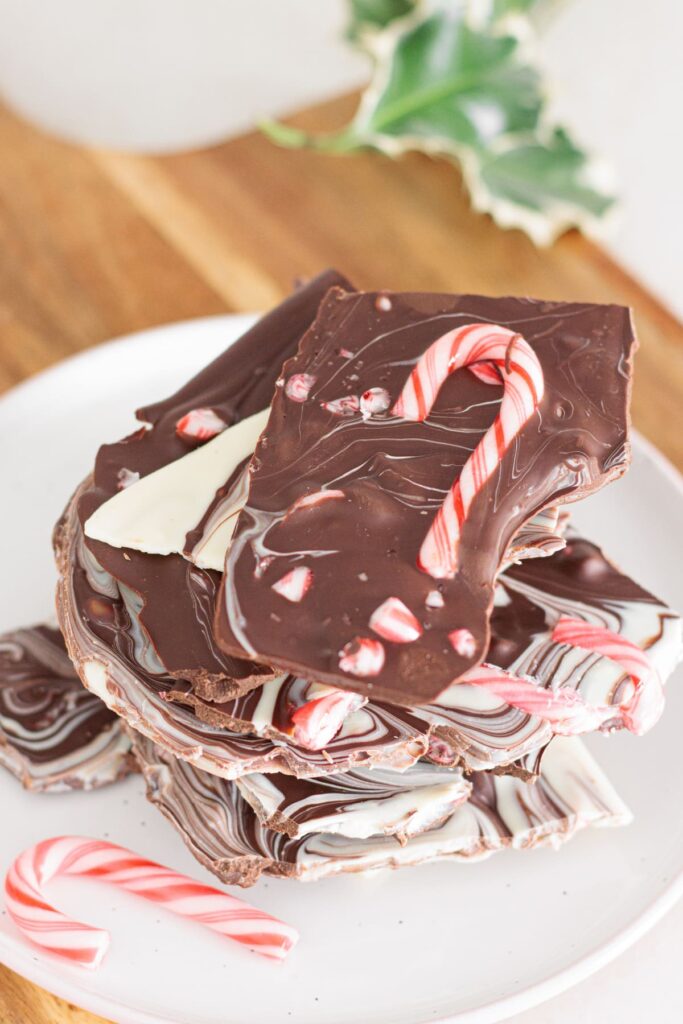
I like to pop the tray in the fridge for about 30 minutes or 1 to 2 hours at room temperature so the chocolate sets evenly. Once it’s completely solid, I take it out and break it apart to create those imperfect little pieces.

And that’s it! It’s ready to eat… It’s that easy and simple!
Just make sure you don’t leave them out or exposed to air. The chocolate picks up moisture or gets a whitish film on top!
I like to keep the pieces in an airtight container in a cool, dry spot. It stays fresh and crisp for up to 3 weeks, but if I put it in the fridge, it lasts me about 4 weeks (which only happened once, because we forgot about it, haha)!
Variations I’ve Tried And Loved
Even though the classic recipe is my favorite, I’ve tried a few variations that were also super good and still on the easy side.
- Using milk chocolate instead – For a sweeter bark, I’ve swapped the dark chocolate for milk chocolate. It still melts beautifully but gives the bark a softer and creamier flavor. This is actually Rita’s favorite variation!
- Adding milk chocolate – Sometimes I add the three chocolate types all at once! It does add another ingredient, but trust me, it’s worth it. It doesn’t have that deep contrast but it’s still simple and ridiculously good.
- Layered peppermint crunch – Instead of swirling the chocolates, I spread them in two separate layers. First dark chocolate, then the white chocolate, and on top goes the crushed peppermint. If you like crunchy, you really need to try this variation! It’s one of my personal favorites when I want something a little different.
These are super simple variations that are always a hit… no matter which one you make! And if you like recipes like this one (easy, quick, and basically foolproof) Rita’s 3-Ingredient Christmas Cookies are right up your alley!
Mistakes To Avoid When Making My 3-Ingredient Peppermint Bark
This recipe is basically foolproof! You’d have to try to mess it up, haha… Unless you wander off and forget the chocolate on the stove (been there).
Using cheap chocolate – Considering how few ingredients this recipe requires, using high-quality chocolate is non-negotiable. I’ve tried with a few and they melt weirdly, set dull, and taste waxy because they are made with oils instead of cocoa butter.
Overheating the chocolate – Most of the time I melt the chocolate in 30-second intervals in the microwave, but for some reason, these past few times I’ve burned the chocolate EVERY SINGLE TIME! Double-boiler method is the safe way. Once your chocolate gets too hot, it seizes and turns thick and grainy and, unfortunately, there’s no going back from that point!
Over-swirling the chocolate – The first time I made this recipe, I was having such a fun time swirling the chocolate I accidentally overmixed the colors! It ended up as one muddy bark. Still tasted great, but let’s say it wouldn’t win queen of prom…
And that’s it! Keep these tiny mistakes in mind and you’ll make the perfect peppermint bark every single time.

I absolutely enjoy being in the kitchen, and the holidays are no different for me. But there’s just so much to prepare, cook, bake… So, if I can turn a classic recipe into something easy that’s just as delicious (or even better), you know I will.
Let me know if this becomes your favorite 3-ingredient holiday recipe. I need proof to wave in front of Rita, haha! And if you’re in the mood for something extra soft and festive, her Snowball Cookies for Christmas are melt-in-your-mouth good… but don’t tell her I admitted that.
Note: All product mentions are simply what I use in my own kitchen. None of the links are sponsored or affiliate.

3-Ingredient Peppermint Bark Clusters
Description
These 3-Ingredient Peppermint Bark Clusters are the easiest holiday treat you’ll ever make. Just melt, swirl, and chill! Made with real chocolate and crushed candy canes for the perfect crisp, minty bite.
Ingredients
Instructions
-
Prep the Pan
Line a baking sheet with parchment paper and set aside. -
Melt the Chocolates
Melt the dark chocolate in a heatproof bowl over simmering water (double-boiler method), stirring until smooth. Melt the white chocolate the same way in a separate bowl. -
Crush the Candy Canes
Crush the candy canes. Set aside 2–3 whole pieces for topping, and crush the remaining 5. -
Spread the Dark Chocolate
Spread the dark chocolate onto the lined baking sheet. -
Add Peppermint to Chocolate
Add half of the crushed peppermint into the melted dark chocolate. -
Swirl the Chocolates
Pour the white chocolate right next to it (not on top) and gently swirl the two together with the tip of a spoon. -
Add the Topping
Sprinkle the remaining peppermint (including the whole pieces) evenly over the top. -
Let It Set
Refrigerate for 30 minutes, or until fully set. -
Break Into Pieces
Break into pieces and store in an airtight container in a cool, dry place for up to 3 weeks (or about 4 weeks if refrigerated).
Nutrition Facts
Servings 16
- Amount Per Serving
- Calories 216kcal
- % Daily Value *
- Total Fat 11.7g18%
- Saturated Fat 7g35%
- Sodium 15mg1%
- Potassium 120mg4%
- Total Carbohydrate 25.9g9%
- Dietary Fiber 1.5g6%
- Sugars 23.5g
- Protein 2g4%
* Percent Daily Values are based on a 2,000 calorie diet. Your daily value may be higher or lower depending on your calorie needs.