These homemade Nut Goodie Bars are the perfect chocolatey and nutty treat! They have a deep-flavored chocolate base, a creamy vanilla filling and a crunchy nut topping!
Besides being one of the best treats you'll ever try, they're no-bake, easy to put together and you can make them ahead. Perfect for sharing at holidays, potlucks or family gatherings.
I make these all the time once the weather cools down a bit because Rita asks me to make them constantly! But honestly, she didn't need to ask, I love them too haha!
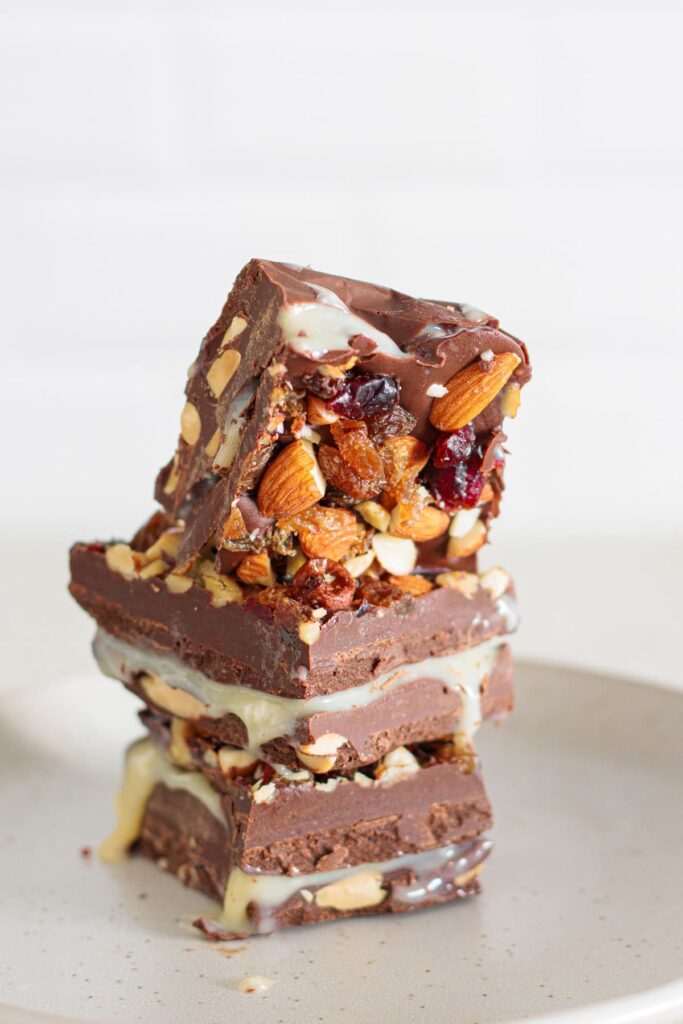
Homemade nut goodie bars stacked with creamy filling and crunchy nuts.
I remember being a kid and going to my grandparents’ house for the holidays. My grandma always had the “real” Nut Goodie Candy Bars stashed in a bowl right at the entrance. My brother and I would sneak one or two as we were about to leave, saving them to eat in the car on the way home.
Years later, my mom loves to play around in the kitchen and she passed that gene to me. So, she started the tradition of making her own homemade version, inspired by that same classic candy bar from St. Paul.
When Rita and I spent our first holidays together, she had never even heard of Nut Goodie Bars. She loves chocolate and she loves nuts. So, watching her try them for the first time was priceless, you could see the spark in her eyes! She ate like eight or nine BIG chunky squares that night!
Now, I make these bars once the weather starts to cool down (otherwise they’ll melt right in your hands). They're now a tradition in our home as well.
What You'll Need
This recipe has been passed down by my mom to me, and I’ve been making it the exact same way ever since.
And if you're making these for the holidays, you’ve got to try my 4-Ingredient Peanut Butter Balls. They’re another nostalgic treat that's quick, no-bake, and just melt in your mouth that my mother also thaught me how to make.
I usually cut the nut goodie bars into 2-inch squares, which makes about 16 bars. I like to keep half for us and make small candy bags with the others to give away to three of my friends who beg me every year to make them some!
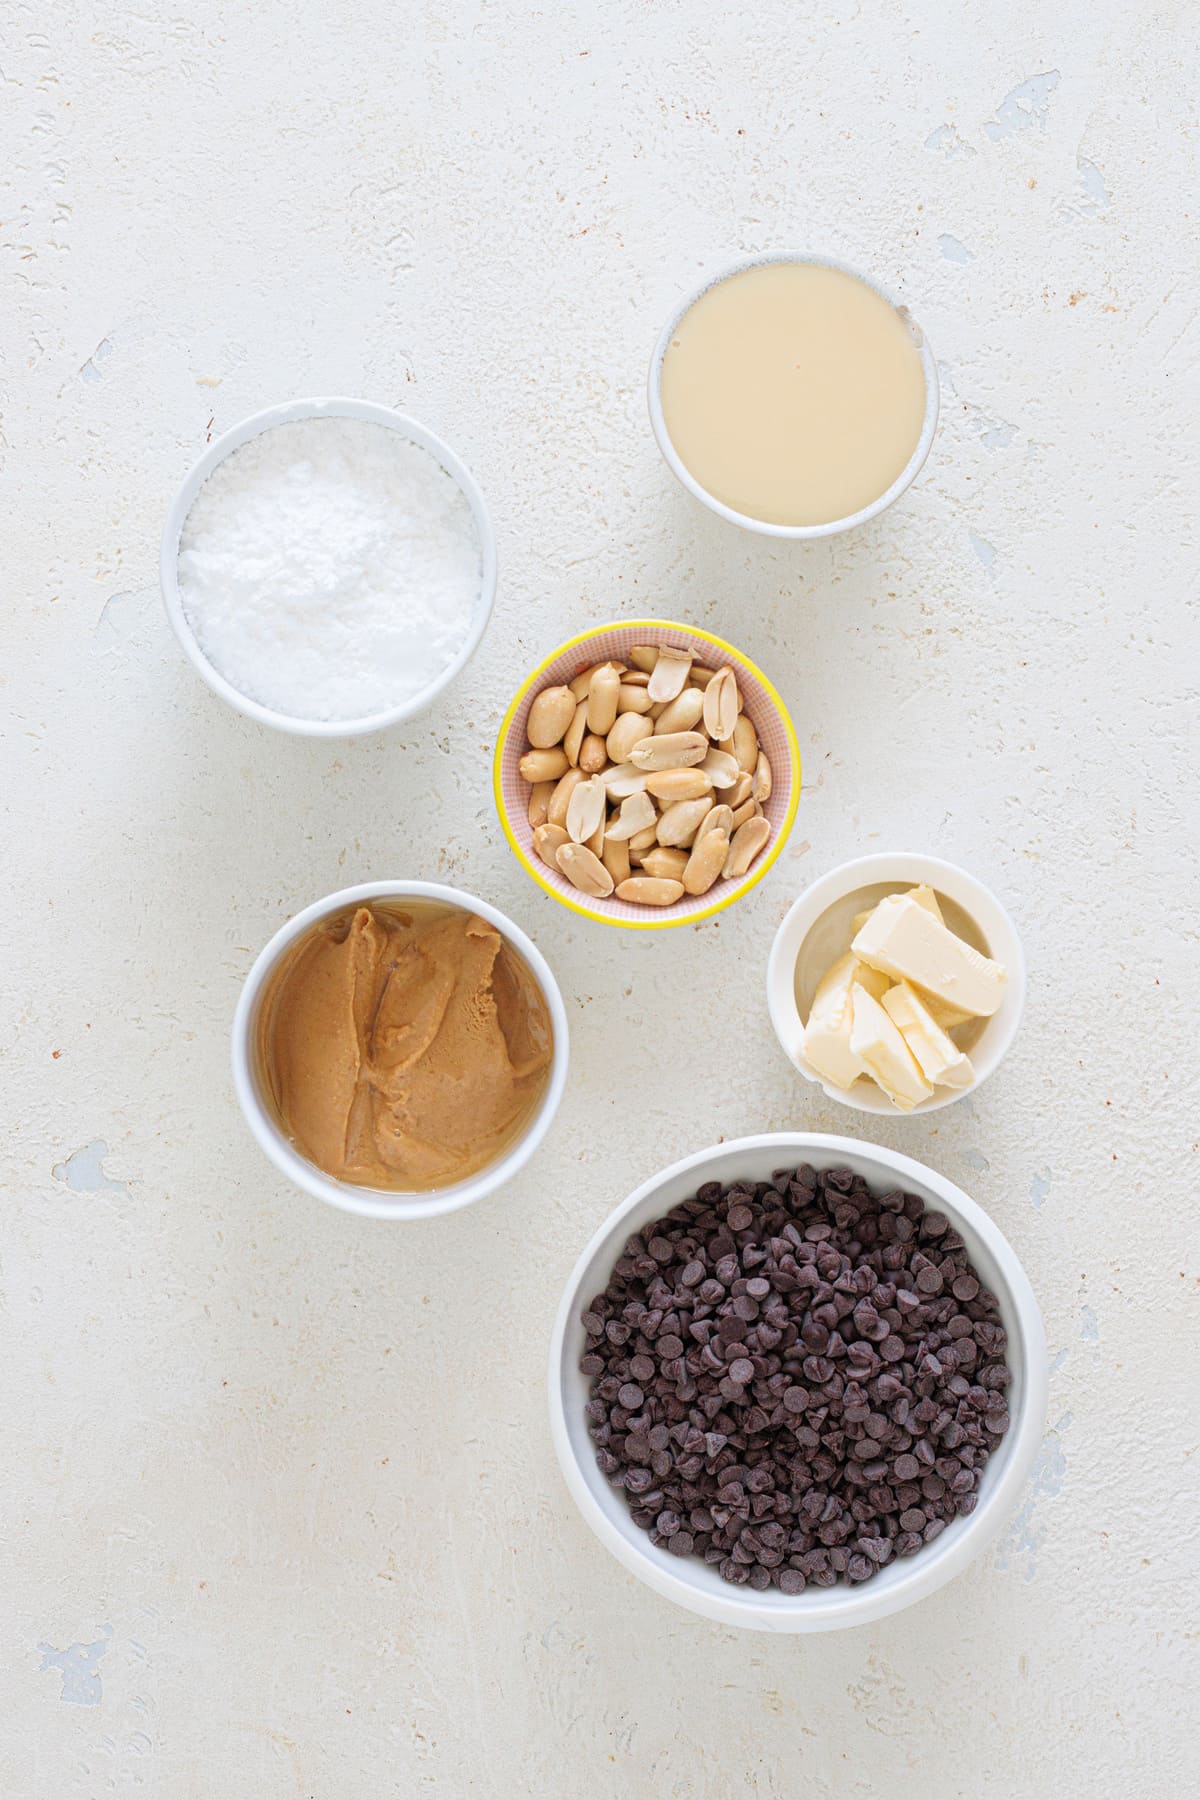
Ingredients for Nut Goodie Bars
For the chocolate and peanut base:
5.3 oz dark or milk chocolate (about 1 cup chips) - I usually go with dark chocolate, it has a richer and deeper flavor. I’ve made it with milk chocolate as well but Rita and I both thought it was a bit too sweet for our taste.
⅓ cup creamy peanut butter - I like to use Jif Creamy Peanut Butter, it’s easier to blend than the chunky kind. I’ve tried it with natural peanut butter as well and it works just as fine but I did need to stir it well because the oil was separating!
½ cup roasted salted peanuts, roughly chopped - Yes, salted! It really helps balance the sweetness of the layers. I chop them so they stay evenly distributed and don’t sink to the bottom.
For the creamy vanilla-style layer:
⅓ cup + 1 tbsp sweetened condensed milk (about 3.5 oz) - This is what gives the bars that chewy, fudge-like texture.
¾ cup powdered sugar (90 g ≈ ¾ cup, sifted) - I tried once using granulated sugar and it didn't work, I could taste the grittiness while eating. I like to use Domino Confectioners Sugar, because it's fine enough to dissolve properly without any grains.
3 tbsp unsalted butter - I like to use unsalted butter just because it's easier to control the flavor (considering you're also using salted peanuts like me, if not, use salted butter instead).
1 teaspoon vanilla extract - I like using the McCormick Pure Vanilla Extract, it's not cheap but it has a stronger flavor that doesn't get lost in the layers.
For the topping:
5.3 oz dark chocolate (about 1 cup chips) - The same one you used in the base.
1 tablespoon peanut butter - It helps to soften the chocolate, which makes it easier to cut once set.
Chopped nuts for decoration - Pick your favorite mix of nuts to sprinkle on top. I either add some I already have at home or a bought mix from the store. It gives the bars a homemade look and a crunchy finish.
At first glance, this recipe looks like it uses a lot of ingredients, but the base and topping are basically the same. And, as always, I'll share with you some of the variations I've tried and a few mistakes I've come across while making it on my own the first times.
How To Make My Nut Goodie Bars
Let's start by melting the chocolate and the peanut butter together over a pot of simmering water (double boiler method) stirring until smooth.
I prefer to use low and indirect heat for this, otherwise the chocolate burns or seizes. But, if I'm in a hurry I pop it in the microwave for about 30-second intervals (max!) until it has fully melted.
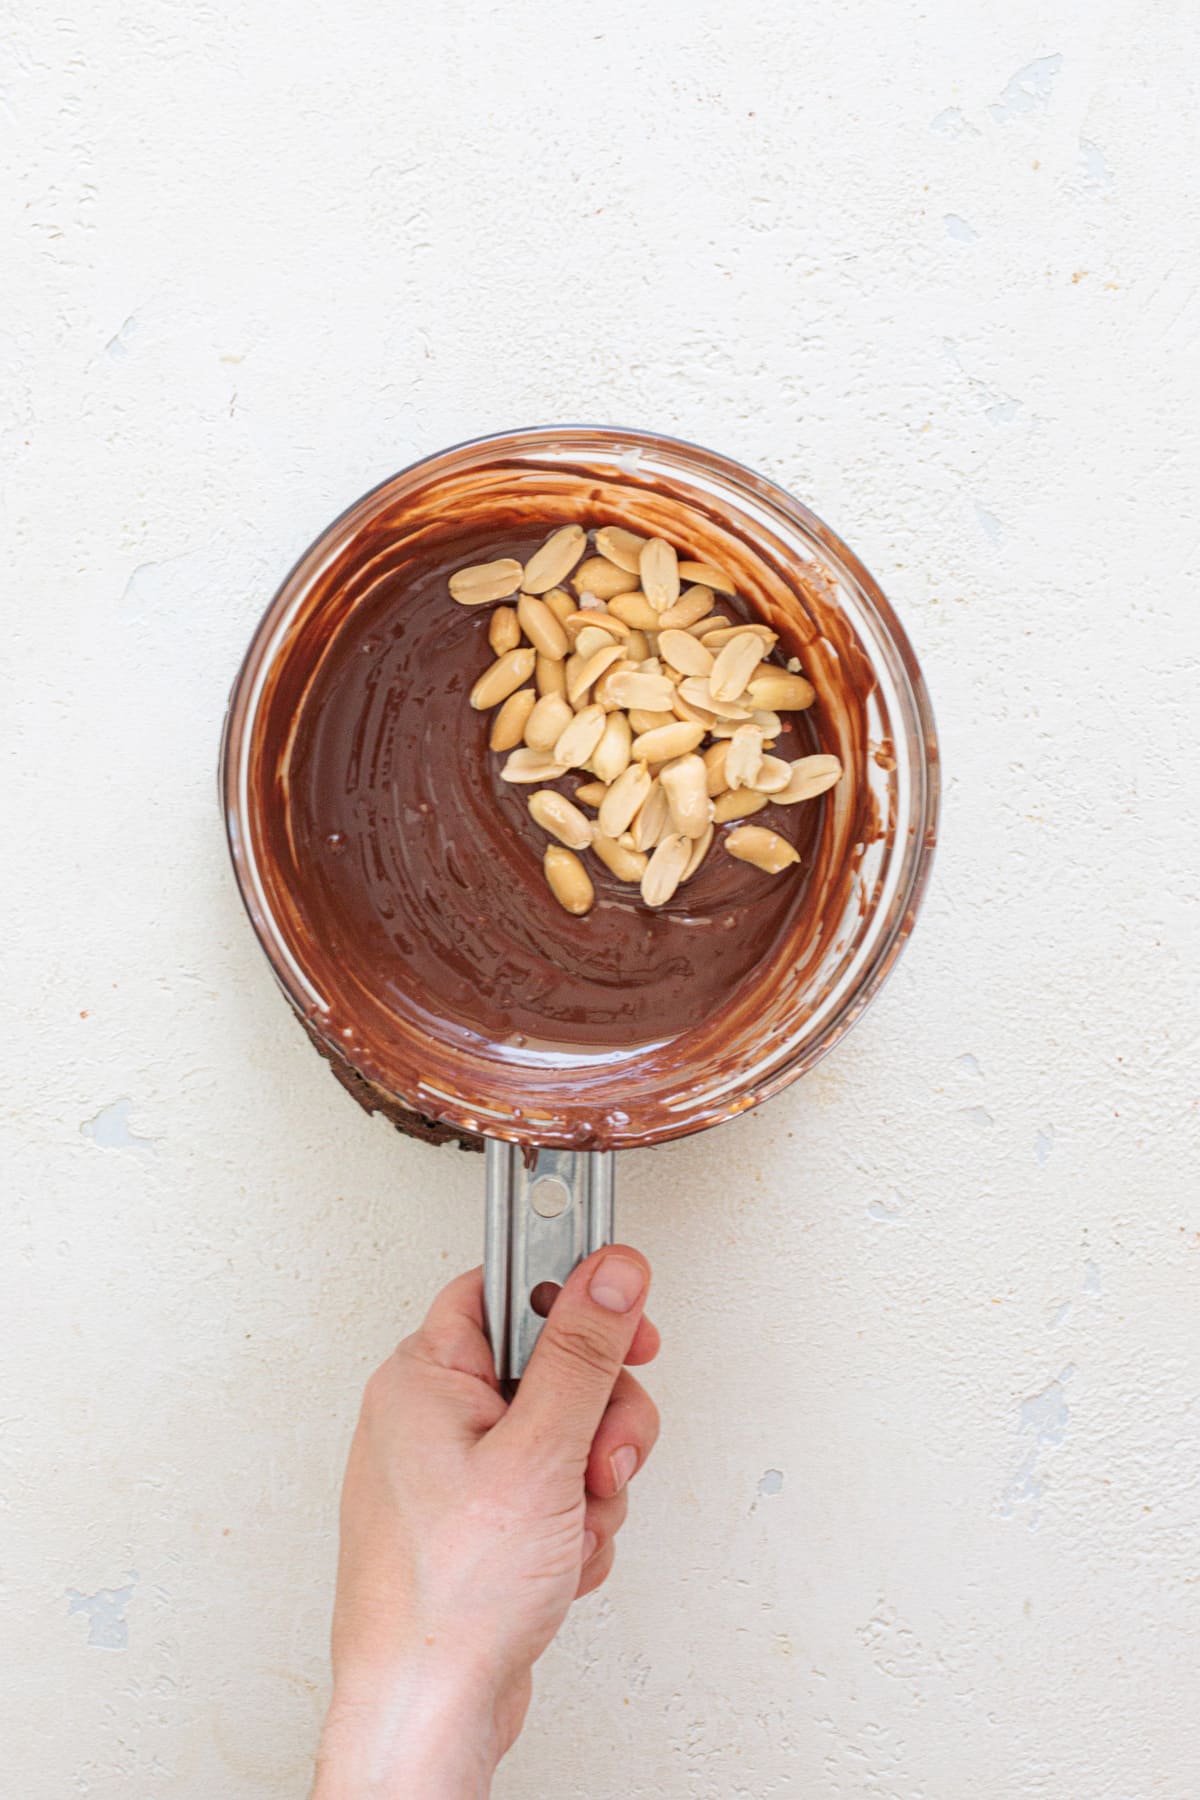
Once it's fully melted and smooth, I add the chopped peanuts and mix well until every piece is coated. It’s important to do this while the chocolate is still warm. One time I waited too long and the chocolate hardened a bit so I couldn’t incorporate the peanuts properly. It was just a clumpy mess!
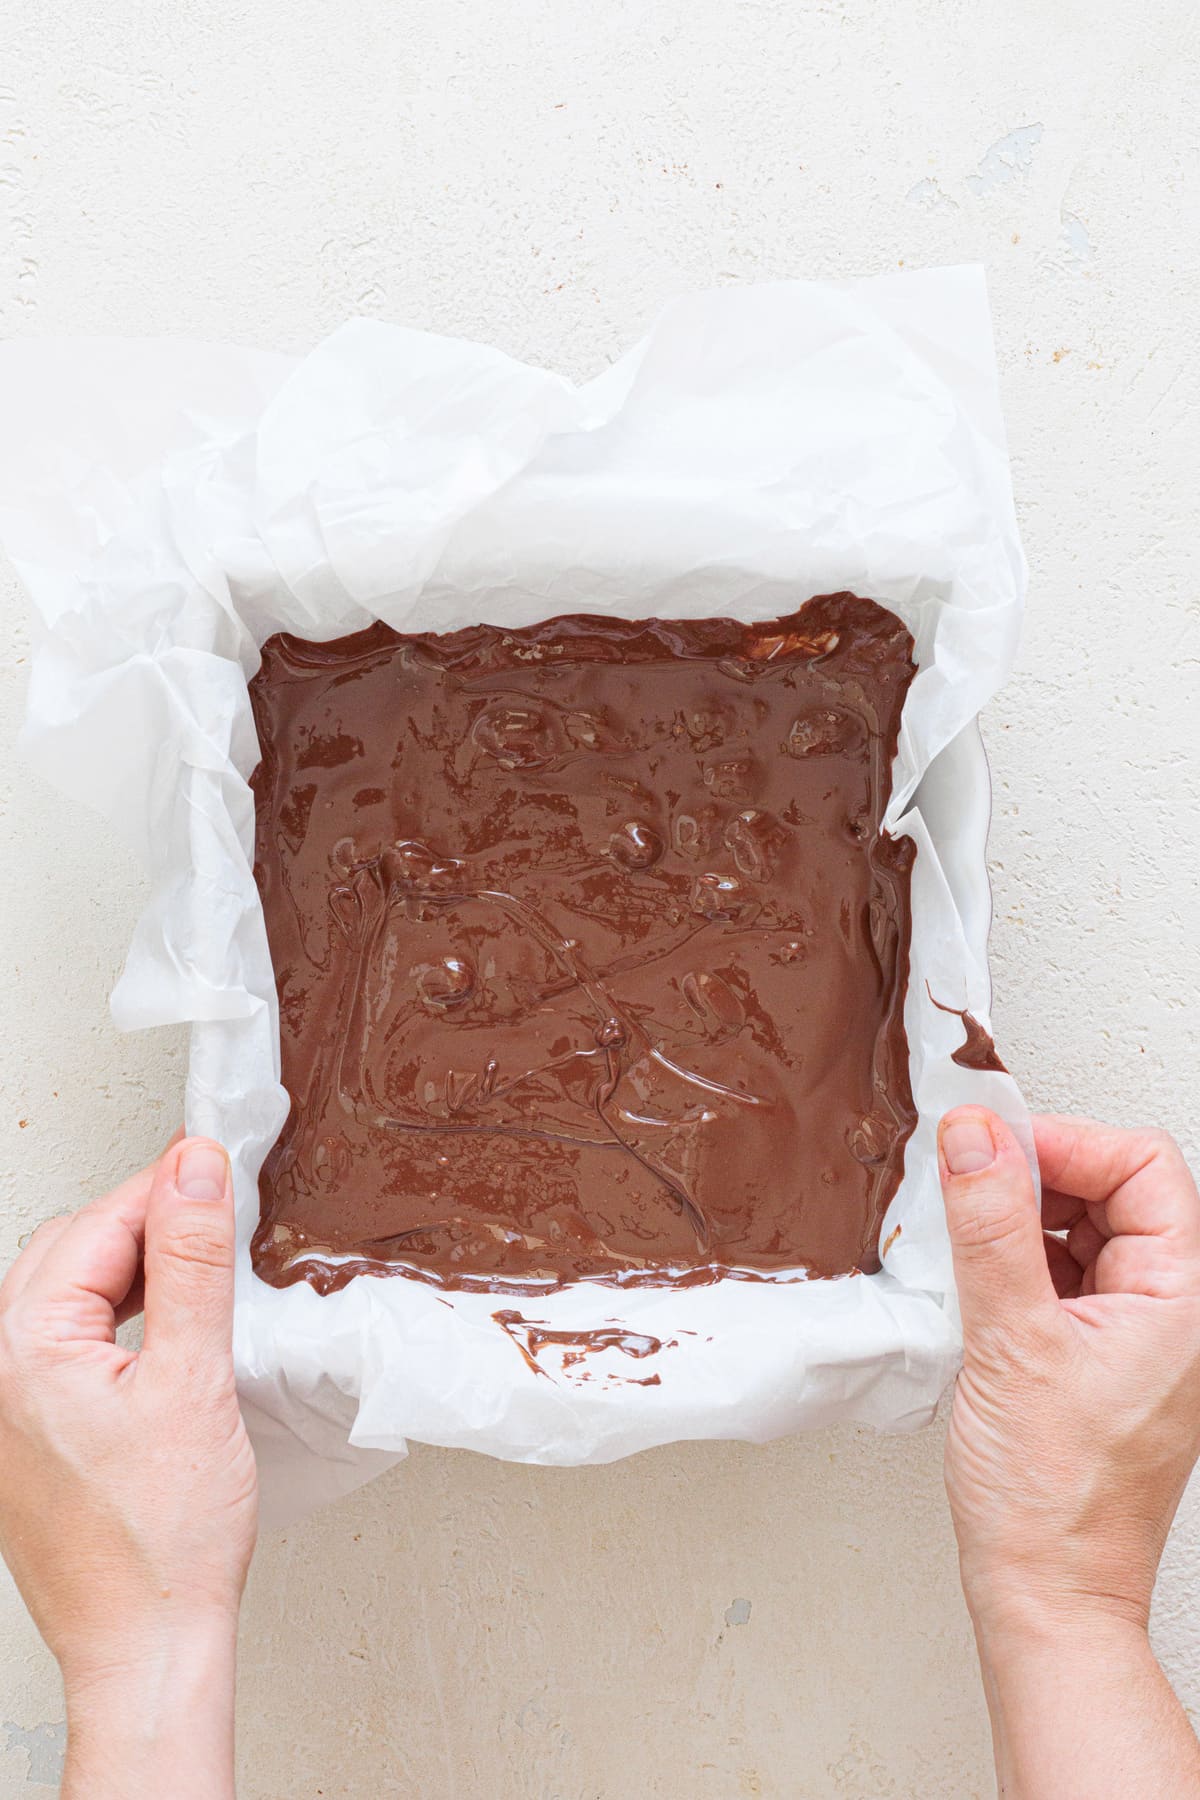
Line an 8x8 inch baking pan with parchment paper (it'll be easier to lift and slice later) and spread the mixture evenly into the pan. Slide it into the freezer to set for about 20 minutes. This way, the first layer has hardened and the vanilla filling won't sink and mix with the base!
Stir chopped peanuts into the smooth melted chocolate.
Spread the chocolate-peanut mixture evenly in a lined square pan and chill.
After about 10 minutes I start to prepare the second layer! I melt the butter and the condensed milk in a small saucepan over low heat (again, this keeps it from burning).
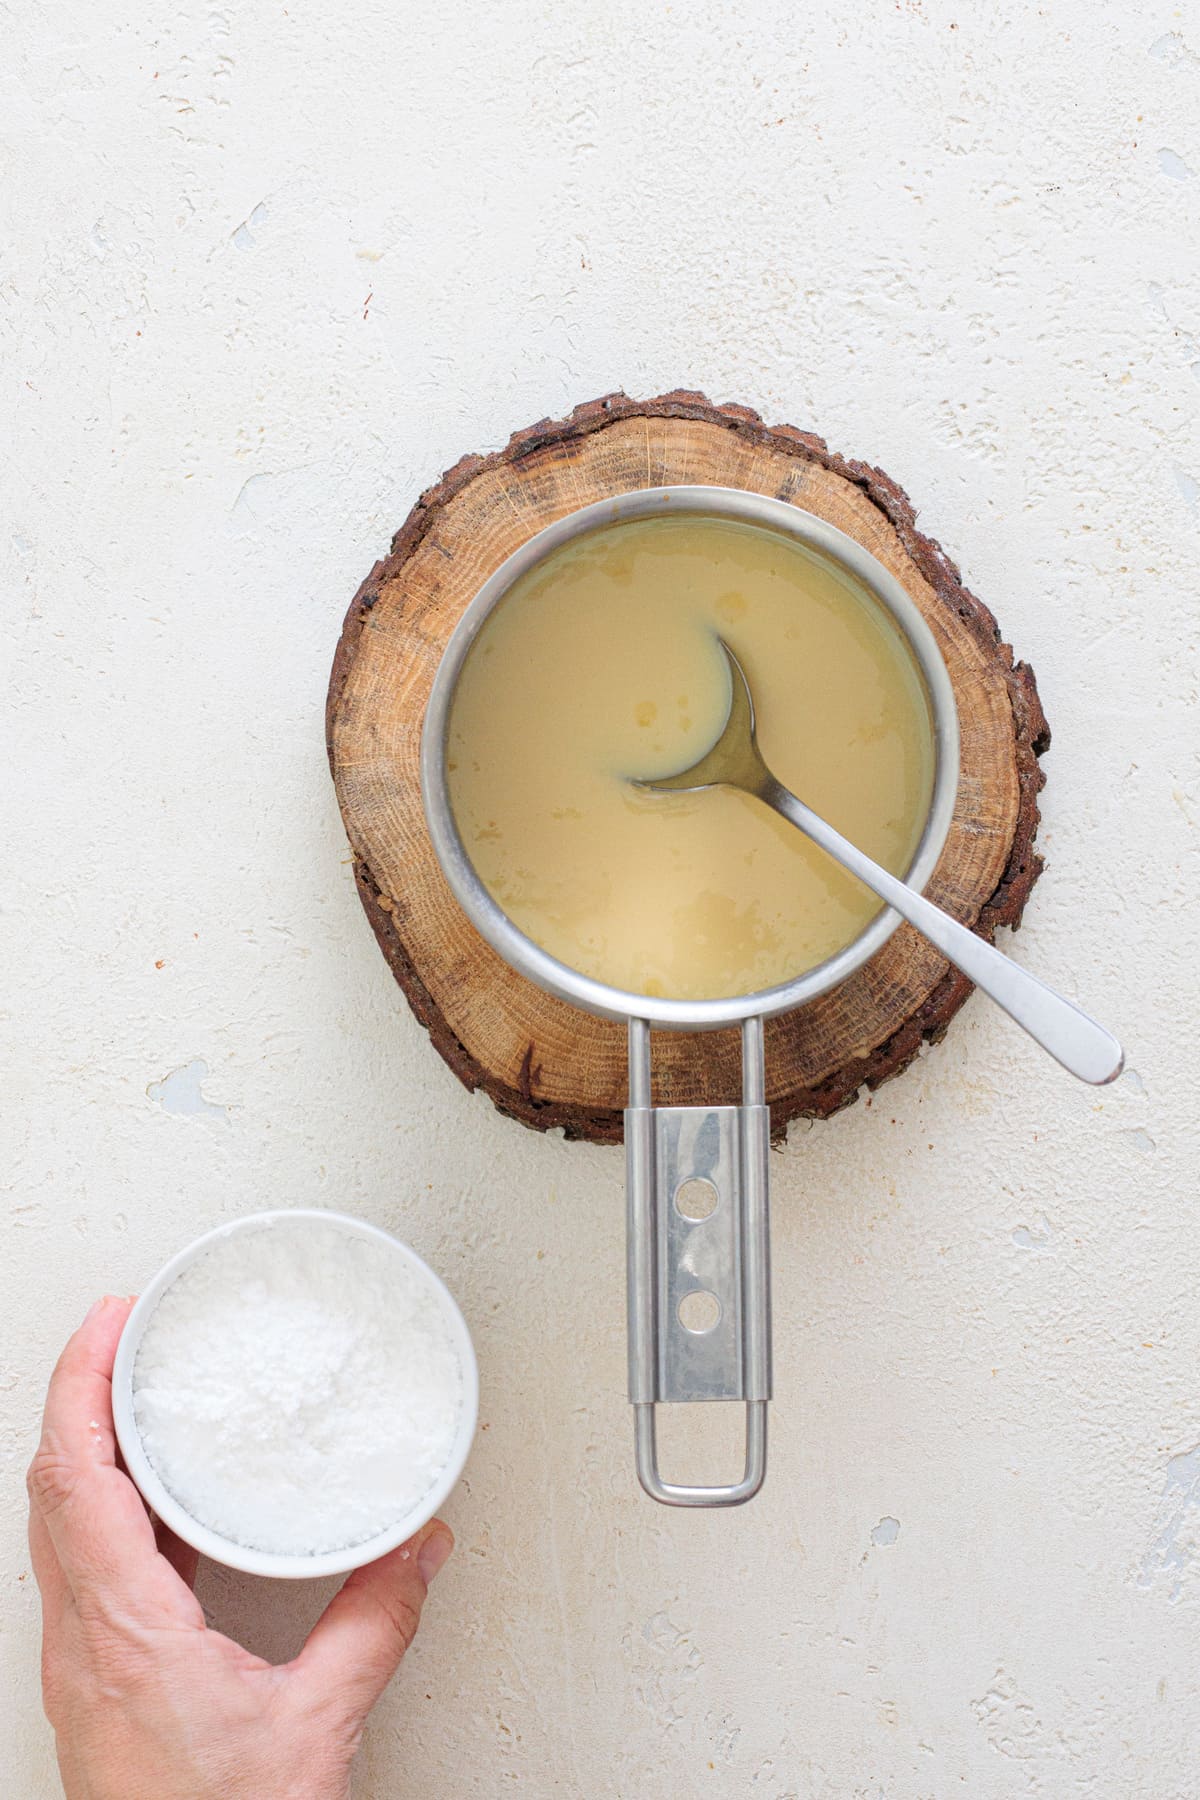
Once it's smooth, I remove it from the heat, add the powdered sugar and stir until the mixture is thick, creamy, smooth and has no lumps. If you look closely at the picture, you can see I thought it was properly mixed until I poured it in the pan… But you can see a few lumps, oops!
Also, don't do this step with the pan on top of the hot stove! I didn't remember that the stove doesn't cool off immediately after I turn it off, so the pan was still receiving some heat and the powdered sugar crystallized and clumped.
Now, stir in the vanilla extract. Since the mixture is already smooth, it blends evenly. Also, adding it off the heat helps to keep a stronger vanilla flavor (in case you didn't know).
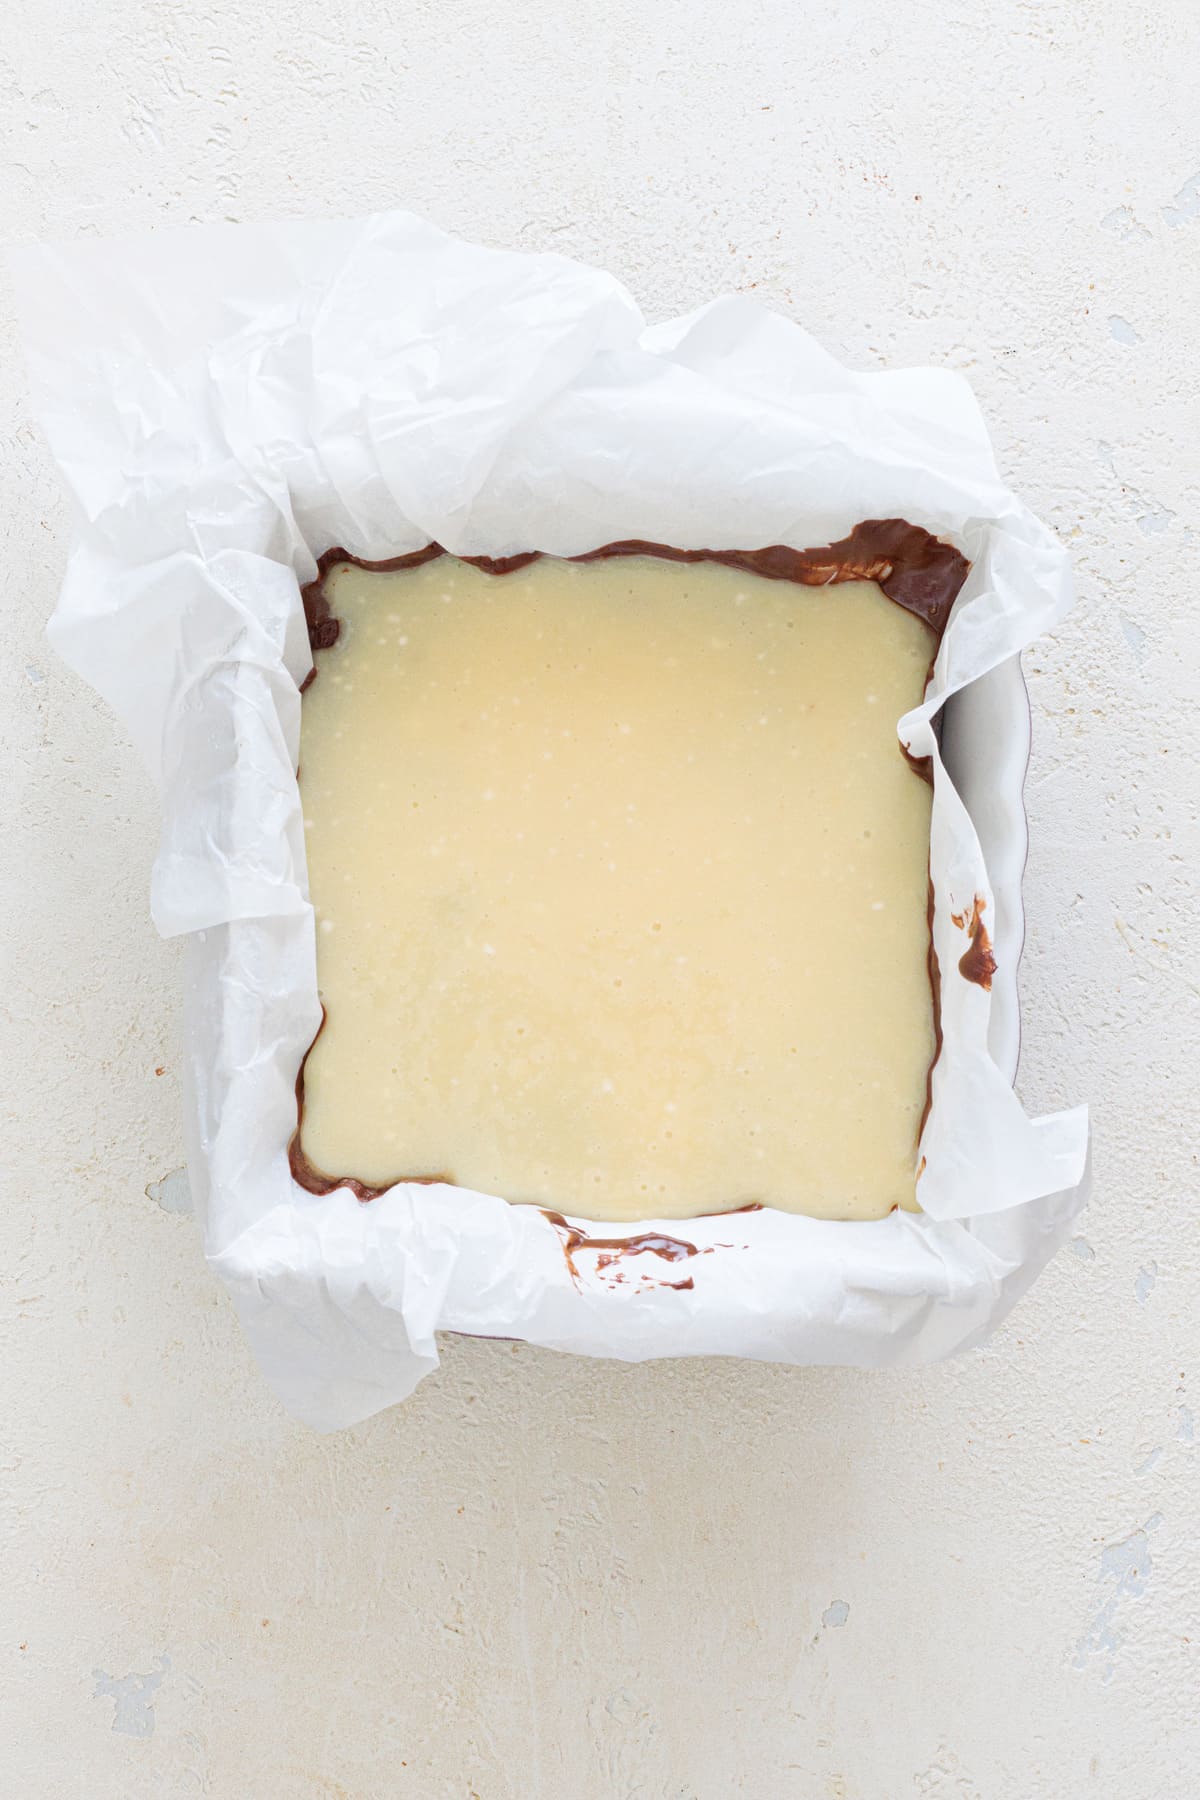
Grab the pan from the freezer and pour the creamy vanilla filling on top of the chocolate base and smooth it out with a spatula. Pop it back into the freezer for another 20 to 25 minutes. Again, this helps to keep the layers from blending!
Melt butter with condensed milk, then add powdered sugar.
Pour the creamy vanilla layer over the chilled chocolate base.
Now, for the last and top layer, I melt the dark chocolate with the peanut butter until smooth (again, using a double boiler or 30-second intervals in the microwave).
Pour it over the vanilla layer, spread it evenly using a spatula and sprinkle the chopped nuts right away so they stick before the chocolate sets.
For this layer I don't stir the chopped nuts into the chocolate, I like the way these bars look with the mix of nuts on top. But if you want to, you can do it! Just stir them in the chocolate before adding to the pan, still tastes the same.
Top with melted chocolate and sprinkle with mixed nuts before chilling.
We're almost done now! Pop the whole pan in the fridge again for at least 2 hours or until it has completely firmed up.
I've also tried to speed up the process and put it in the freezer instead (for about an hour) but it didn't turn out well. The chocolate became brittle, the filling hardened unevenly and the texture wasn't as good overall. Also, I noticed it didn't cut properly, it kept cracking into smaller pieces while I was slicing it.
Once it has finally set, I remove the whole chocolate bar by lifting the parchment out and using a sharp kitchen knife I carefully cut into squares. And they're ready to enjoy.
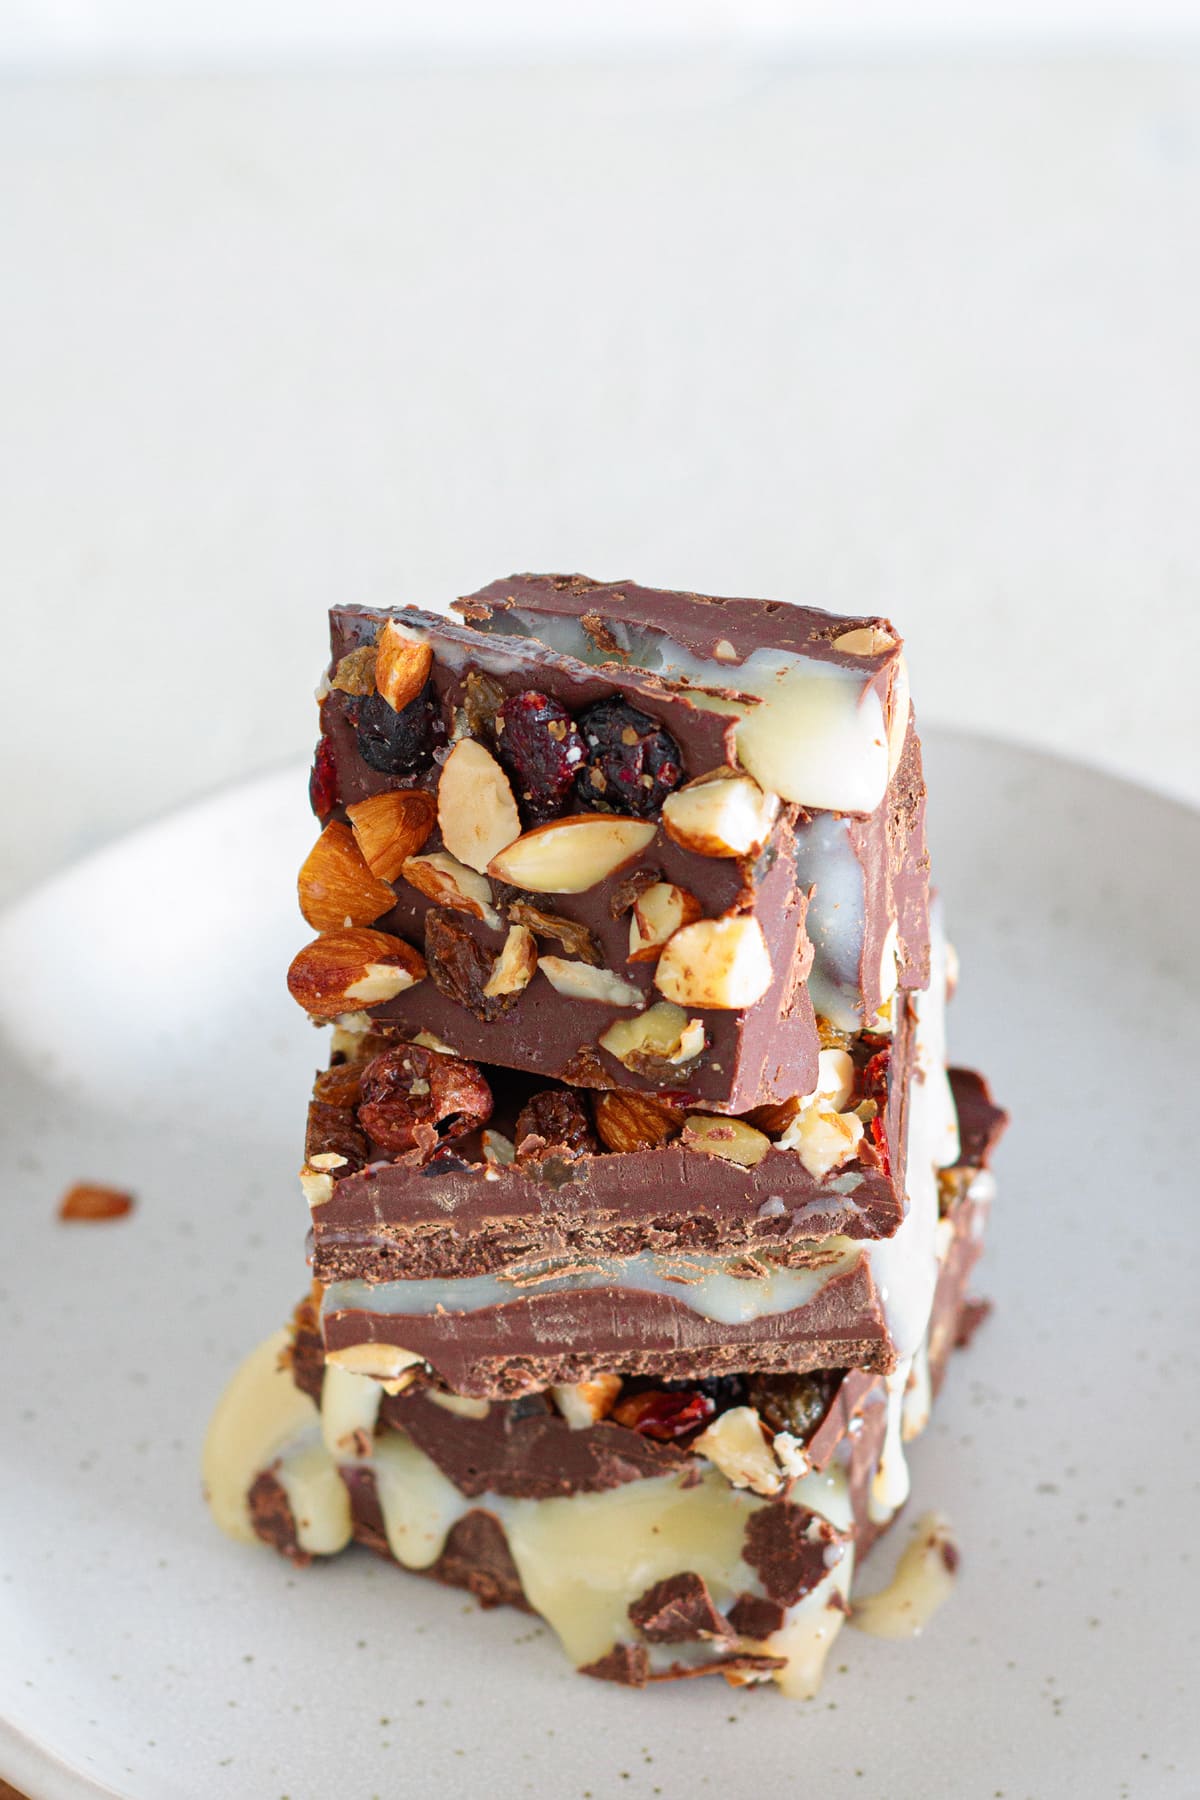
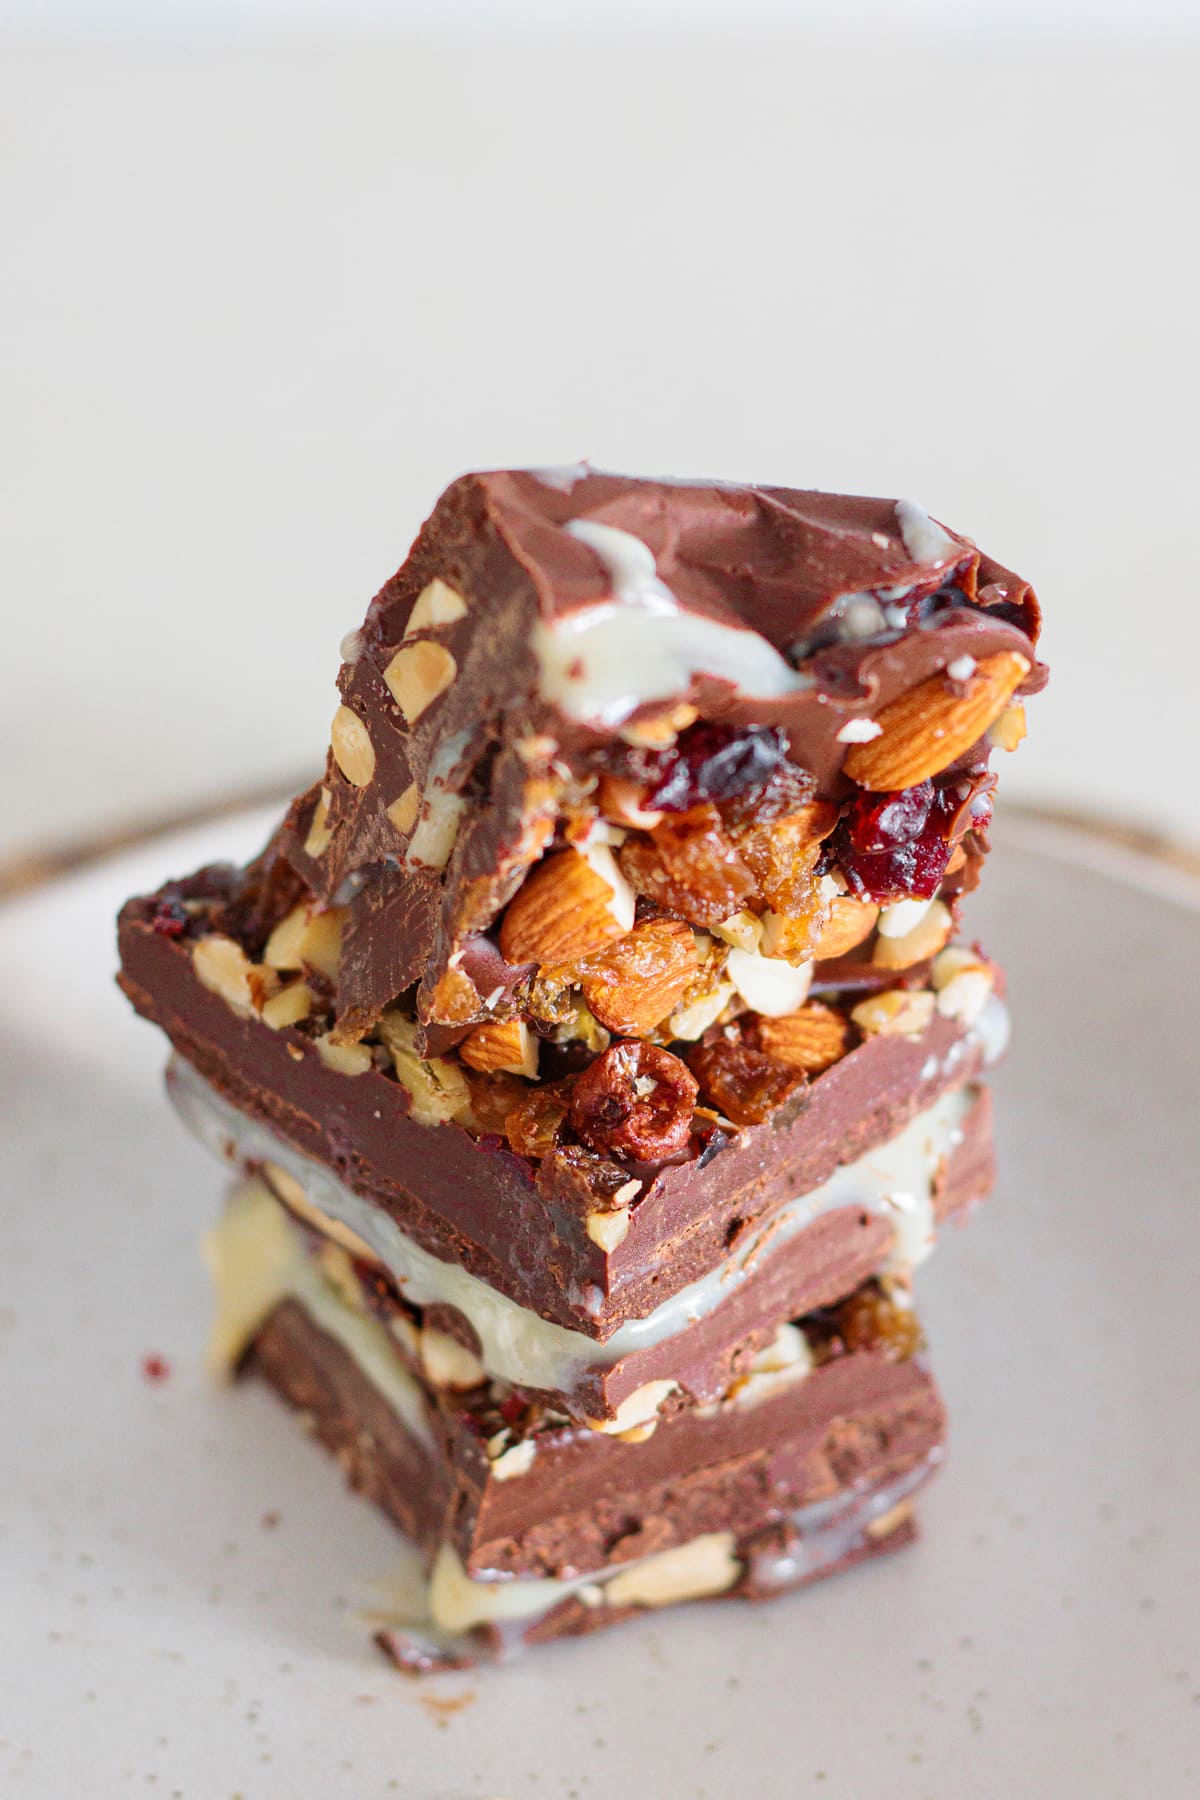
Homemade nut goodie bars packed with chocolate, nuts and creamy filling.
Rita was so happy when I told her I was planning to share this recipe here. Of course, she immediately ‘forced’ me to make them, I had no choice, haha! But, I understand her, they look good, but they taste even better!
And, to be even, I asked her to make one of our favorite cookies (also perfect for the holidays). She makes the absolute best Oatmeal Raisin Cookies!
Variations I’ve Tried And Tested
I usually make my mom's original recipe but of course I like to add my own twist to it. So I tried a few variations to get it closer to the original Nut Goodie Bar, and I think you’ll like them too
Butterscotch twist - I swapped half the chocolate in the base with butterscotch chips, which have a more caramel-like flavor! It made the bars taste closer to the original Pearson’s Nut Goodie Bar.
Maple filling - I switched the vanilla extract with maple extract. It adds that classic maple nougat vibe that the original candy also has.
Salty-sweet finish - I sprinkled a little bit of flaky sea salt on top instead of the mixed nuts. It added an extra salty touch that made the chocolate flavor pop even more! It disappeared just as fast as the regular batch!
Rita likes my mom's version most, so that's why I usually stick with her recipe. But, if you've tried the original one, I recommend you make a separate batch with these variations as well! These are also a huge hit among our friends.
Mistakes To Avoid When Making Nut Goodie Bars
As I mentioned earlier, I made a few mistakes the first few times I made this recipe by myself. So, I'm also going to share these with you not only so you can avoid them but also to let you know that it's okay if a recipe doesn’t turn out right the first time!
Overheating the chocolate - this has happened to me a few times, especially when I was in a hurry. Using high heat will burn and seize your chocolate and it won't taste good. Always use low-heat, the double boiler method or in 30-second intervals in the microwave.
Using granulated sugar - I didn’t have powdered sugar, so I thought granulated would work the same. Nope. Tasted the grit in every bite I took!
Skipping the chilling steps - if you don't freeze for 20 minutes each layer before adding the next one, they'll just start to blend together. The flavor was basically the same but I didn't get those neat layers.
Overfreezing - thankfully I've only done it once. I tried to speed up the process and freeze it for an hour on the last step. It was a mess! The chocolate became brittle and cracked, the filling hardened unevenly and the texture wasn't the same!
And that's about it! Most of these could have been easily avoided since most of them happened when I was in a hurry and tried to rush the process, but the truth is, it's not worth it! The recipe doesn't take that long to justify trying to speed up the process.
Close-up of homemade nut goodie bars with a smooth vanilla center and nut topping.
I hope you like it as much as we do and that it also becomes a tradition in your home. Let me know if you try it and your own twists to it!
This also reminded me about another dish that's also become a tradition, Rita's Rustic Make-Ahead Mashed Potatoes. It's that kind of side dish that just disappears within minutes!
Homemade Nut Goodie Bars with a rich chocolate base, creamy vanilla filling, and crunchy nut topping. A no-bake treat inspired by the classic St. Paul candy bar and passed down through my family.
Make the Chocolate BaseMelt the chocolate and peanut butter together in a heatproof bowl over a pot of simmering water (double boiler), stirring until smooth. Add the chopped peanuts and mix well. Pour the mixture into an 8×8 inch (20×20 cm) pan lined with parchment paper. Spread evenly and place in the freezer for about 20 minutes to set.
2
Prepare the Creamy FillingIn a small saucepan over low heat, melt the butter with the sweetened condensed milk. Once smooth, remove from the heat and sift in the powdered sugar. Stir until fully combined and creamy, then mix in the vanilla extract. Pour this mixture over the chocolate base and smooth it out with a spatula. Return the pan to the freezer for another 20 minutes.
3
Add the Chocolate Topping
Melt the dark chocolate with the tablespoon of peanut butter (again, using a double boiler or microwave). Pour the chocolate over the vanilla layer and spread evenly. Before the chocolate sets, sprinkle the top with chopped peanuts (or a mix of your favorite nuts).
4
Chill and Slice
Refrigerate for at least 2 hours until firm. Then, using a sharp knife, cut into squares and enjoy!
Nutrition Facts
Servings 16
Amount Per Serving
Calories3581kcal
% Daily Value *
Total Fat221g340%
Saturated Fat99g495%
Trans Fat1.4g
Cholesterol124mg42%
Sodium915mg39%
Total Carbohydrate362g121%
Dietary Fiber33g132%
Sugars297g
Protein65g130%
* Percent Daily Values are based on a 2,000 calorie diet. Your daily value may be higher or lower depending on your calorie needs.
Rita Dias
Food Blogger
Hi, I'm Rita, a full-time food blogger, mom of two beautiful cats, and passionate about cooking and photography. I want to share with you simple but delicious recipes that I make in my own kitchen.