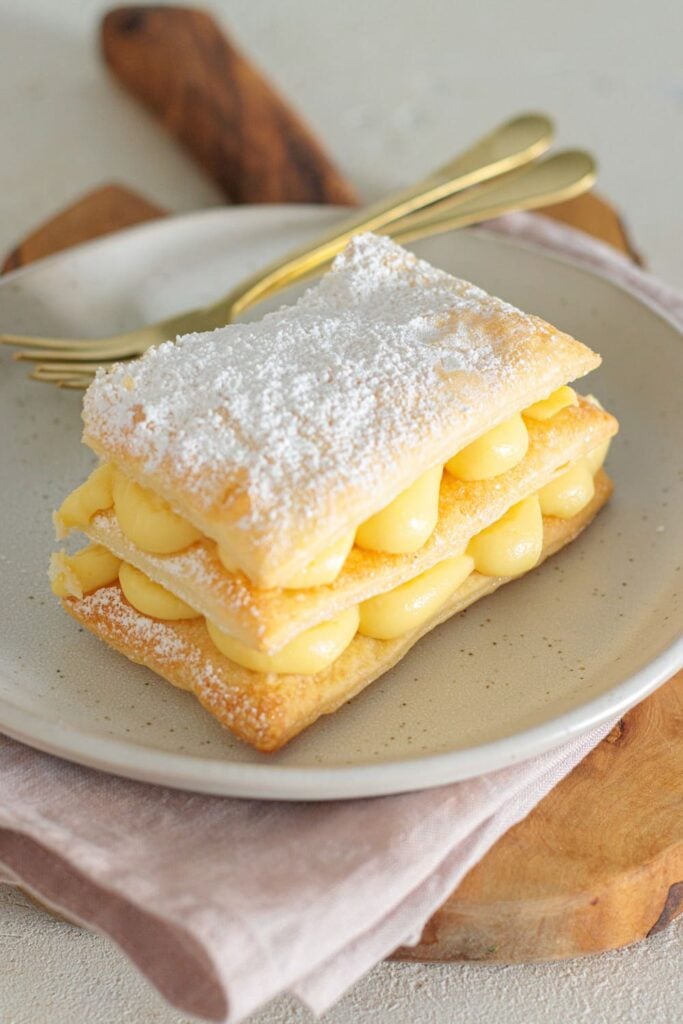
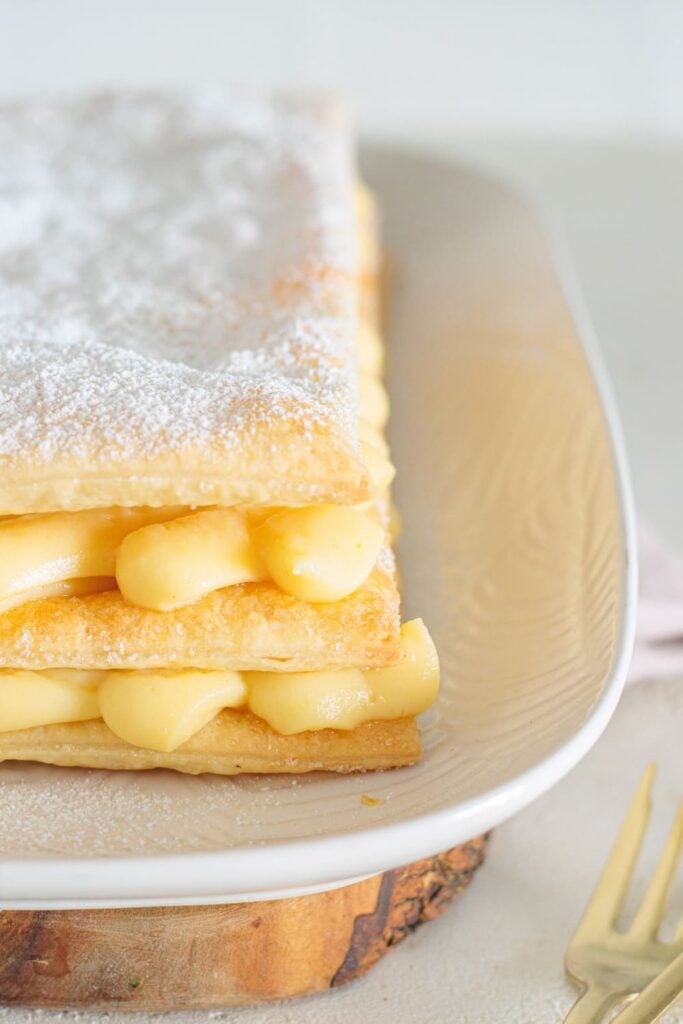
Millefoglie is a terrible dessert to eat gracefully.
And I think that’s part of why I love it. You get crisp, caramelized pastry and cold, silky pastry cream in the same bite, with absolutely no need to make puff pastry from scratch. It looks like a proper celebration cake when you bring it to the table, but the actual assembly is basically pastry, cream, pastry, cream, pastry.
Millefoglie with Pastry Cream
The hardest part might genuinely be cutting it without destroying the evidence of how pretty it was five seconds earlier.
Ingredients for My Millefoglie with Pastry Cream
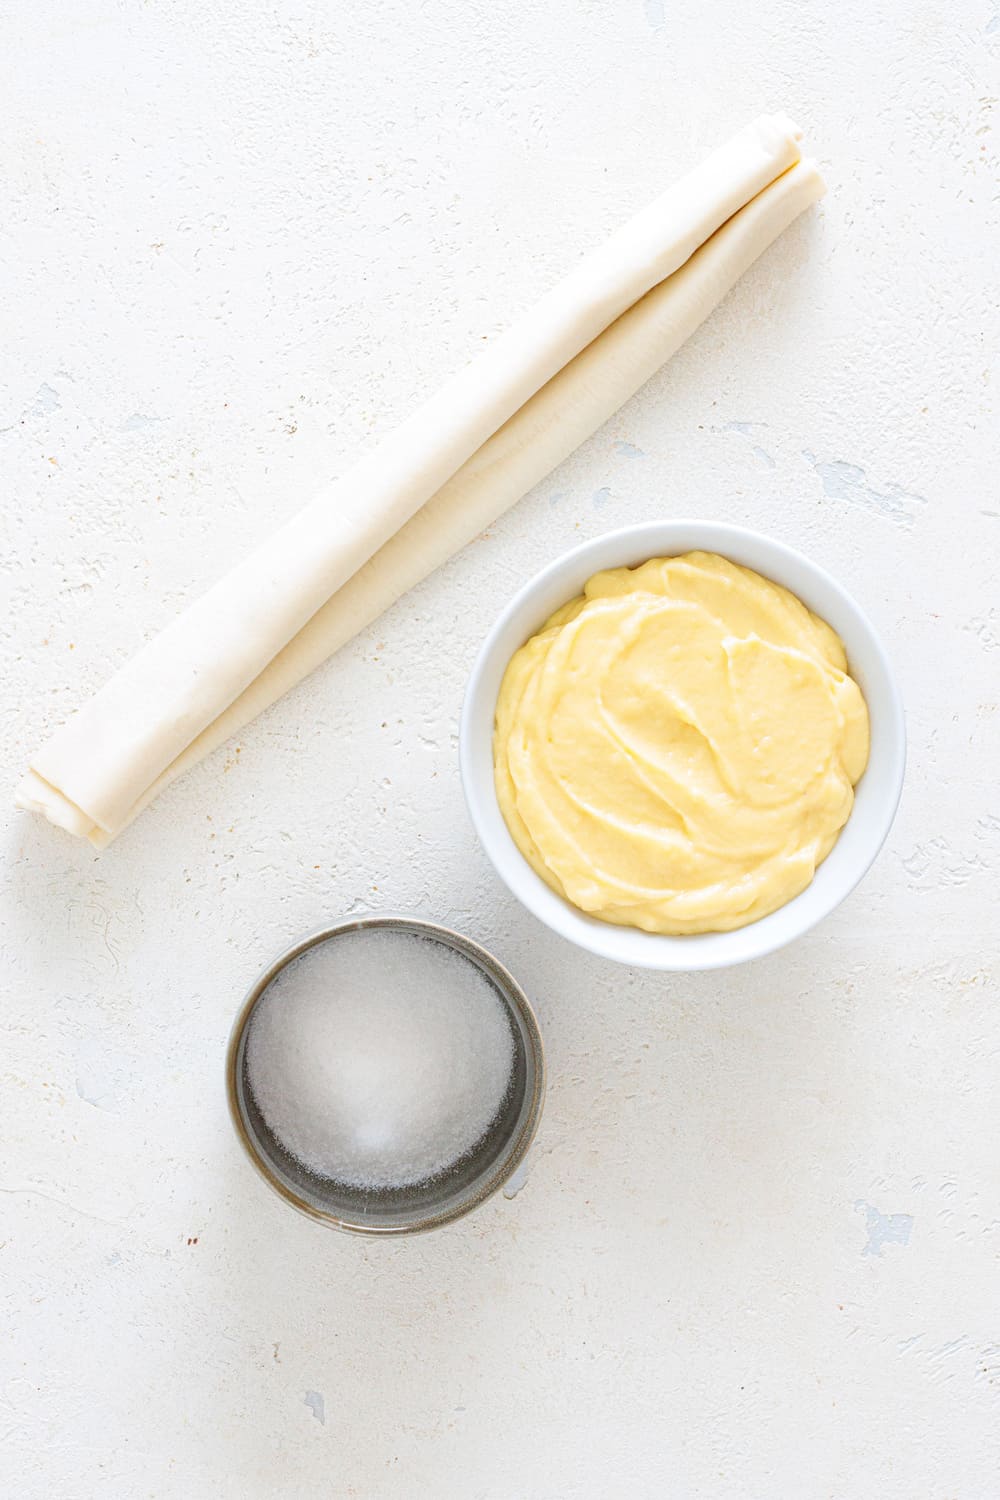
Four ingredients, plus a little water for brushing. And one of them is powdered sugar, so we’re already doing very well.
This is all you'll need to make this delicious dessert:
Ingredients for My Millefoglie with Pastry Cream
1 rectangular sheet of puff pastry, thawed if frozen
17½ oz (500 g) pastry cream, well chilled. Use my homemade Pastry Cream recipe and make sure it’s completely cold before assembling.
2 tablespoons granulated sugar
Powdered sugar, as needed
Water, as needed for brushing
Makes one millefoglie, enough for approximately 6 servings, depending on how large you cut them and how cooperative the pastry feels that day.
How To Make It
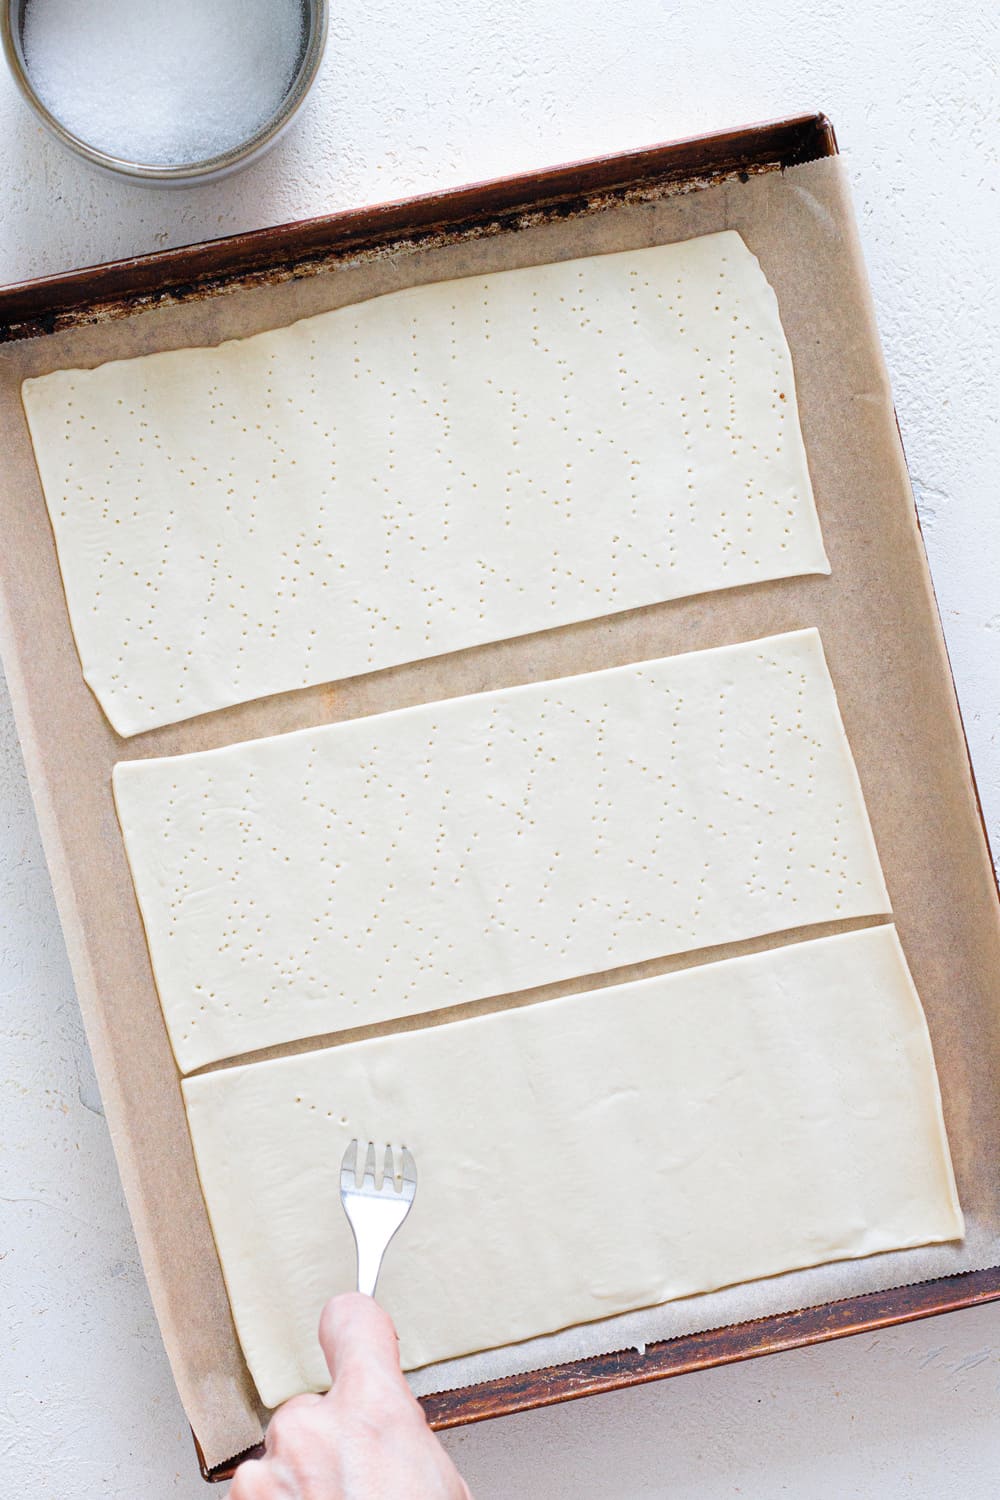
First, I unfold or unroll the thawed puff pastry directly onto a parchment-lined baking sheet and cut it into three equal rectangles. Then I attack the entire thing with a fork.
You actually want to prick the pastry pretty thoroughly here. Normally puff pastry is encouraged to rise into glorious golden layers; for millefoglie, we need it crisp and flaky but relatively flat, otherwise assembling three layers becomes an architectural project.
Unroll the puff pastry directly onto a parchment-lined baking sheet, cut it into three equal rectangles, and prick it with a fork.
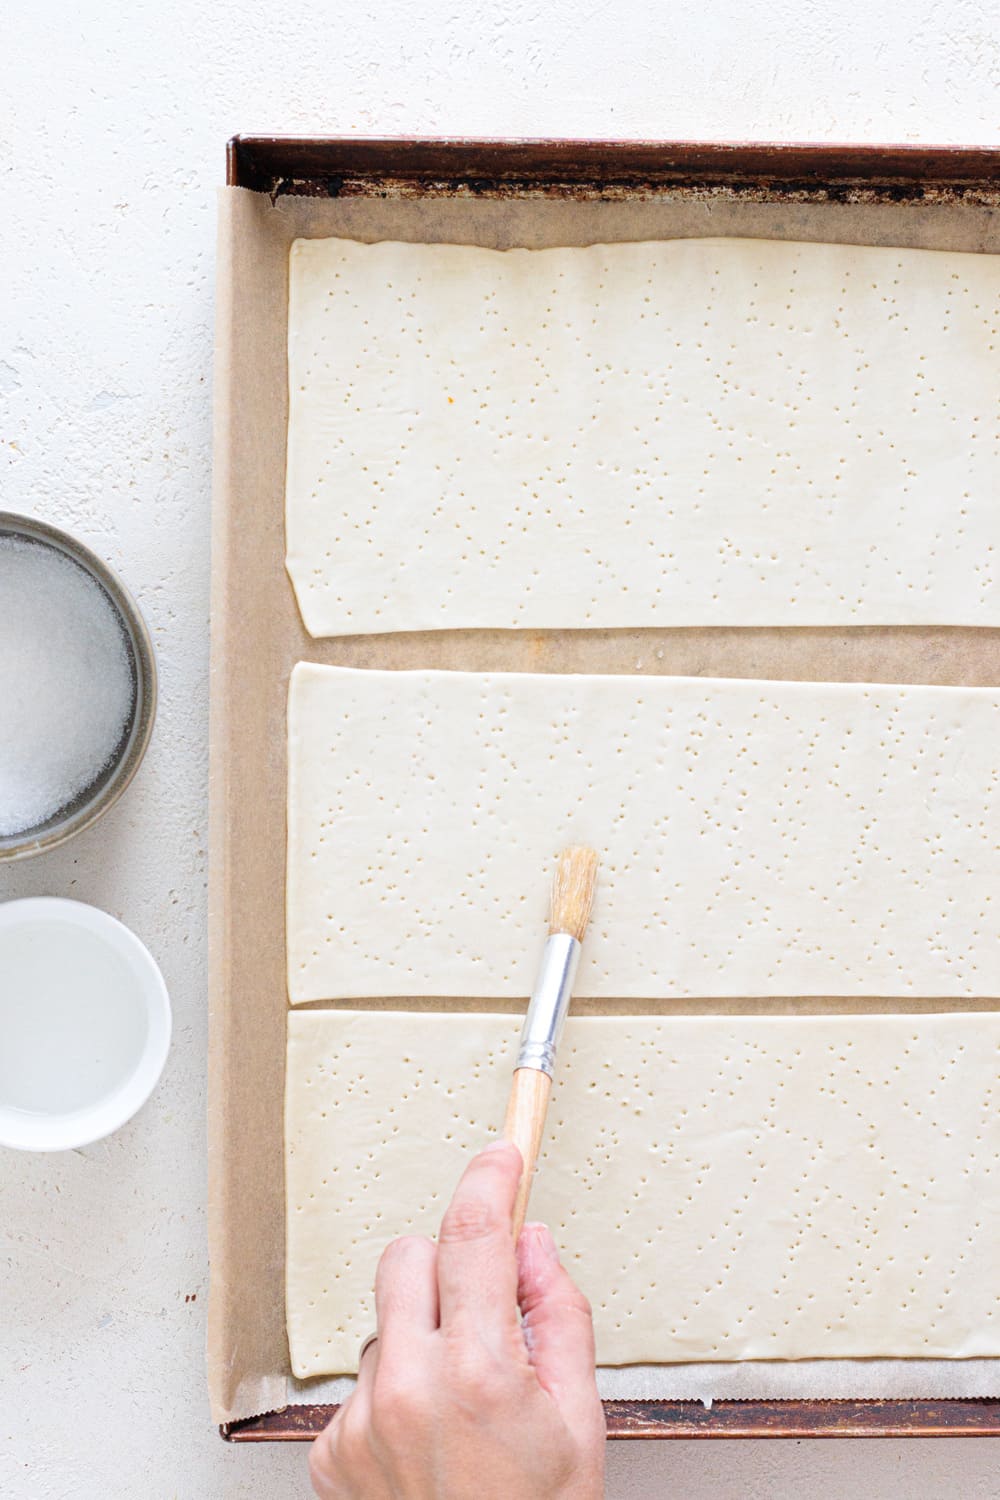
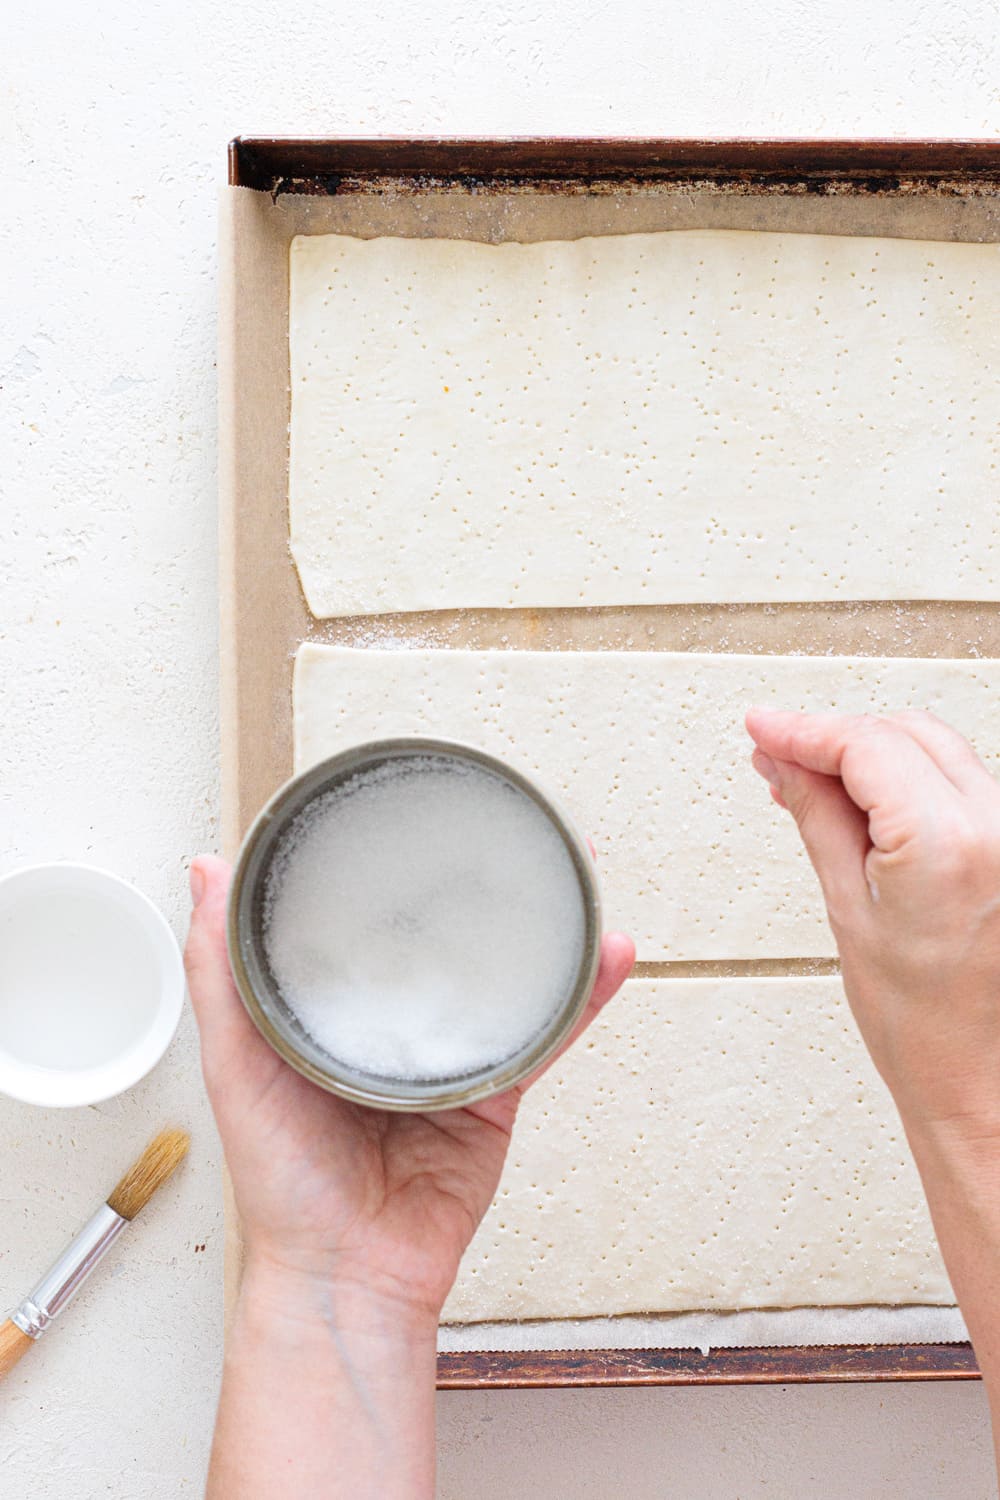
I preheat the oven to 400°F (200°C). Then, I brush the pastry rectangles very lightly with water, sprinkle the 2 tablespoons of granulated sugar evenly over the top, and bake for approximately 18-25 minutes, until deeply golden, dry, and crisp.
Brush the pastry rectangles very lightly with water.
Sprinkle the rectangles with granulated sugar and bake.
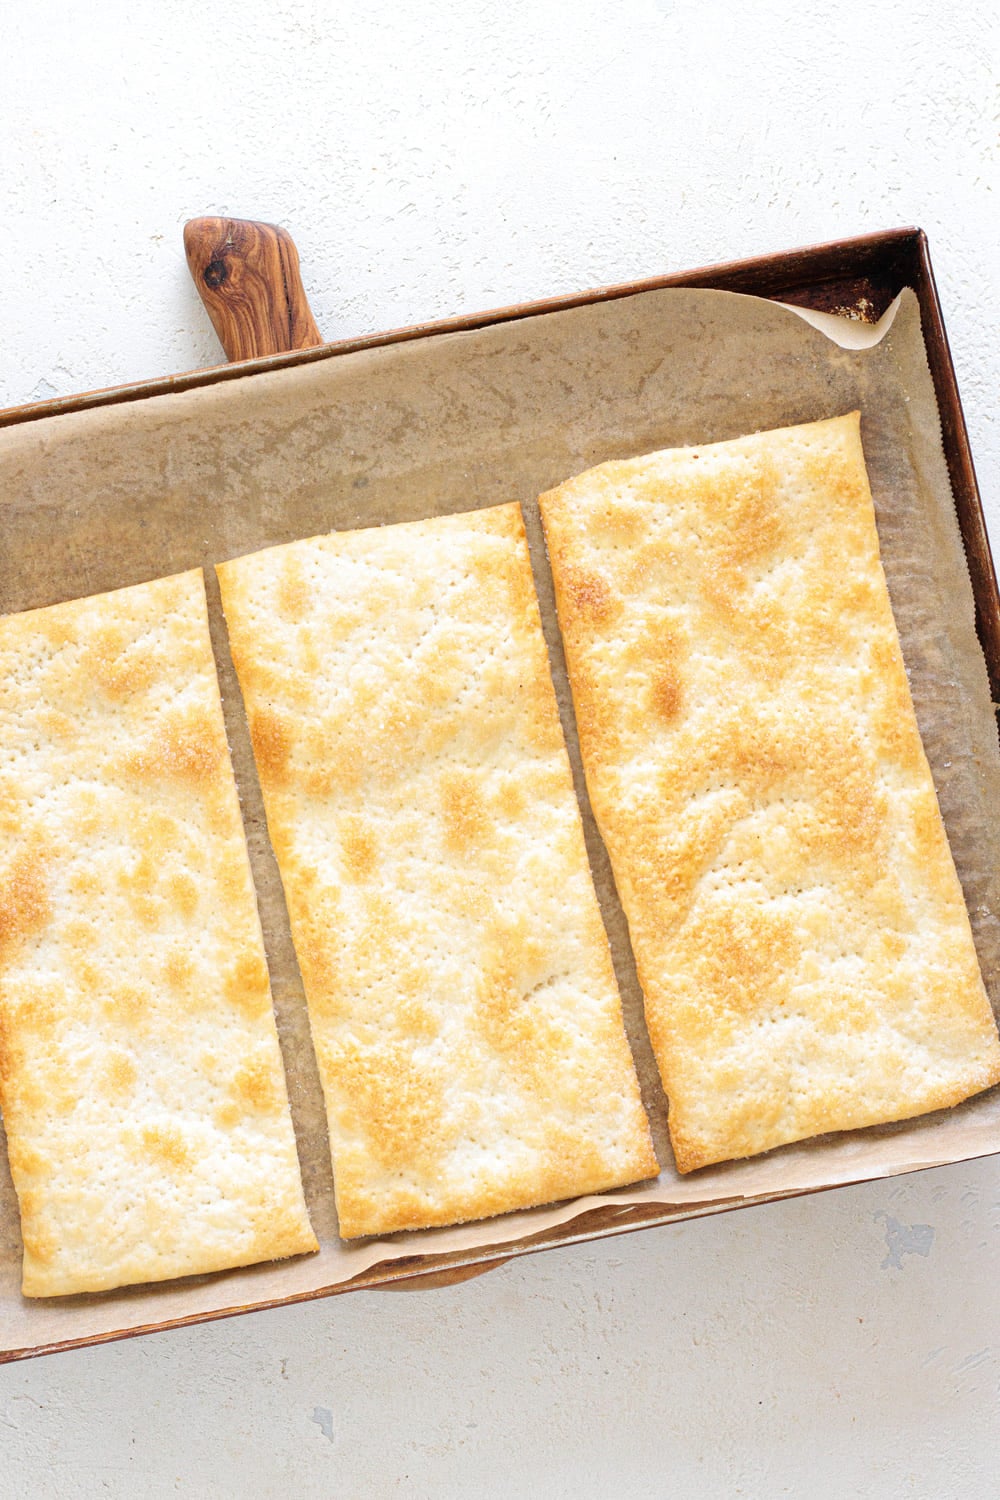
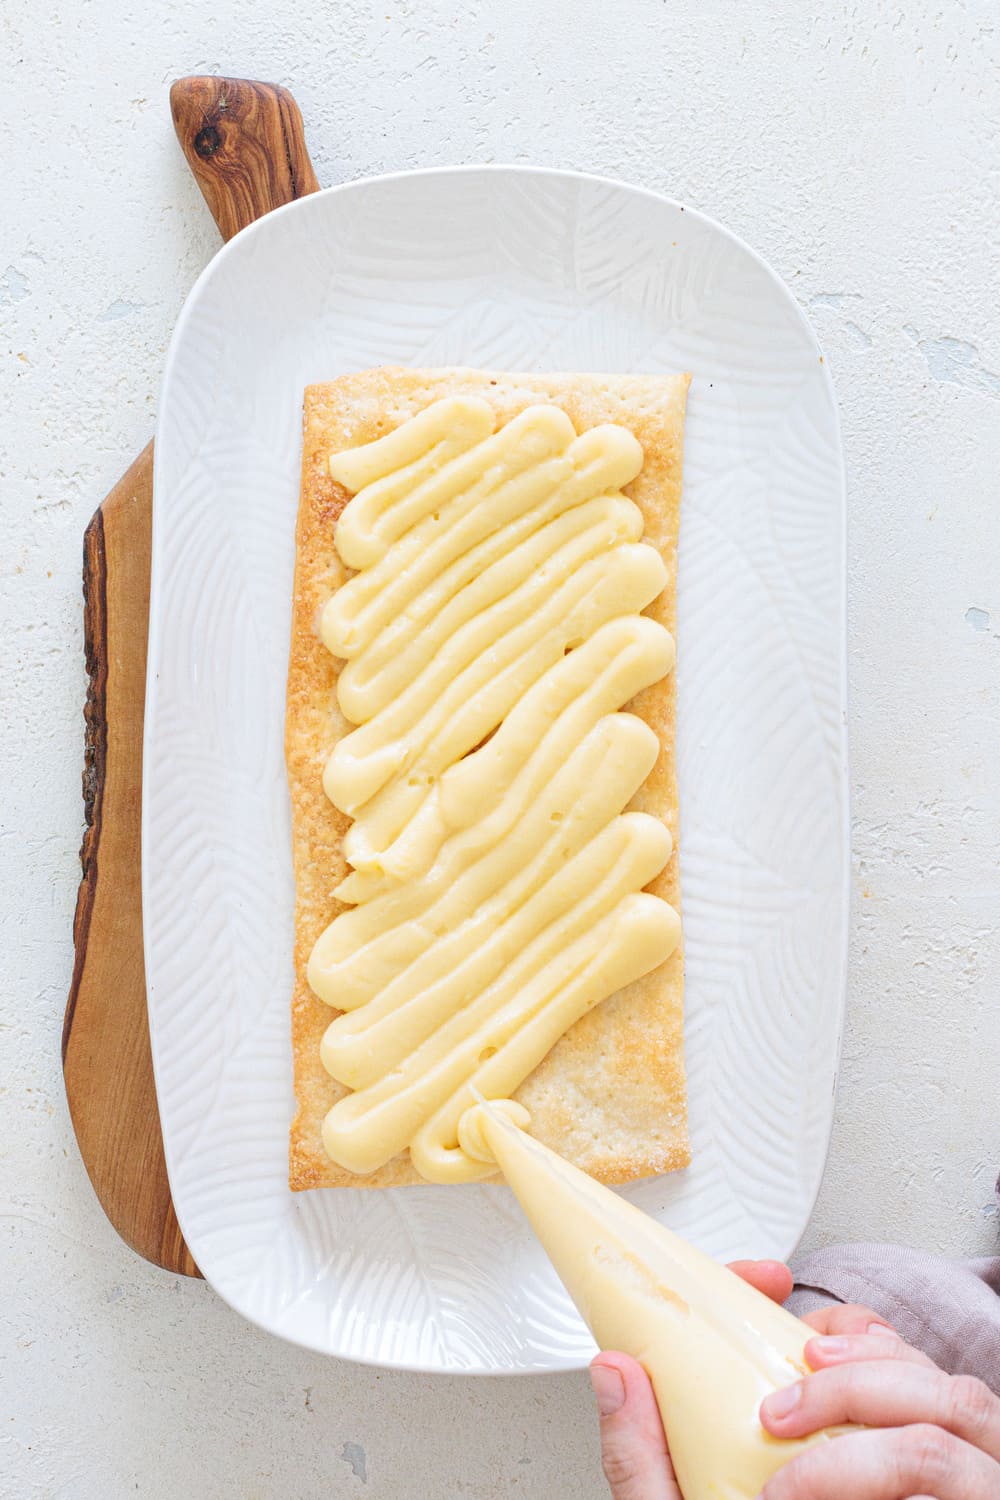
As soon as it comes out of the oven it’s time to cool. Completely. Cold pastry cream plus warm puff pastry is not a shortcut worth experimenting with. Once everything is cool, I put down the first pastry rectangle and spread half of the chilled pastry cream over it.
Let the pastry cool completely after baking.
Once the pastry is cool, put down the first pastry rectangle and spread it generously with chilled pastry cream.
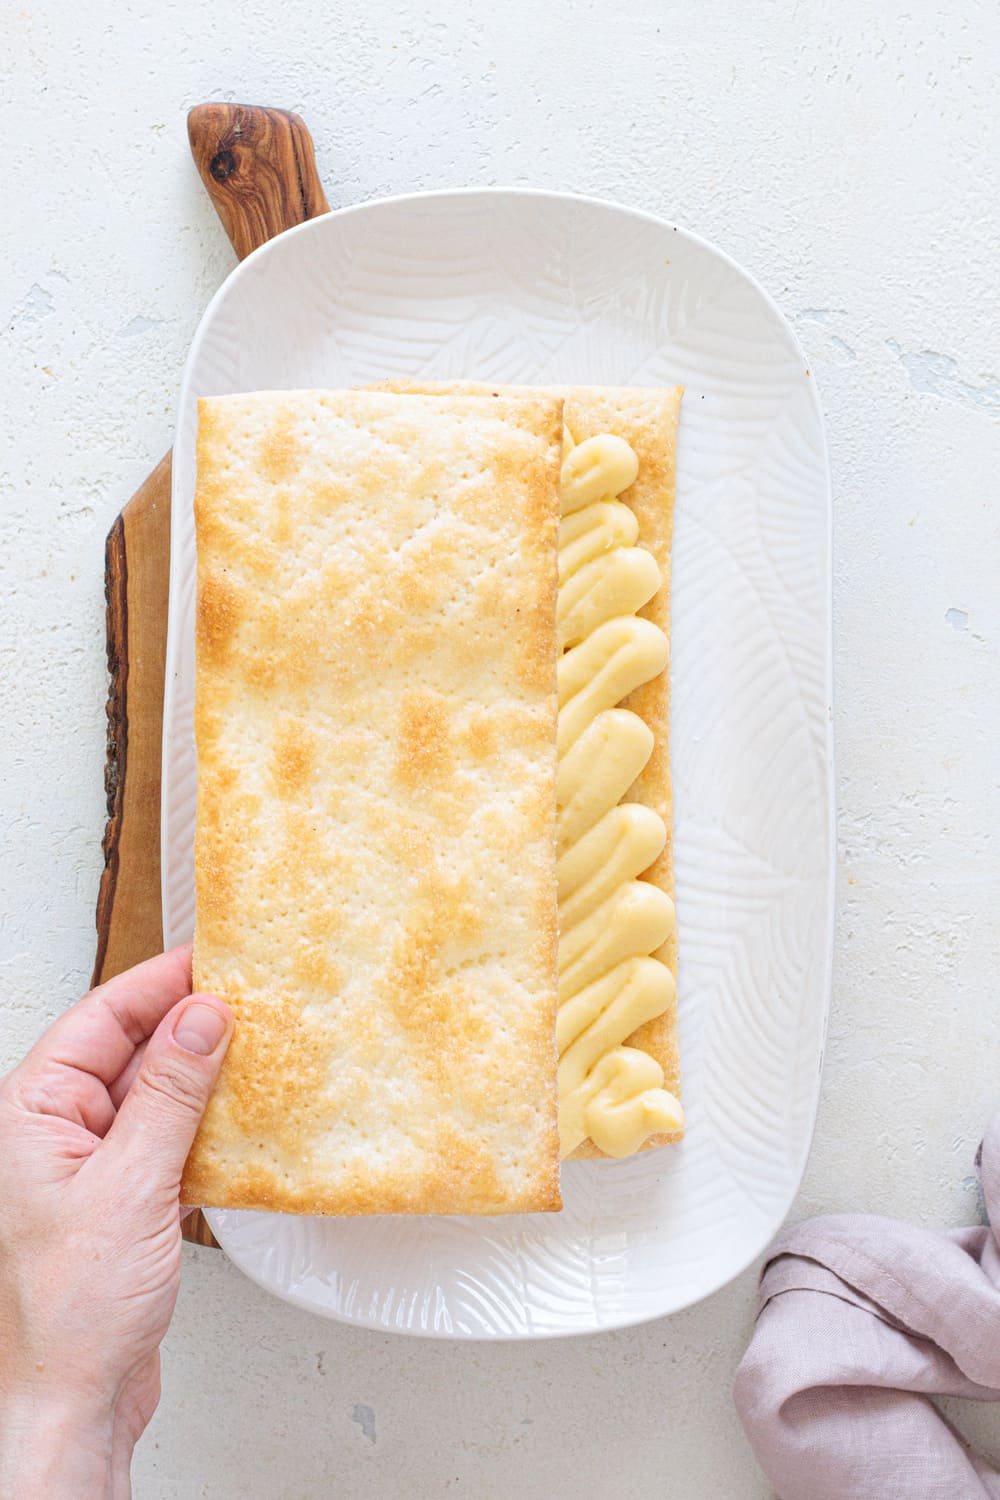
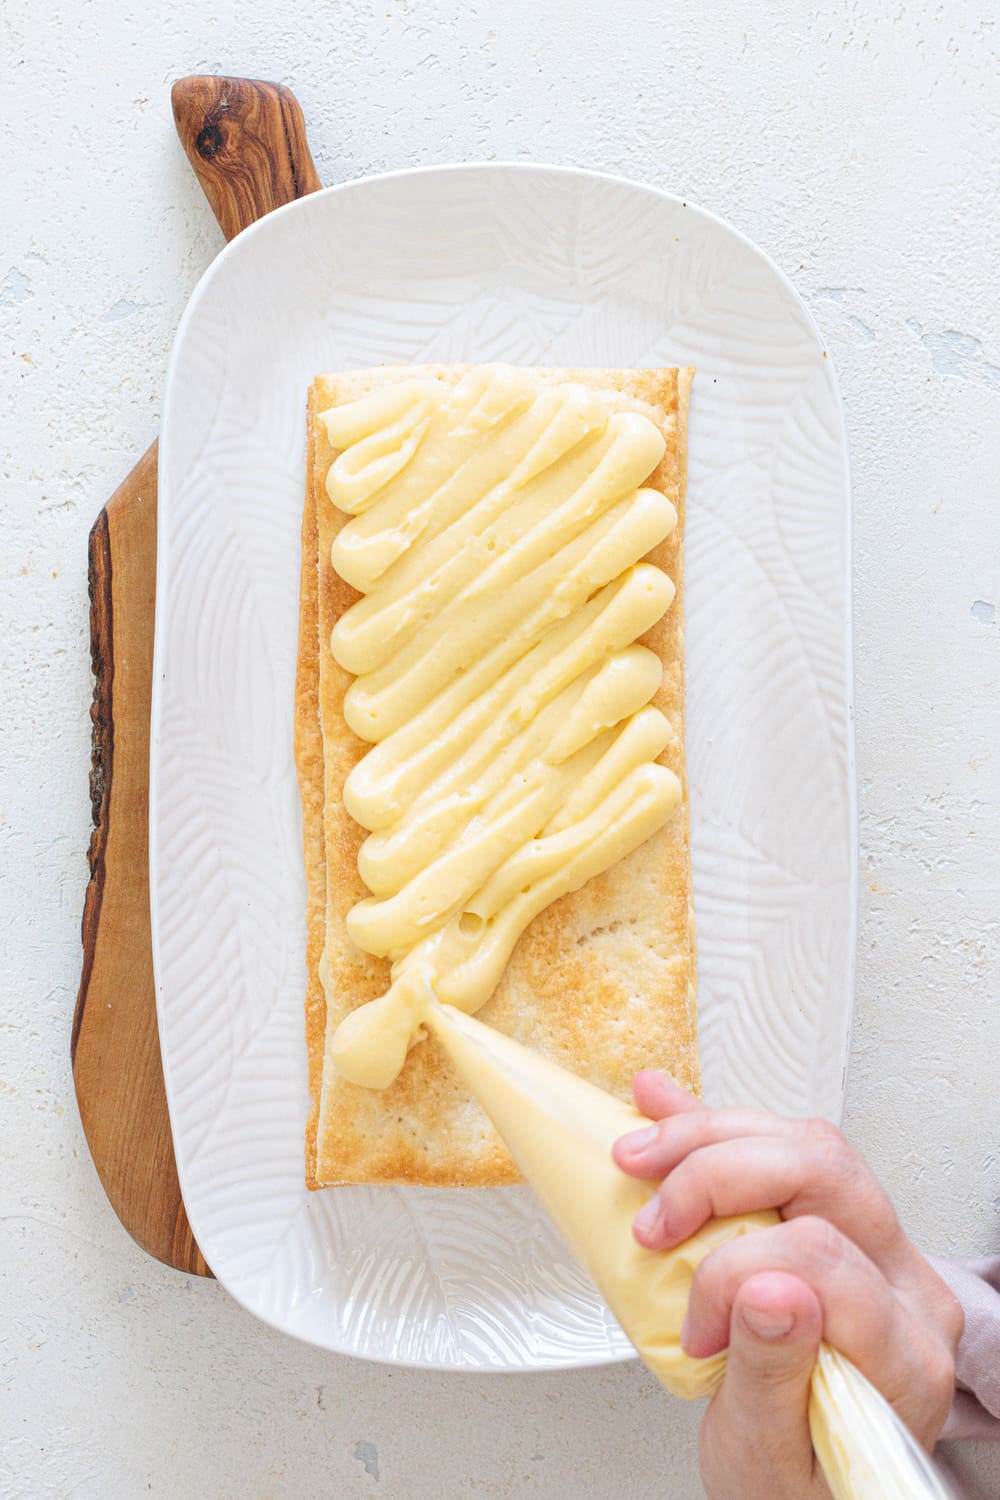
Another piece of pastry goes on top, followed by the remaining pastry cream, and then the final pastry layer. That's it!
Add the second piece of pastry on top of the cream.
Add more cream and top with the final pastry layer.
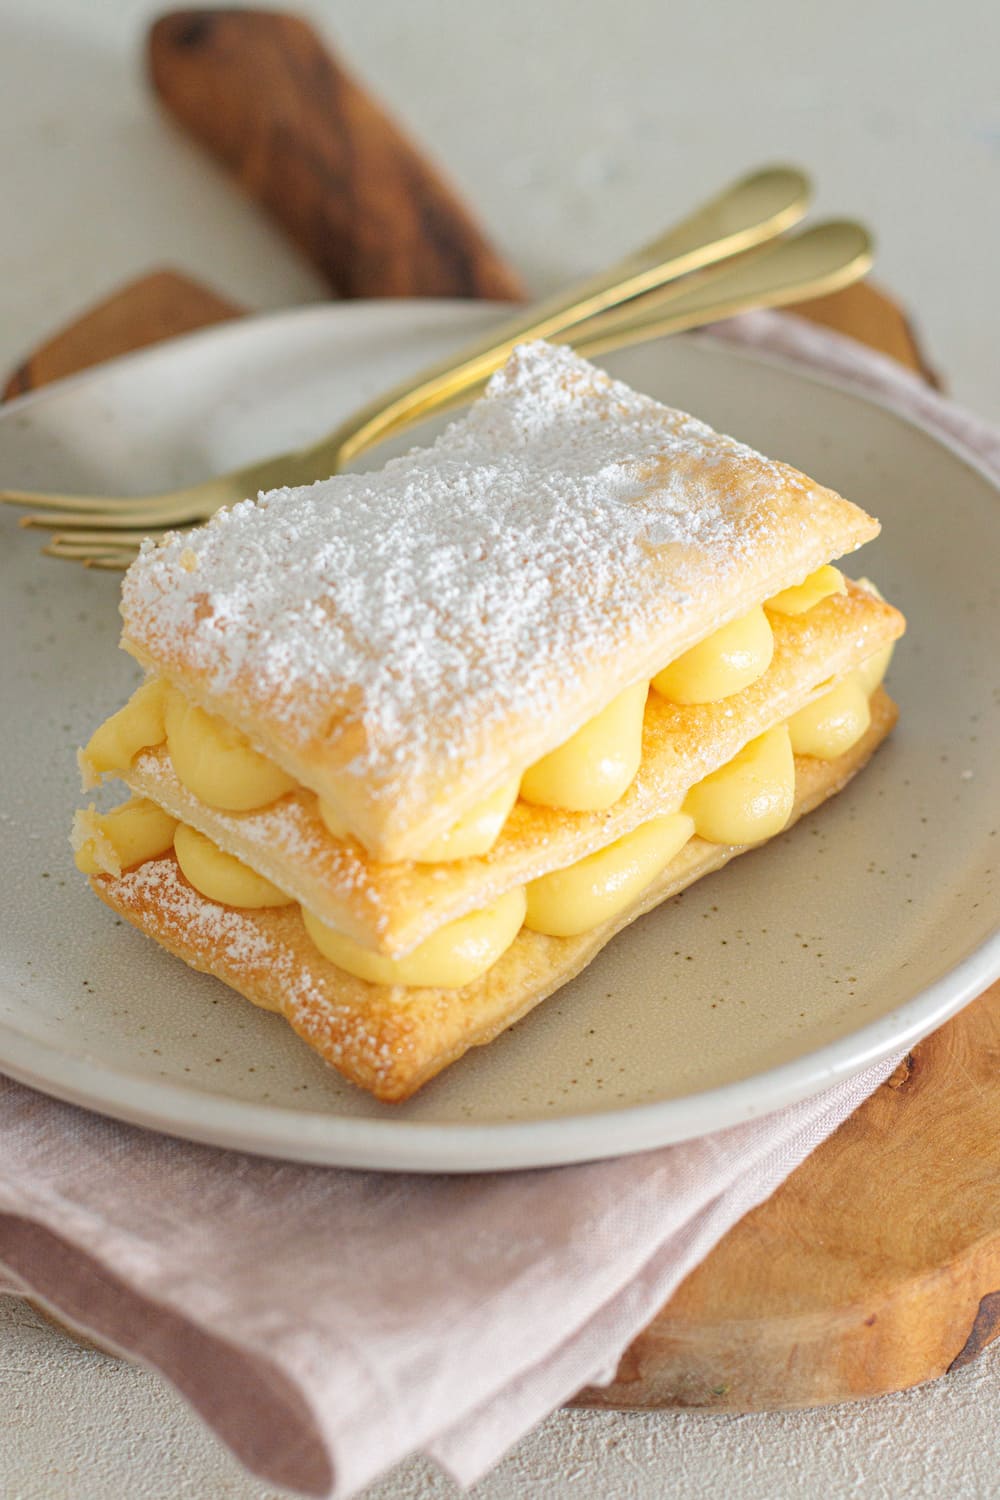
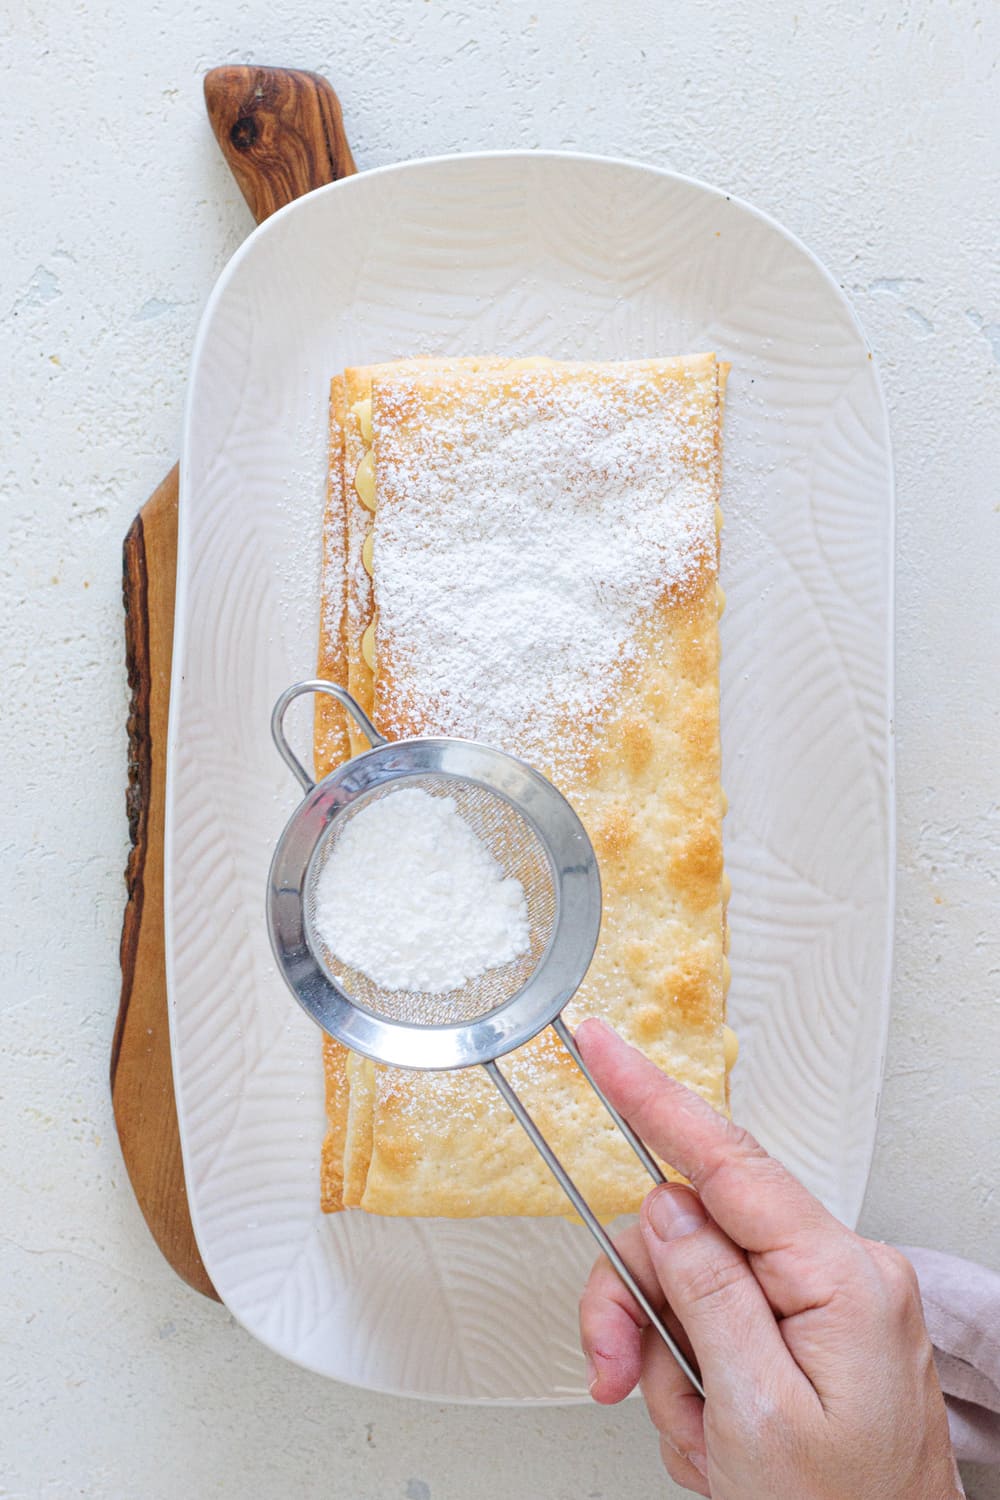
Right before serving, I cover the top with powdered sugar. If I want to take things slightly further, I dust the final pastry rectangle with powdered sugar and caramelize it with a kitchen torch before placing it on the dessert. Once the caramelized pastry has cooled completely, I set it on top of the cream for an extra-thin, crackly finish.
Right before serving, sprinkle with a generous amount of powdered sugar.
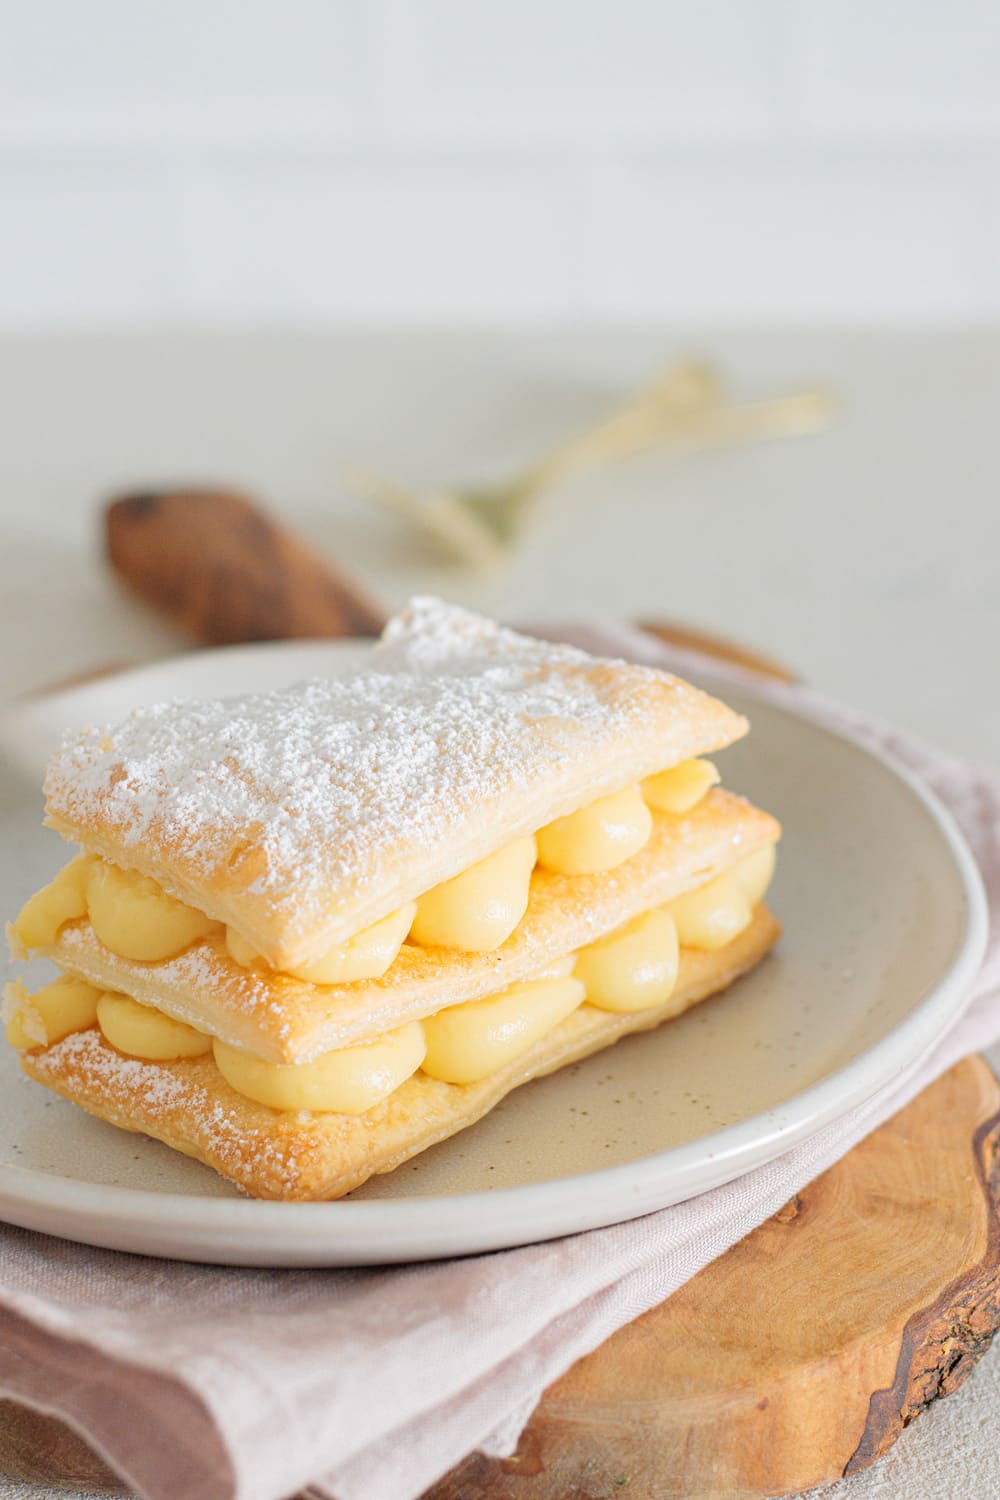
And then I bring it to the table while it still looks immaculate.
What happens after the first fork digs in is between the millefoglie and its guests.
Serve the millefoglie and enjoy.
When Should I Assemble It?
This is where millefoglie gets slightly demanding.
You can do most of the work ahead of time. Bake the pastry, make the pastry cream, and keep them separate until you’re getting closer to serving. What you don’t want to do is assemble the whole thing the night before.
The pastry needs to stay crisp, and pastry cream contains moisture, so once the two meet, the countdown begins. You don’t have to wait until everyone is already sitting at the table, but assembling it relatively close to serving will give you that proper crack when you cut through the layers.
One more thing: make sure the pastry cream is properly chilled. It will hold its shape much better between the layers instead of slowly making its way toward the edge of the plate.
If you have leftovers, cover them and store them in the refrigerator for up to 2 days. The pastry will gradually soften as it absorbs moisture from the cream, so millefoglie is definitely best enjoyed within the first 24 hours.
And if what you really need is a dessert you can make the day before and forget about, millefoglie probably isn’t the one. My Easy Frozen Strawberry Dessert and Tiramisu Chia Pudding are both much better options for that.
Assemble your millefoglie as close to serving as possible to keep the freshness and crispness of the puff pastry.
Ways to Change It
The classic pastry-and-cream combination doesn't need anything else, but millefoglie is very easy to take in different directions.
Fresh strawberries or raspberries between the layers are probably my favorite addition. Their acidity cuts through the cream, and they make the whole thing look even better once sliced.
You can add lemon or orange zest to the pastry cream, or scatter a few chocolate shavings between the layers.
A thin layer of berry jam underneath the pastry cream works beautifully too, especially raspberry.
And if you're making individual desserts rather than one large millefoglie, cut the pastry into smaller rectangles before baking and build each one separately. More assembly, yes. Significantly less anxiety when it's time to cut the thing, also yes.
How to Cut Millefoglie Without Completely Destroying It
“Without completely destroying it” is important. We're managing expectations.
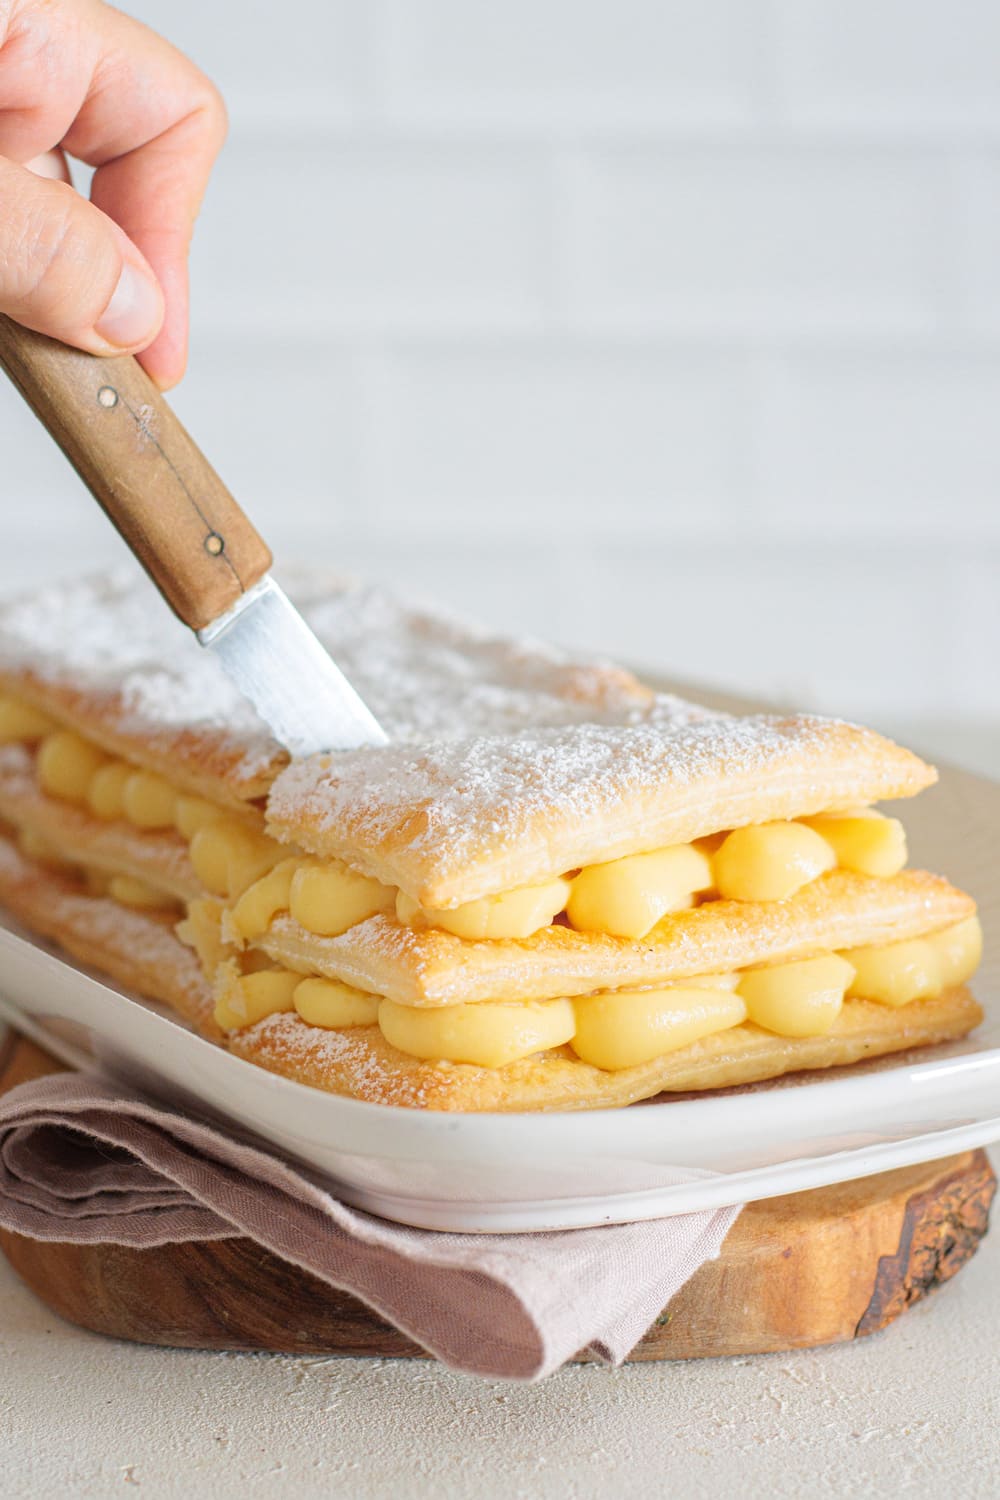
A very sharp serrated knife helps. Use a gentle sawing motion through the top pastry instead of pushing straight down, because pushing is what sends the cream sideways.
You can also lightly mark your portions on the top pastry before assembling the dessert. Then, when it’s time to serve, you already know exactly where each cut needs to go.
And if a little cream escapes anyway, congratulations. You've made millefoglie.
Use a very sharp knife to cut your millefoglie without completely destroying it.
Crisp, caramelized layers of puff pastry filled with cold, silky pastry cream and finished with powdered sugar. This easy millefoglie looks impressive without requiring homemade puff pastry.
Ingredients
1rectangular sheet of puff pastry (thawed if frozen)
17½ounces pastry cream (500 g | well chilled)
2tablespoons granulated sugar
powdered sugar (as needed)
water (as needed for brushing)
Instructions
1
Preheat the oven
Preheat the oven to 400°F (200°C). Unfold or unroll the thawed puff pastry onto a parchment-lined baking sheet.
2
Cut and prick the pastry
Cut into three equal rectangles and prick each one thoroughly with a fork.
3
Add the sugar
Lightly brush the pastry rectangles with water and sprinkle evenly with the 2 tablespoons of granulated sugar.
4
Bake until crisp
Bake for approximately 20-25 minutes, until the pastry is deeply golden, dry, and crisp. Transfer to a wire rack and let cool completely before assembling.
5
Start layering
Place one pastry rectangle on a serving plate and spread half of the chilled pastry cream evenly over it.
6
Build the millefoglieAdd the second pastry rectangle and spread the remaining pastry cream over it. Finish with the final pastry rectangle, unless you plan to caramelize the topping separately.
7
Finish with powdered sugarDust the top with powdered sugar just before serving. For a caramelized finish, dust the final pastry rectangle with powdered sugar and carefully caramelize it with a kitchen torch before assembling. Let it cool completely before placing it on top of the cream.
8
Slice and serve
Slice carefully and serve.
Nutrition Facts
Servings 6
Amount Per Serving
Calories390kcal
% Daily Value *
Total Fat22g34%
Saturated Fat10g50%
Cholesterol75mg25%
Sodium190mg8%
Potassium130mg4%
Total Carbohydrate43g15%
Dietary Fiber1g4%
Sugars19g
Protein6g12%
Calcium 80 mg
Iron 1.3 mg
* Percent Daily Values are based on a 2,000 calorie diet. Your daily value may be higher or lower depending on your calorie needs.
Rita Dias
Food Blogger
Hi, I'm Rita, a full-time food blogger, mom of two beautiful cats, and passionate about cooking and photography. I want to share with you simple but delicious recipes that I make in my own kitchen.