I made these cheesecake brownies on a rainy afternoon when I was craving something really chocolatey but also a bit creamy. Rita is always team brownie, I’m usually team cheesecake, so this felt like the perfect compromise… and now we both fight for the last square!
These brownies have that deep, fudgy base with swirls of creamy cheesecake on top, and the swirls never look the same twice, which I actually love. They always come out a little rustic but so good, and they disappear faster than I’d like to admit.
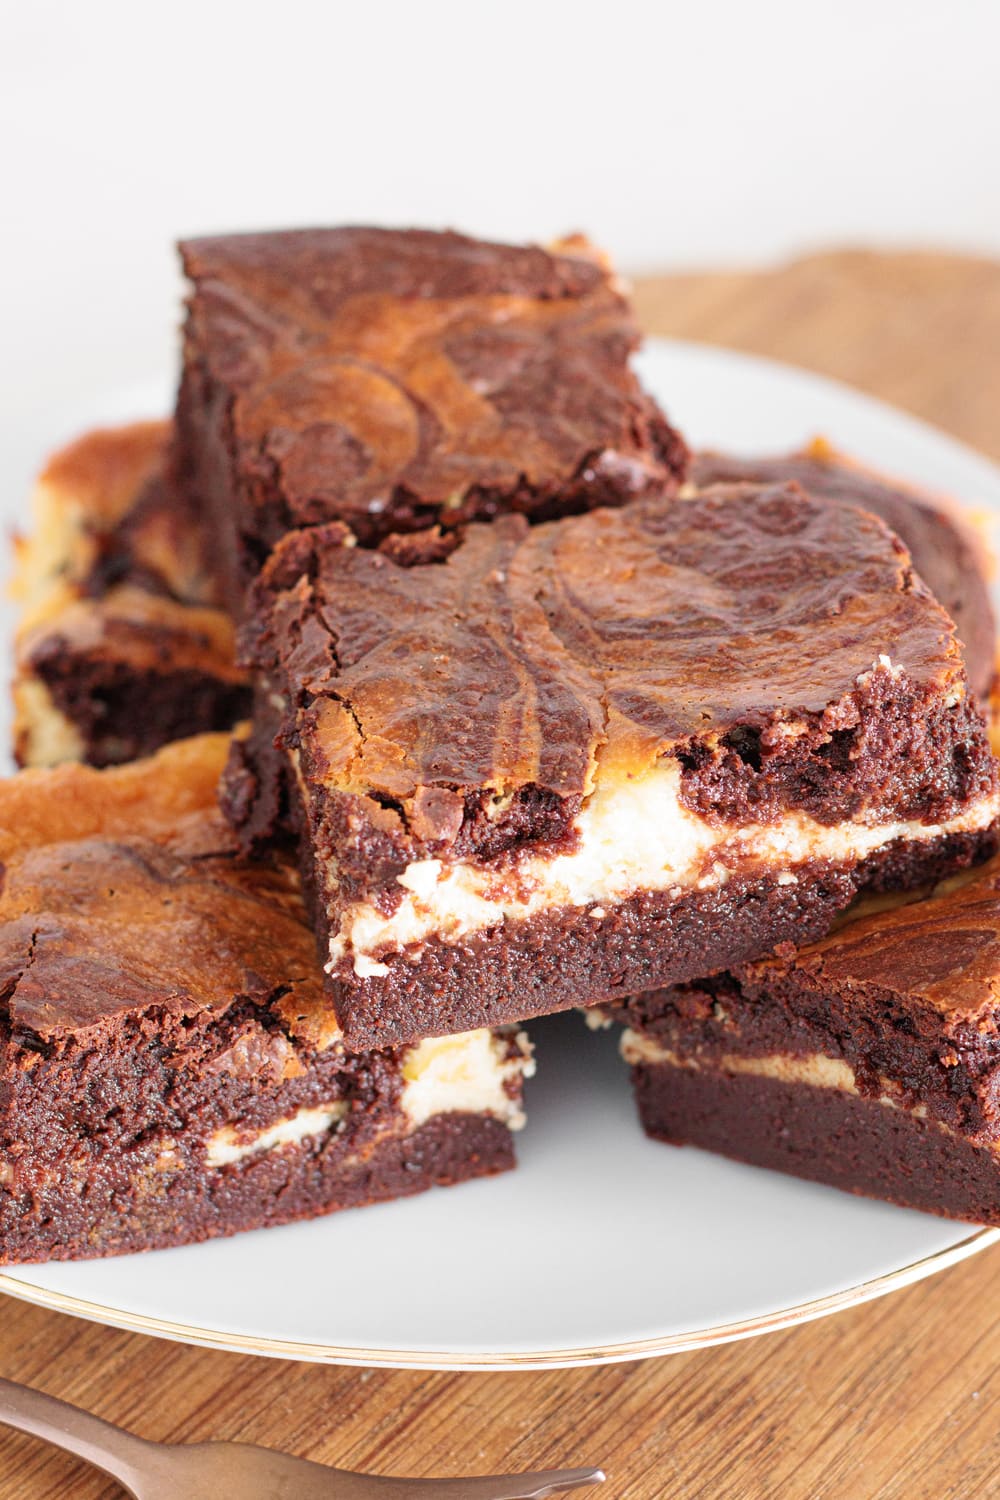
Cheesecake Brownies with marbled cheesecake swirl
The brownie layer is dense and fudgy, while the cheesecake stays soft and slightly tangy. They’re perfect slightly chilled, but also amazing at room temperature. I like them best after they’ve cooled completely; the texture gets even better, and they’re easier to cut (not that I always wait).
They might look impressive, but they’re not complicated. Once you try them, you’ll see how simple they really are!
And if you're in the mood for another chocolate treat but want something a little lighter, my Chocolate-Covered Caramel Apple Slices are a great option. They still satisfy that chocolate craving, but with fresh apple slices underneath, they feel like a slightly “healthier” dessert. Rita loves keeping those in the fridge for when we want something sweet without going all in on brownies.
Time to jump to the actual recipe part, because staring at these photos again makes me want to go straight back to the kitchen to bake another batch.
What You'll Need
One of the things I really like about these cheesecake brownies is that they use simple ingredients, but the result feels very bakery-style, and there’s a reason for that. So before I jump into full recipe mode, I want to share a few things that really make all the difference...
The chocolate is doing most of the heavy lifting, so using a good one matters. The cream cheese should be properly softened so it swirls smoothly instead of sitting in lumps, and eggs at room temperature help everything come together into that thick, glossy brownie batter. None of this is groundbreaking, but these little things are exactly what take these from “just brownies” to that dense, fudgy texture with a creamy swirl that looks as good as it tastes.
Now, let’s take a look at exactly what you’ll need.
Ingredients for the Cheesecake Brownies
For the brownie base:
11 oz dark chocolate (320g) – As I said, I recommend using good-quality dark chocolate. Since this recipe doesn’t use much flour, the chocolate flavor really stands out. I usually go for 60–70% cocoa.
6 tbsp unsalted butter, cubed (85g) – Butter adds richness and helps create that fudgy texture. I always use unsalted so I can control the flavor.
½ cup granulatedsugar (120g) – Regular white sugar works perfectly here. It helps create that shiny brownie top. You can swap it for brown sugar if you prefer a slightly moister and deeper flavor. I’ve tried both, and brown sugar makes them a bit softer and richer, although you may lose that classic glossy surface.
3 largeeggs, room temperature – Room temperature eggs mix much better and help the batter emulsify smoothly.
¼ cup unsweetened cocoa powder (25g) – This intensifies the chocolate flavor without making the brownies too sweet.
⅓ cup cornstarch (40g) – Cornstarch keeps the brownies dense and slightly chewy instead of cakey.
For the cheesecake layer:
8 oz cream cheese, softened (225g) – Make sure it's soft. Cold cream cheese will leave lumps and make swirling harder.
½ cup granulatedsugar (100g) – Sweetens the cheesecake layer without overpowering the brownies.
1 largeegg, room temperature – Helps the cheesecake layer bake smooth and creamy.
Using these ingredients, I usually get about 9 to 12 cheesecake brownies, depending on how large I cut them. I tend to go for slightly bigger squares because they’re quite rich, and one piece is usually more than enough (although that doesn’t always stop me from going back for another).
If I have friends over, I usually cut them into smaller, finger-sized pieces instead. That way, I can get around 20 to 24 pieces, and they’re perfect for sharing. They’re just as fudgy and creamy, only easier to grab… and they tend to disappear even faster.
How To Make My Cheesecake Brownies
First, preheat your oven to 350°F (180°C) and line a 9-inch (23 cm) square pan with parchment paper. I like leaving some overhang so I can lift them out easily once cooled.
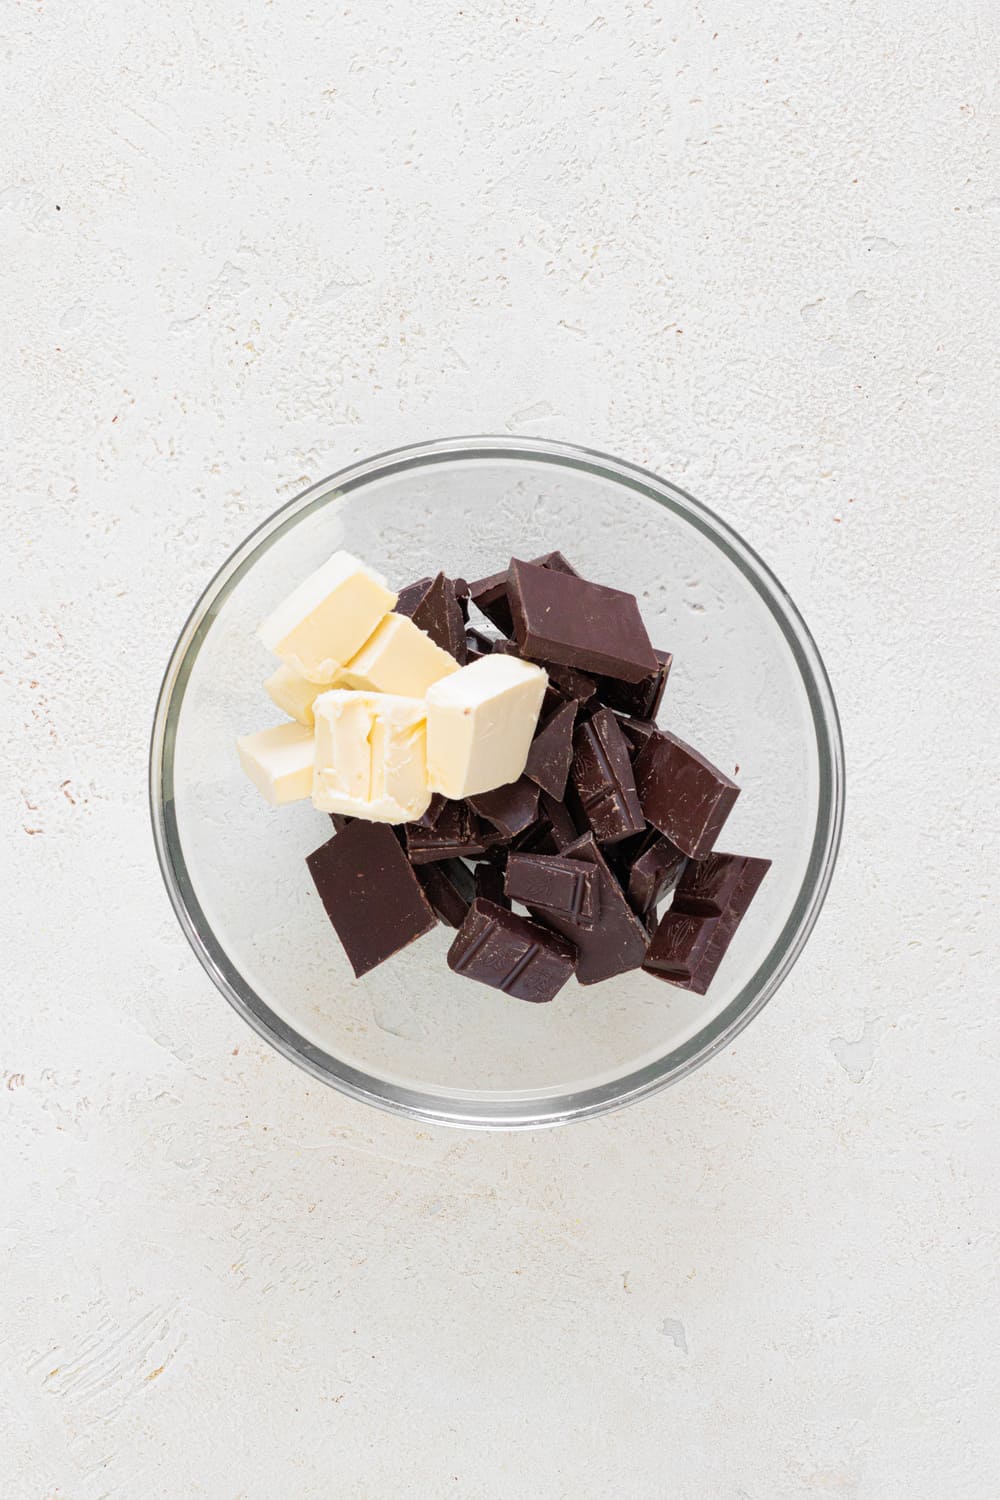
In a large bowl, combine the chopped dark chocolate and butter. Melt them together using a microwave in 30-second intervals, stirring between each one, until smooth and glossy. You can also use a double boiler if you prefer.
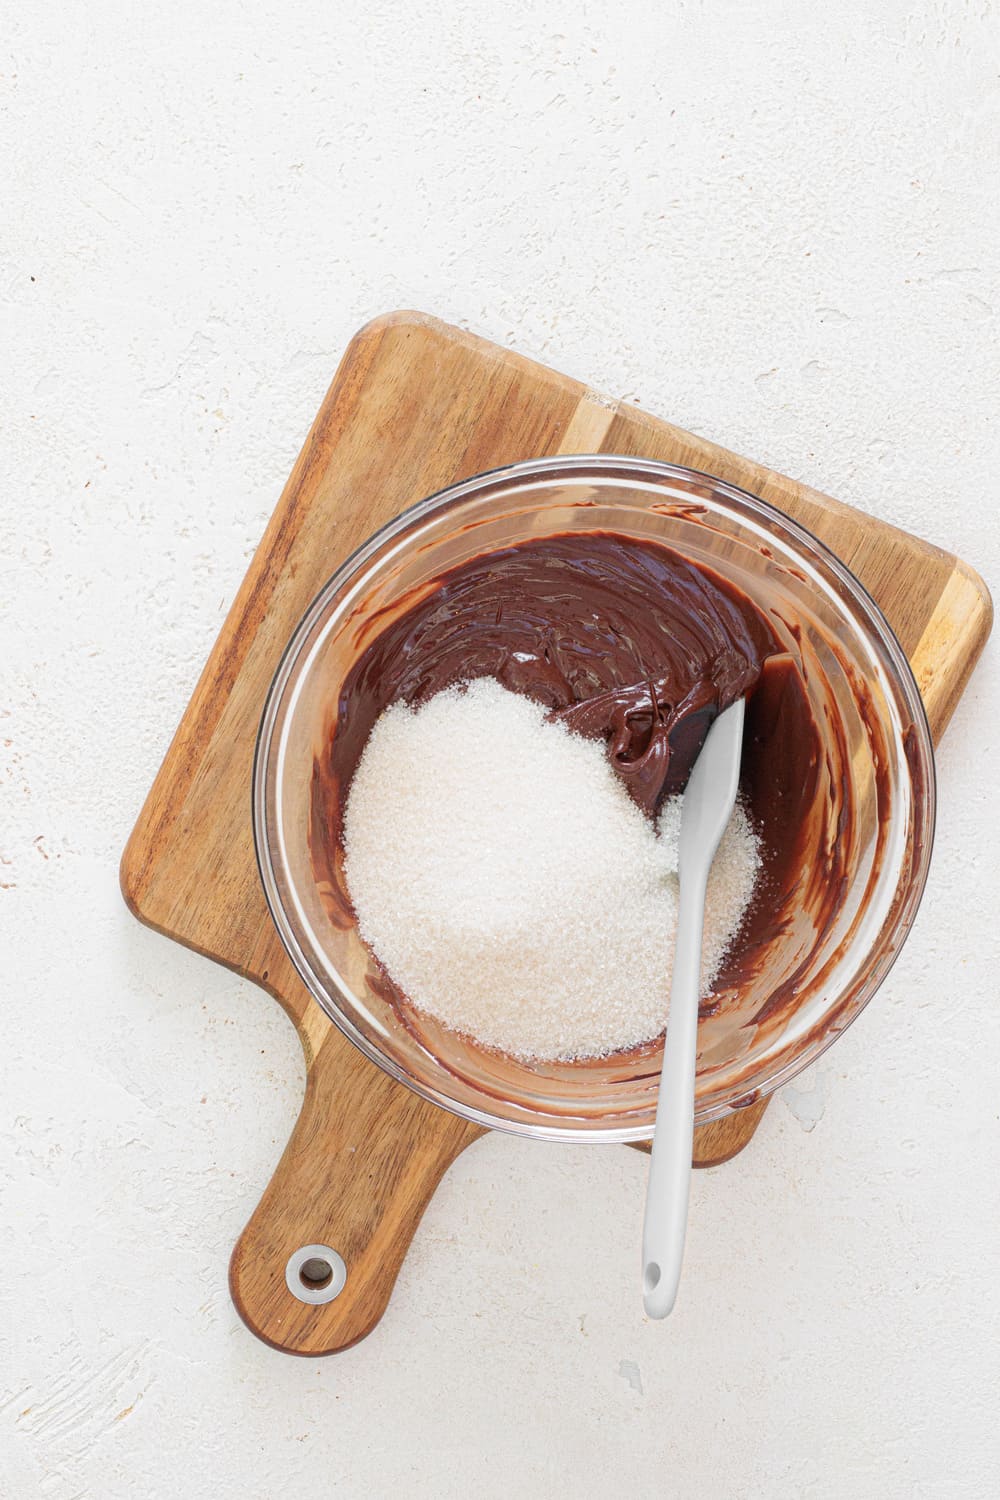
Once melted, add the sugar and mix until well combined. The mixture will look thick and shiny.
Melt the chopped dark chocolate and butter in the microwave in 30-second intervals.
Add sugar and mix until well combined.
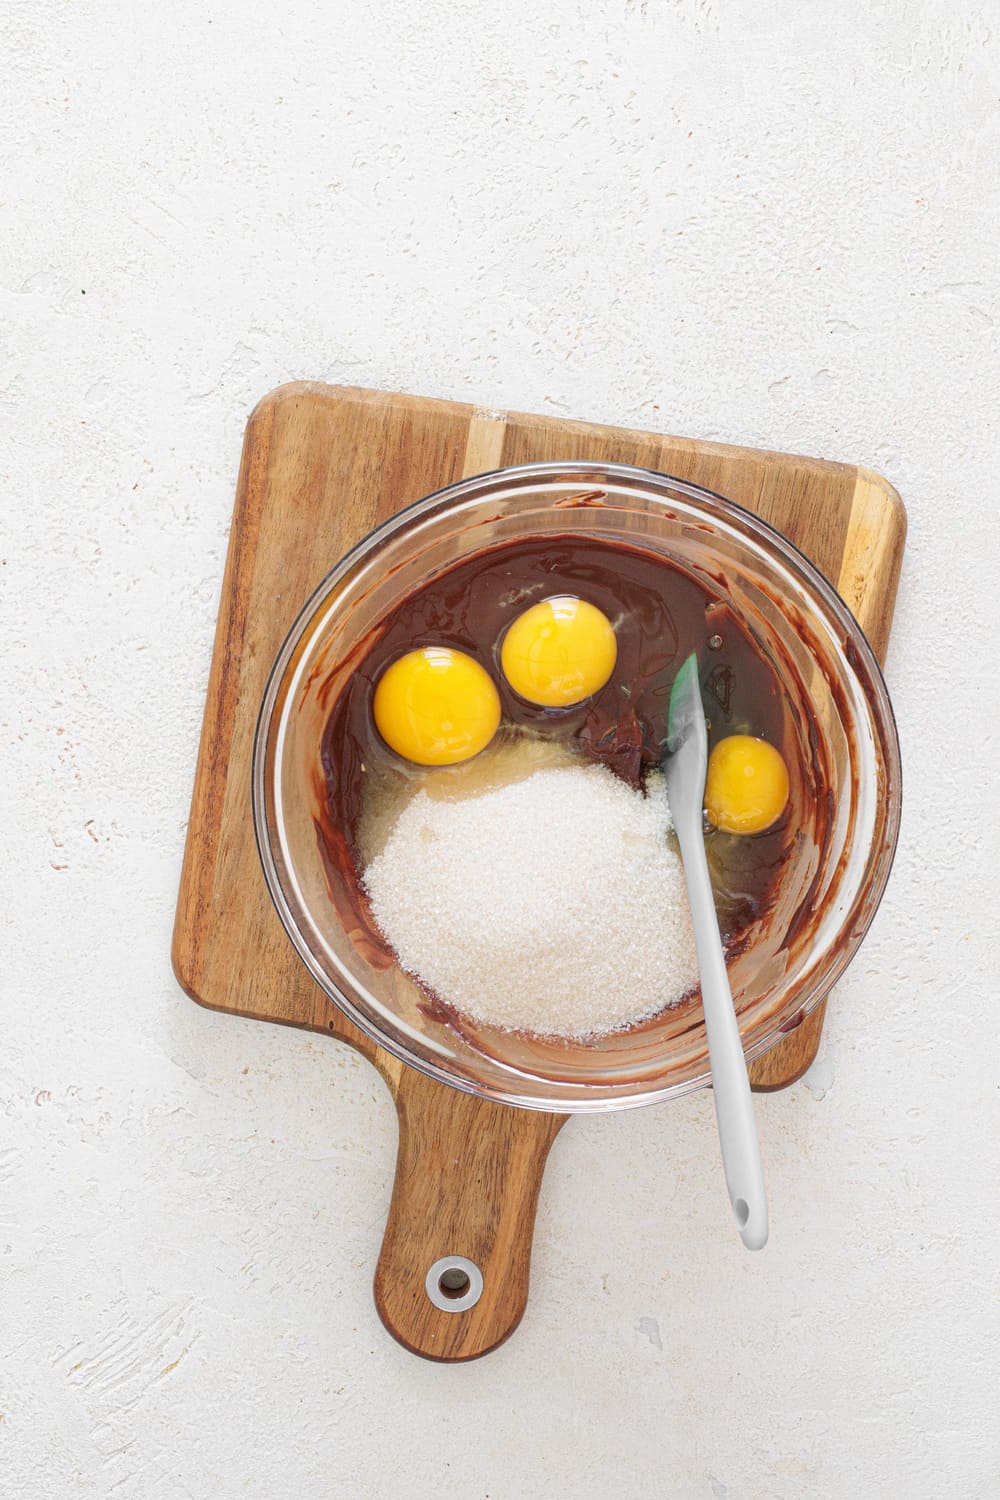
Add the eggs one at a time, mixing after each addition. This helps create a smooth batter and that classic fudgy brownie texture.
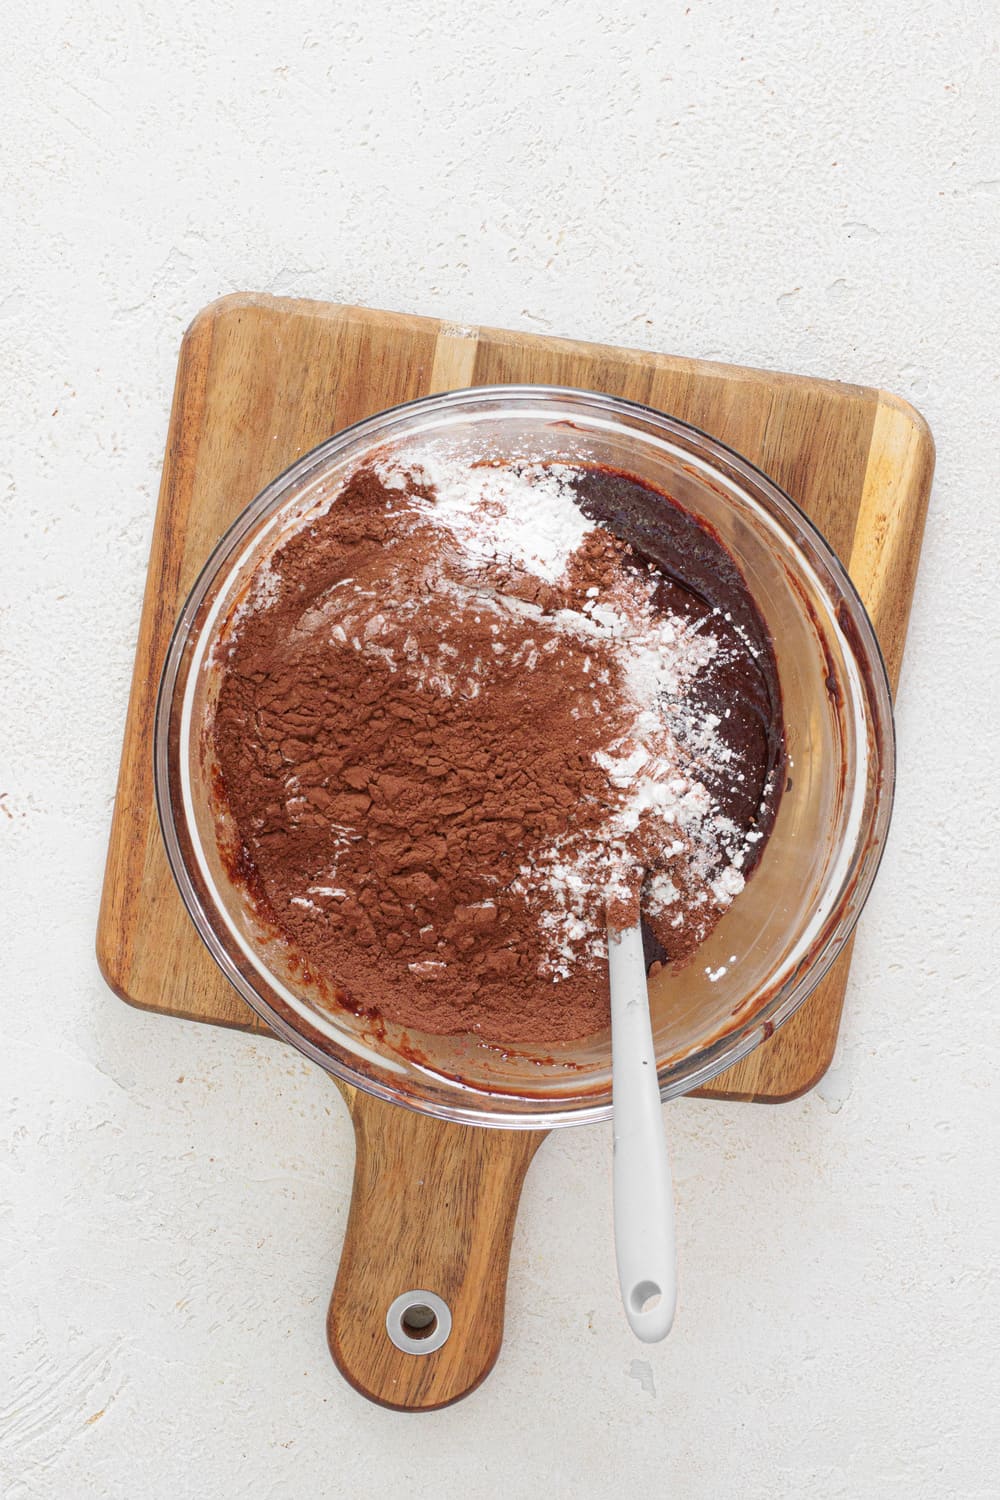
In another bowl, sift together the cocoa powder and cornstarch. Add them to the chocolate mixture and stir for about 1 minute, until the batter thickens slightly and becomes smooth.
Add the eggs one at a time, mixing after each addition.
Add the sifted cocoa powder and cornstarch to the chocolate mixture and stir for about 1 minute.
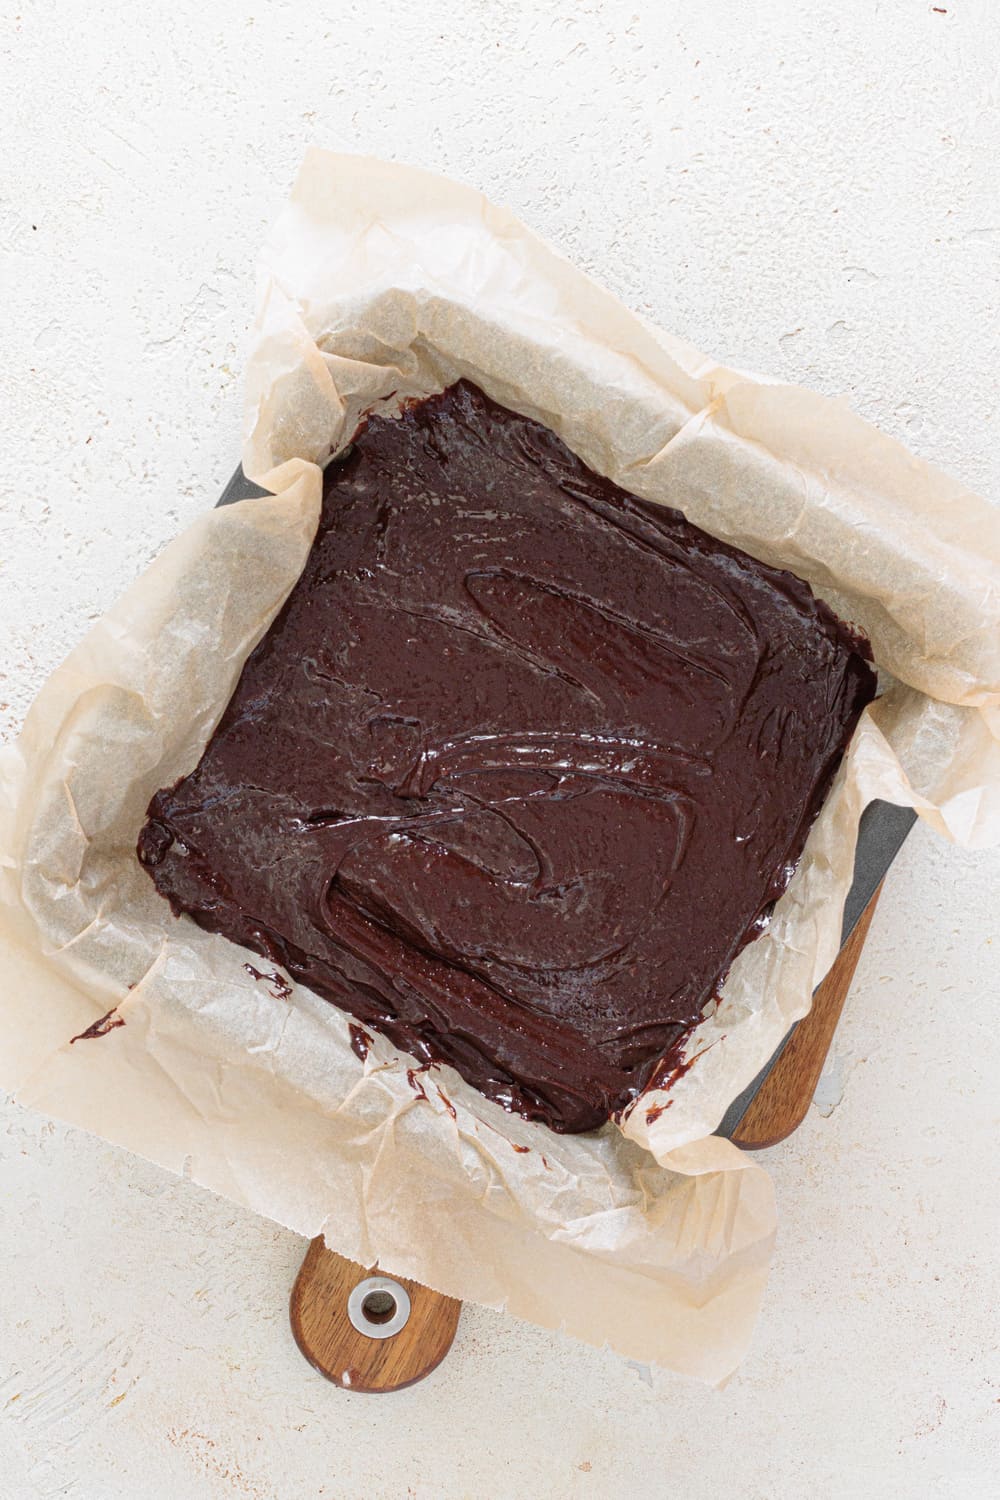
Pour about two-thirds of the batter into the prepared pan and spread evenly. Set the remaining batter aside.
Spread two-thirds of the brownie batter evenly in the pan.
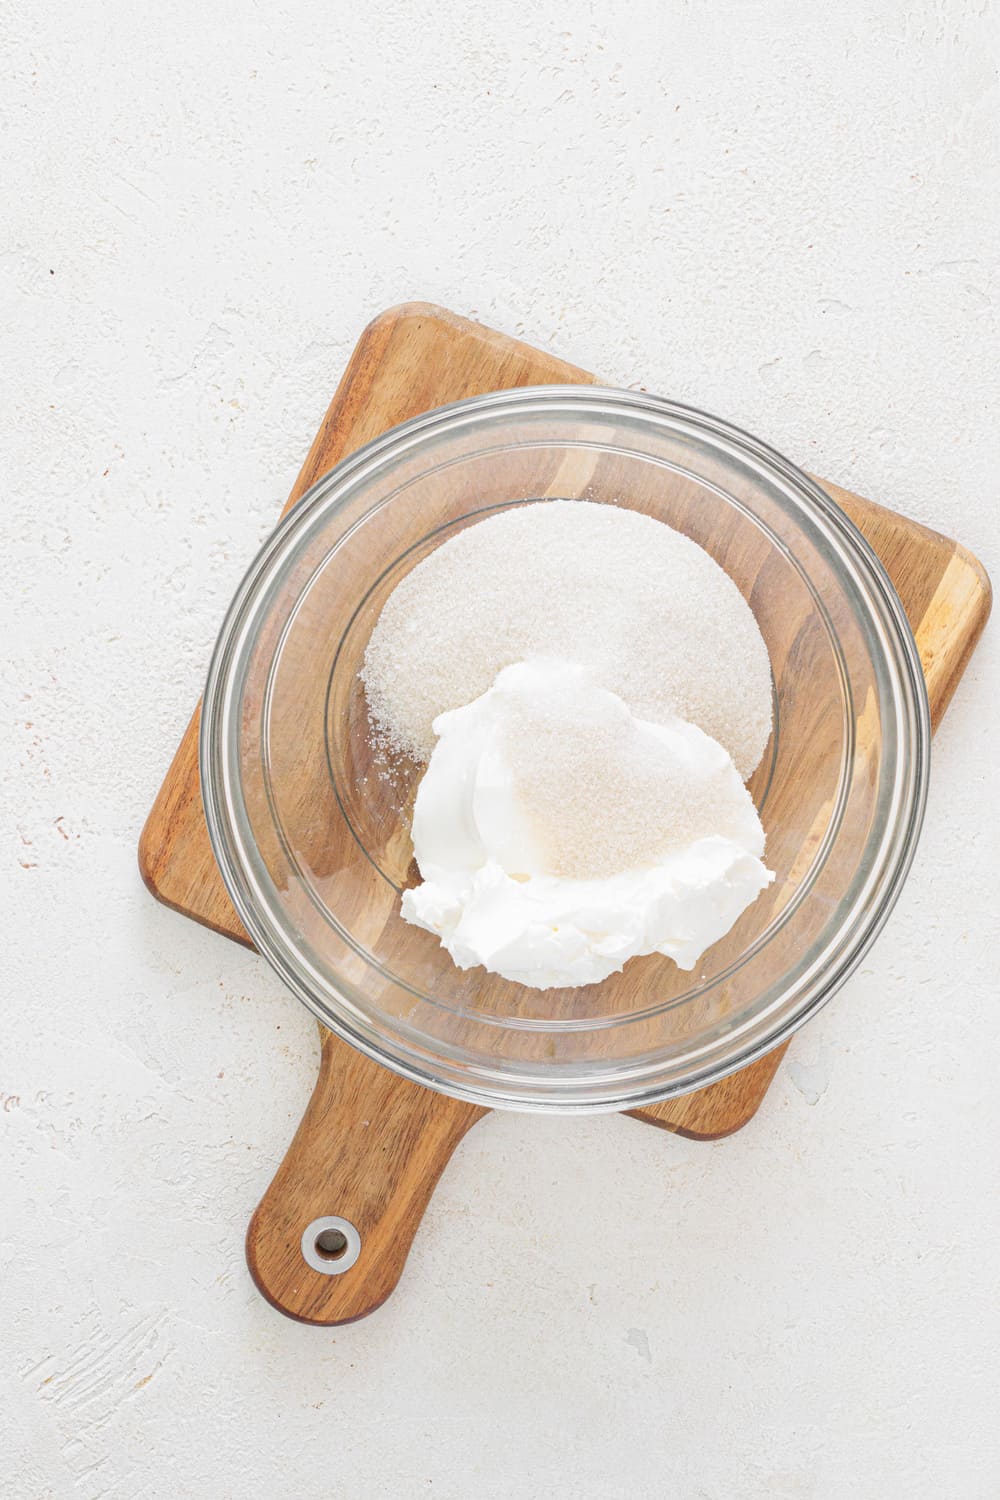
Now prepare the cheesecake layer. In another bowl, mix the softened cream cheese with the sugar until fully incorporated.
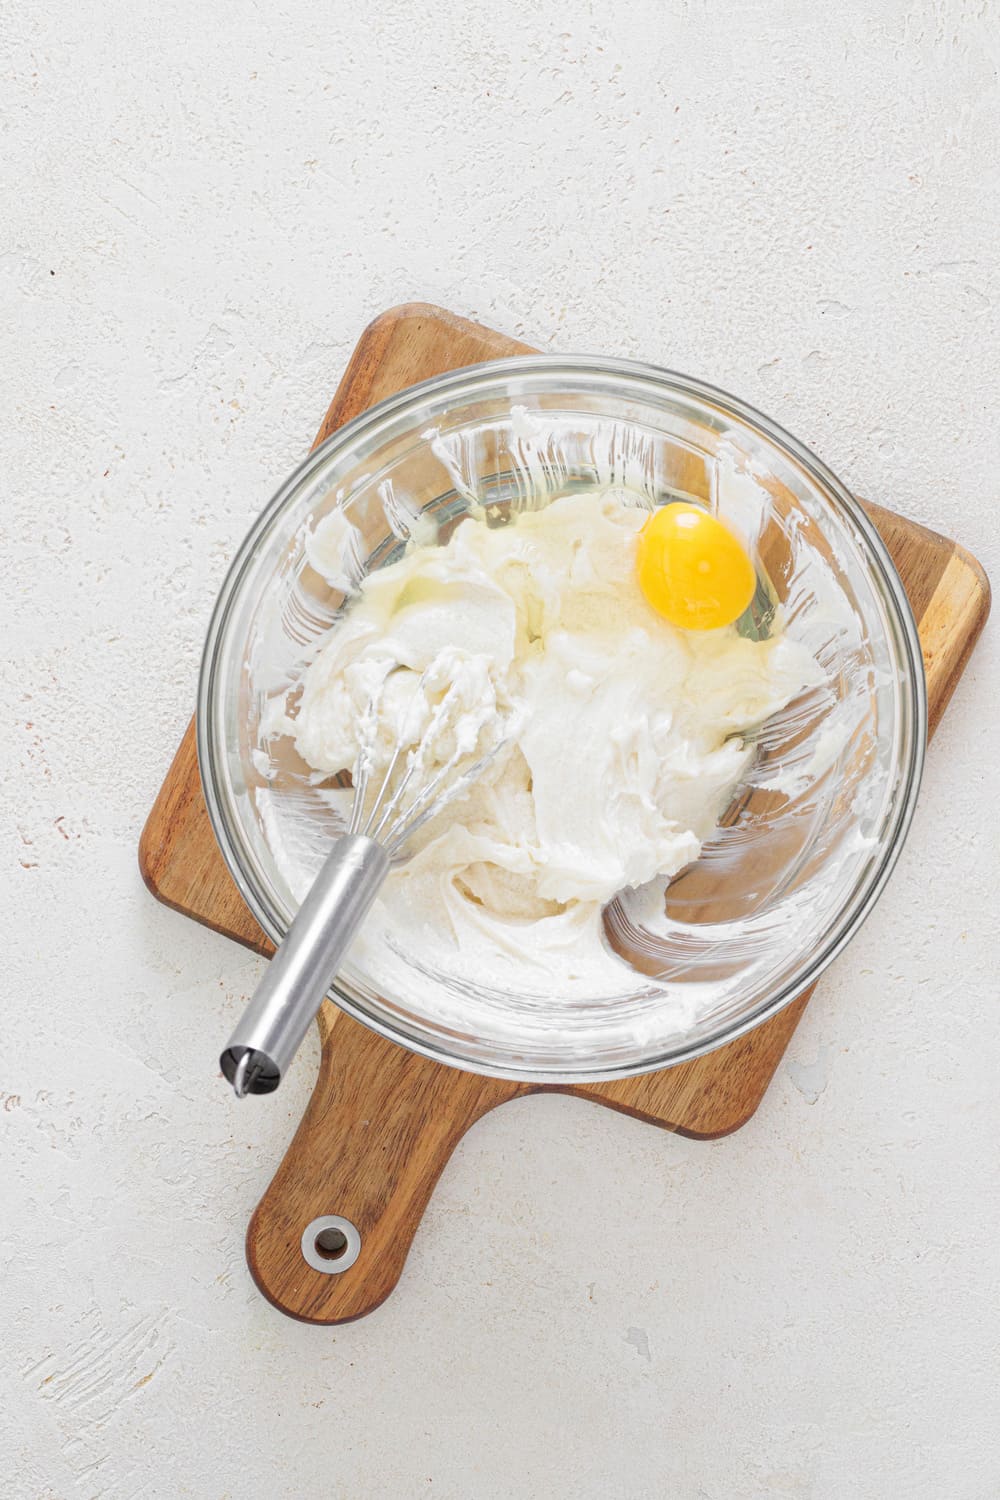
Then add the egg and mix until the batter is silky and lump-free.
Mix the softened cream cheese with the sugar until fully incorporated.
Add the egg and mix until the batter is silky and lump-free.
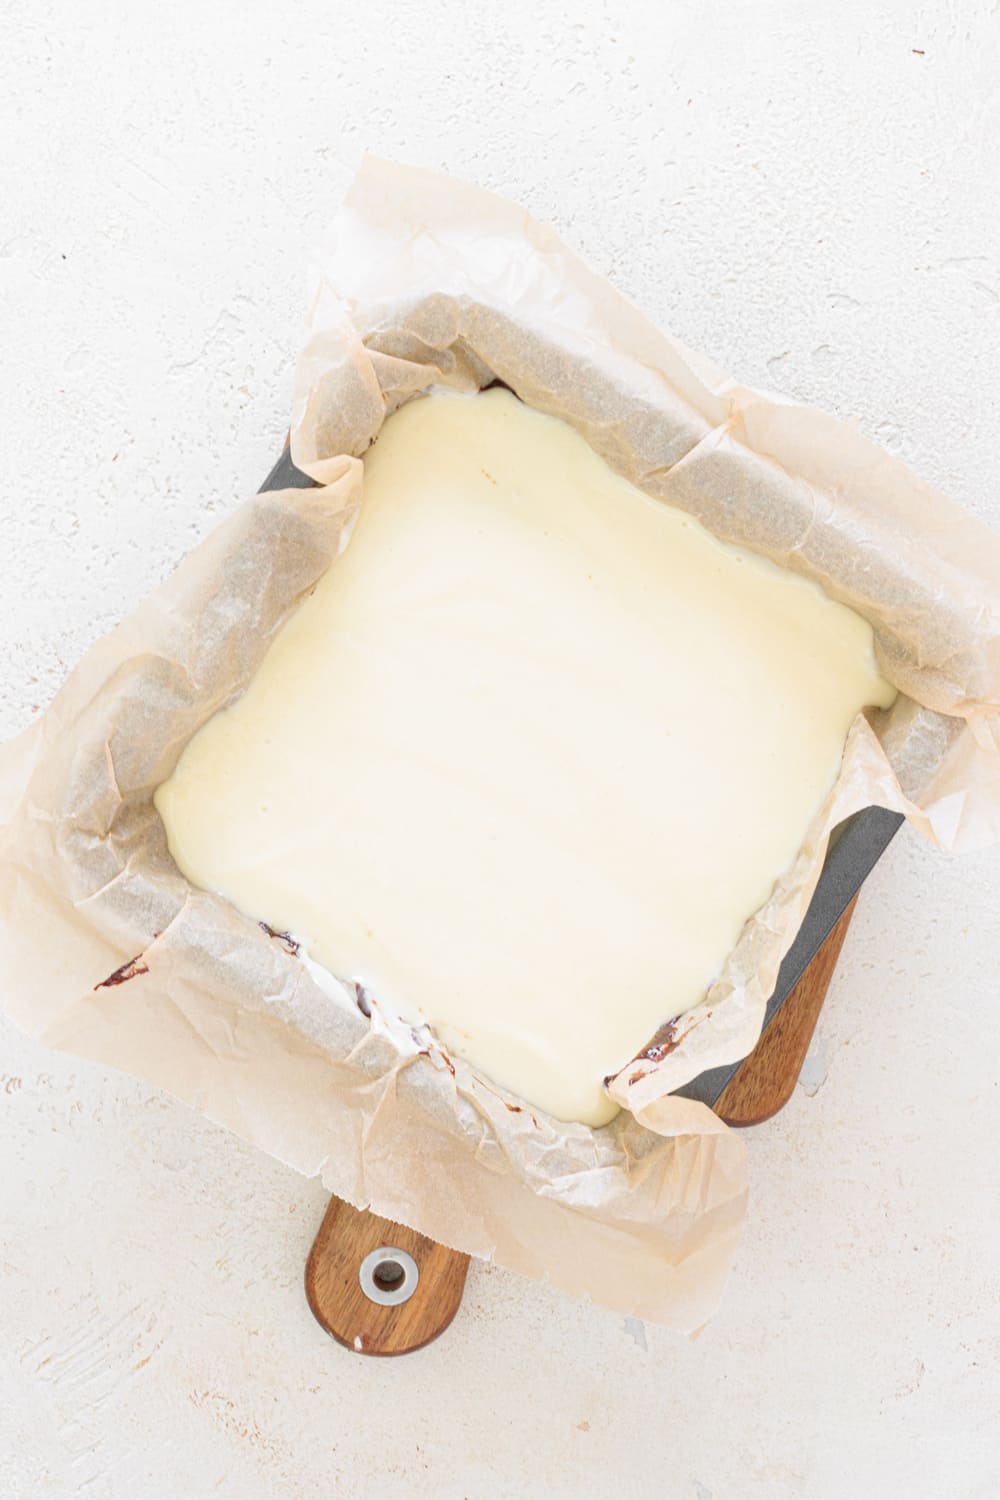
Spread the cheesecake mixture evenly over the brownie layer.
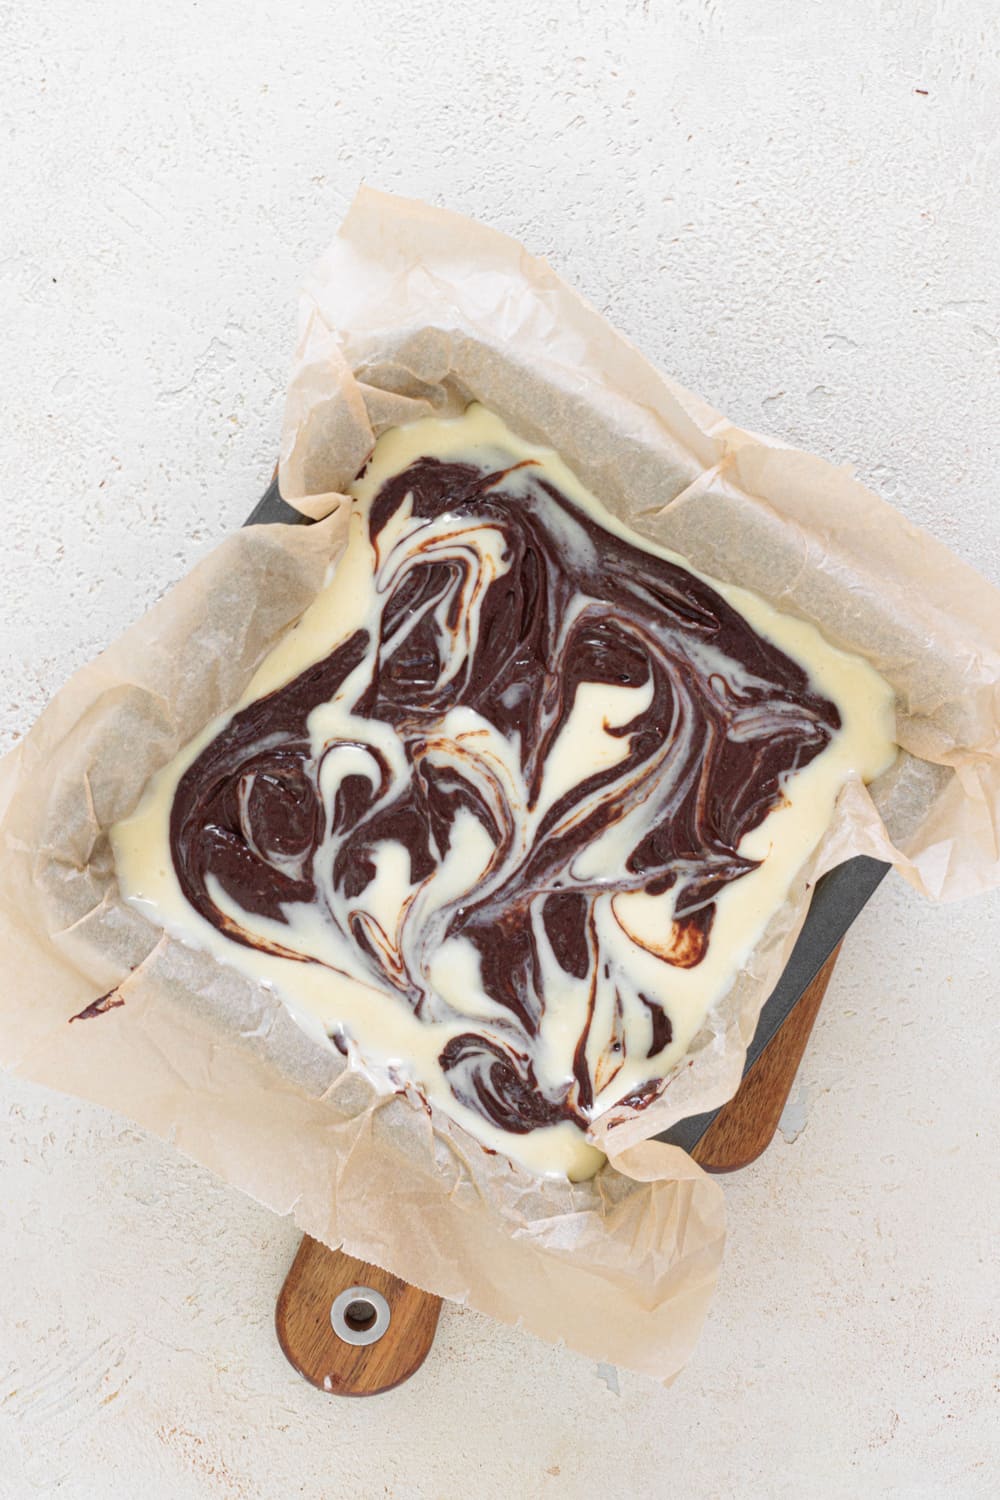
Drop spoonfuls of the reserved brownie batter over the top. Using a knife, gently swirl both layers together to create a marbled effect. I try not to overmix here; just a few swirls look much nicer once baked.
Spread the cheesecake mixture evenly over the brownie layer.
Drop spoonfuls of the reserved brownie batter over the top, then gently swirl the two layers together with a knife.
Bake for about 35 minutes, or until a toothpick inserted in the center comes out with a few moist crumbs. The center should still look slightly soft; it will set as it cools.
Let the brownies cool completely in the pan. I know it’s tempting to cut into them while they’re still warm (and they are extra soft and gooey at that stage), but letting them cool helps the texture set and makes them much easier to cut into clean squares.
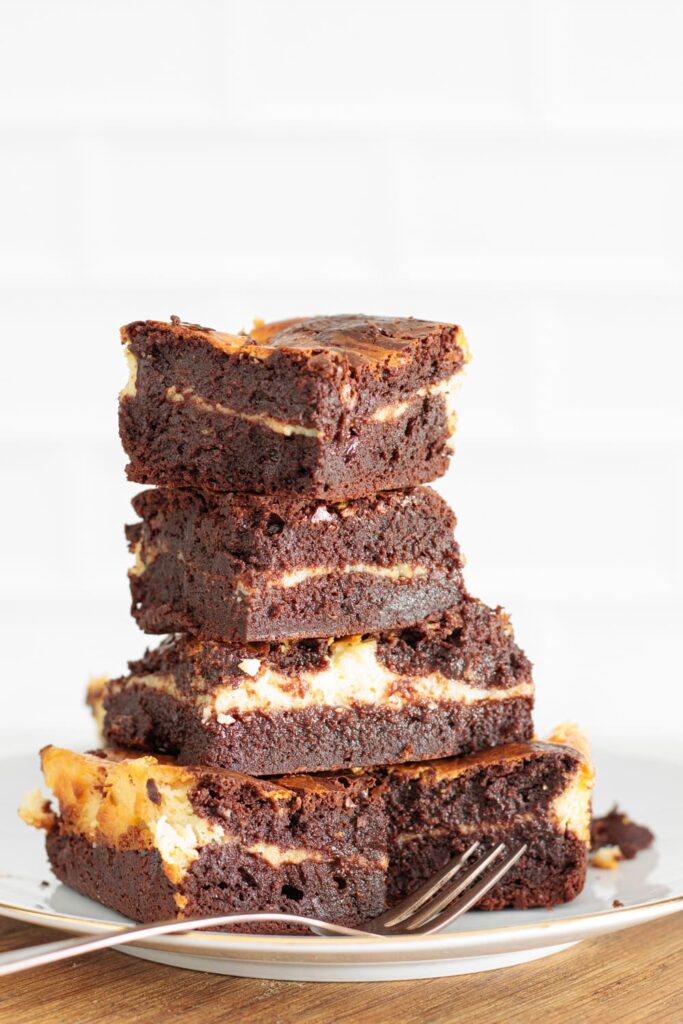
Let the brownies cool completely in the pan, cut into squares, and enjoy.
You can already tell from the texture how fudgy these are. That contrast between the dense brownie layer and the creamy cheesecake swirl is what makes them so good… it’s the kind of dessert that feels a bit indulgent without being complicated.
If you’re not serving them right away, you can keep them in the fridge and take them out a few minutes before eating, or warm them slightly in the microwave for about 10 seconds. They get softer again and the chocolate becomes a little more melty.
These don’t last long in our house. Rita and I usually finish them within 2 to 3 days max. I store them in an airtight container in the fridge because of the cheesecake layer. I’ve tried leaving them out, but they hold much better chilled.
If you’re in the mood for something different but still staying in the chocolate lane, you have to try Rita’s Red Velvet Crinkle Cookies. They’re super soft, rich, and with that perfect crackled top she somehow gets right every single time.
And now I’m going to give you a slightly dangerous idea… crumble a few of those cookies on top of these brownies. We tried it once “just to see,” and yeah… that combination didn’t last more than a few hours. Don’t say I didn’t warn you.
A few Extra Tips For The Perfect Cheesecake Brownies
In addition to what I shared at the top about the chocolate, cream cheese, and eggs, there are a few other small things that really help here:
When you melt the chocolate and butter, take your time. If it overheats, the mixture can turn grainy instead of smooth and glossy. I usually do short intervals in the microwave and stir in between, slower but much safer.
Once you add the cocoa powder and cornstarch, mix just until everything comes together. Overmixing at this stage can make the brownies heavier rather than preserving that rich texture.
When adding the cheesecake layer, spread it gently and don’t over-swirl. A few passes with a knife are enough to get that marbled look without blending everything together.
Try not to overbake them. The center should still look slightly soft when you take them out of the oven. They’ll continue to set as they cool, and that’s what gives you that dense, fudgy texture instead of something dry.
These brownies keep really well. By the next day, the texture becomes slightly firmer and more set, and the cheesecake layer turns even creamier. If you’re not finishing them right away, store them in an airtight container in the fridge. They’ll hold up well for a few days without losing that texture, and you can let them sit out for a few minutes before serving if you prefer them a bit softer.
I’d love to know if you try these Cheesecake Brownies. And if you end up fighting over the last piece… don’t worry, that happens here too.
Can You Make Cheesecake Brownies Ahead of Time?
Yes, and this is actually one of those recipes that works really well if you plan ahead.
Once baked and cooled, you can store them covered in the fridge, and they’ll hold their texture really well. It’s one of those desserts that doesn’t suffer from sitting overnight; if anything, it settles nicely.
If you’re serving them later, you can take them out of the fridge about 10 to 15 minutes before serving so they soften slightly.
If you prefer them a bit more gooey, a quick 10-second warm-up in the microwave does the trick.
I don’t recommend freezing them with the cheesecake layer if you’re looking for the exact same texture, as it can change slightly once thawed. They’ll still taste good, but the creaminess won’t be quite the same.
This makes them a great option if you want to prep dessert ahead of time without worrying about last-minute baking.
Dense, fudgy cheesecake brownies with a rich chocolate base and a creamy, lightly tangy swirl. They’re simple to make, look impressive without much effort, and strike that perfect balance between indulgent and just a little bit refined.
Ingredients
For the brownie:
11ounces dark chocolate (320g)
6tablespoons unsalted butter (around 85g)
½cup granulated sugar (120g)
3 large eggs (at room temperature)
¼cup cocoa powder (25g)
⅓cup cornstarch (40g)
For the cheesecake layer:
8ounces cream cheese (softned)
½cup granulated sugar (100g)
1 large egg
Instructions
1
Preheat the oven
Preheat oven to 350°F (180°C) and line a 9-inch (23 cm) square pan with parchment paper.
2
Melt chocolate and butter
In a bowl, melt the chocolate and butter together until smooth and glossy, stirring in between to avoid overheating.
3
Add sugar and eggs
Stir in the sugar, then add the eggs one at a time, mixing well after each addition until the batter is smooth.
4
Add dry ingredients
Sift in the cocoa powder and cornstarch, then mix just until fully combined. The batter should be thick and slightly glossy.
5
Pour the brownie base into the pan
Pour about two-thirds of the batter into the prepared pan and spread it evenly. Set the remaining batter aside.
6
Make the cheesecake layer
In another bowl, mix the softened cream cheese with the sugar until smooth, then add the egg and mix until creamy and lump-free.
7
Assemble the layers and create the swirls
Spread the cheesecake mixture over the brownie base. Drop spoonfuls of the remaining brownie batter on top. Use a knife to gently swirl the two layers together. Don’t overmix, a few swirls are enough for that marbled effect.
8
Bake
Bake for about 35 minutes, or until the edges are set and the center still has a few moist crumbs.
9
Cool and slice
Let cool completely in the pan before lifting out and cutting into squares.
Nutrition Facts
Servings 12
Amount Per Serving
Calories215kcal
% Daily Value *
Total Fat13g20%
Saturated Fat7g35%
Cholesterol55mg19%
Sodium50mg3%
Potassium130mg4%
Total Carbohydrate23g8%
Dietary Fiber1g4%
Sugars17g
Protein3g6%
* Percent Daily Values are based on a 2,000 calorie diet. Your daily value may be higher or lower depending on your calorie needs.
Rita Dias
Food Blogger
Hi, I'm Rita, a full-time food blogger, mom of two beautiful cats, and passionate about cooking and photography. I want to share with you simple but delicious recipes that I make in my own kitchen.